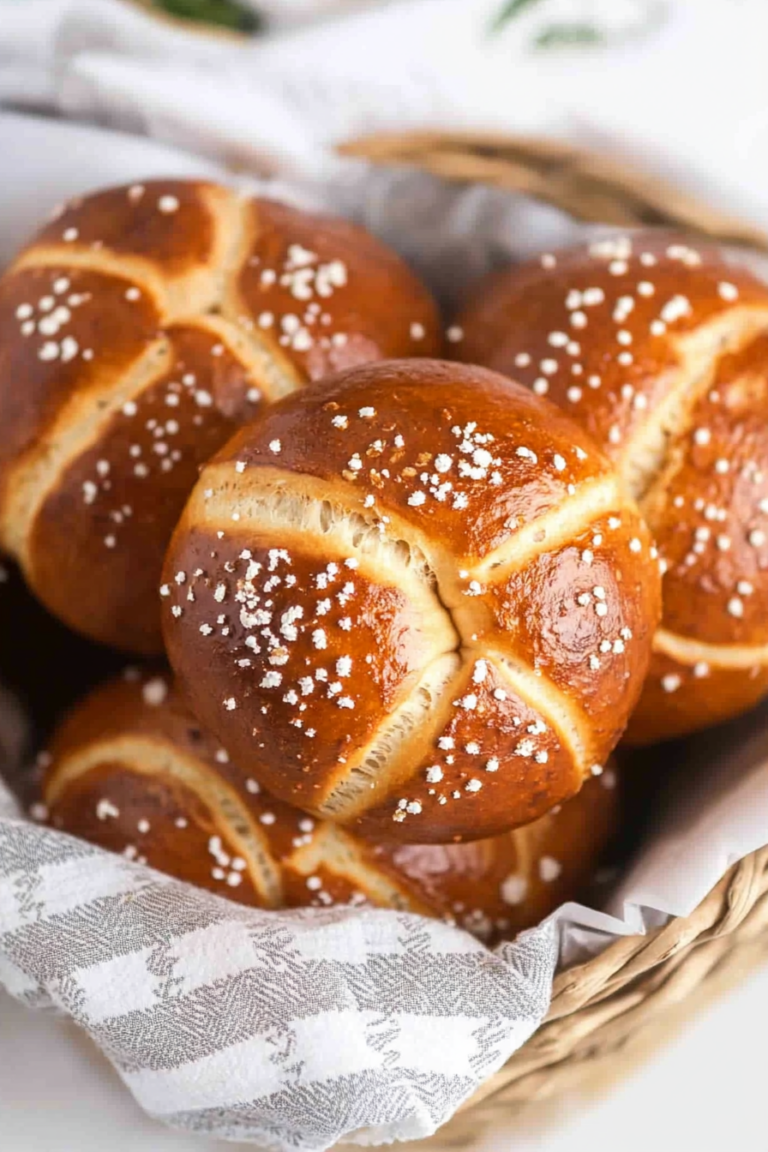
Alabama Firecrackers How to Make Festive Treats
If you ask me, there’s nothing quite like sneaking in a veggie or two into dessert — it’s the magic of balance, right? This zucchini swirl cake has become a real family favorite over the years. I remember the first time I made it — my kids’ eyes lit up when they saw the vibrant green streaks running through the moist, tender crumb. It’s honestly one of those recipes that manages to be both comforting and a little surprising. And the best part? It’s so easy that I usually whip it up on busy weeknights when we’re craving something sweet but I don’t want to spend hours in the kitchen. Trust me, this one’s a lifesaver on those evenings. Plus, it’s got that perfect, subtle sweetness with a hint of spice that makes everyone ask for seconds. I’ve tested this with just a touch less sugar, and yep — it still disappears in minutes at my house. If you love a cake that feels homemade but tastes like a little special treat, you’re going to love this.
What is Zucchini Swirl Cake?
Think of this as a delightful twist on your classic loaf cake, with a burst of fresh zucchini interwoven into every slice. It’s essentially a moist, tender cake that’s topped with a swirl of cinnamon-spiced batter and shredded zucchini stirred right into the mix. The name “swirl” comes from how you layer and gently swirl the different batters to create these beautiful, marbled patterns — it’s almost too pretty to cut! Originally, this kind of cake was a way to use up extra garden zucchini, but honestly, it’s become a year-round favorite because it’s just so comforting and versatile. The zucchini keeps the cake incredibly moist without adding any strong flavor — what you get is more of a subtle, fresh note that balances the sweet and spicy elements. It’s like eating a slice of soft cloud with a little crunch and a hint of veggie goodness. Very satisfying and surprisingly nutritious for a dessert — well, mostly because of the zucchini, but I won’t tell if you won’t.
Why you’ll love this recipe?
What I love most about this zucchini swirl cake is how homey and effortless it feels, yet it impresses everyone who tastes it. The flavor punch is all in that cinnamon-sugar swirl — it’s warm, cozy, and a little nostalgic, like biting into a favorite homemade treat. The moistness from the zucchini keeps it from drying out, so it’s perfect for packing in lunchboxes or serving with coffee on a lazy weekend morning. This recipe is super budget-friendly because it uses simple pantry ingredients — usually what I have lying around on a regular day. Plus, it’s flexible enough to adapt: I’ve added in chopped walnuts or swapped out the sugar for honey when I want a slightly different twist. What I love most about this is how forgiving it is; I’ve made it in muffin tins, mini loaves, and the classic loaf shape, and it always comes out great. It’s one of those “go-to” recipes that feels like a little hug in every bite, and I promise, once you make it once, it’ll be on your regular rotation, too. It’s perfect for breakfast, snacking, or even a quick dessert after dinner. My kids ask for this all the time — they call it “green cake,” which is adorable and totally accurate. Everyone should have a layered, swirly cake like this in their recipe arsenal.
How do I make Zucchini Swirl Cake?
Quick Overview
Alright, here’s the scoop: this cake comes together in just a few steps that you can do in one bowl if you’re feeling lazy. You’ll start by preparing your zucchini, then whisk together your dry ingredients, followed by blending the wet ingredients. Once everything is mixed, you pour half of the batter into a loaf pan, spread a luscious cinnamon-sugar mixture on top, add the shredded zucchini, and swirl it all together. Bake until golden, then let it cool — and if you’re feeling fancy, add a drizzle of glaze or a dusting of powdered sugar. The magic of this cake is how easy it is to throw together, but it looks and tastes like you fussed for hours. Plus, it’s forgiving — I’ve made it with chunky zucchini pieces, more or less sugar, and even with almond milk when I was out of regular. Every time, it turns out just right.
Ingredients
For the Main Batter:
– 1 1/2 cups all-purpose flour (or gluten-free blend, if desired)
– 1 teaspoon baking powder
– 1/2 teaspoon baking soda
– 1/2 teaspoon salt
– 1 teaspoon ground cinnamon
– 1/2 teaspoon ground nutmeg
– 1/2 cup granulated sugar (adjust if you prefer it less sweet)
– 1/2 cup brown sugar (for depth and richness)
– 1/2 cup vegetable oil or melted butter
– 2 large eggs
– 1 teaspoon vanilla extract
– 1 cup grated zucchini (squeezed dry to remove excess moisture)
For the Filling:
– 1/4 cup packed brown sugar
– 1 teaspoon ground cinnamon
– 2 tablespoons unsalted butter (melted)
For the Glaze (optional but recommended):
– 1/2 cup powdered sugar
– 1-2 teaspoons milk or lemon juice
– A dash of vanilla (if you like it extra flavorful)
Step-by-Step Instructions
Step 1: Preheat & Prep Pan
Set your oven to 350°F (175°C). Grease a loaf pan or line it with parchment paper — trust me, this makes it so much easier to lift out the cake once it’s baked. I always spray mine generously with non-stick spray plus a little flour dusting, especially if I’m using a glass pan. It’s a small step that keeps the cake from sticking and ruining all my pretty layers.
Step 2: Mix Dry Ingredients
In a large bowl, whisk together the flour, baking powder, baking soda, salt, cinnamon, and nutmeg. This step makes sure all the leavening and spices are evenly dispersed, so every bite has that lovely warmth and flavor. I like to do this first, so I can just dump the wet ingredients right in afterwards — less mess, less fuss.
Step 3: Mix Wet Ingredients
In another bowl, beat the eggs, then stir in the sugar, brown sugar, oil, and vanilla until smooth. I find using a whisk here helps get everything combined nicely. The mixture should look a little creamy and shiny — kind of like when you’re making pancake batter. Add in your grated zucchini and fold gently.
Step 4: Combine
Pour the wet mixture into your dry ingredients and gently fold until just combined — don’t overmix, or your cake might turn dense. It’s okay if there are a few tiny lumps; that’s what keeps it tender. Now, this is the fun part — you can set aside some batter for swirling, but I usually just pour all of it into the prepared pan.
Step 5: Prepare Filling
Mix together the brown sugar, cinnamon, and melted butter to make that cinnamon-sugar swirl. It’s simple but packs so much flavor. Drop spoonfuls onto the batter in sections — don’t worry if it’s uneven. We’re going to swirl it around next.
Step 6: Layer & Swirl
Use a toothpick or a skewer to gently swirl the cinnamon-sugar mixture into the batter. Create figure eights or zigzags — whatever feels fun! The goal is to create beautiful marbled streaks, so don’t overdo it, or the swirl will disappear into the batter. When you’re happy with the pattern, set it aside for baking.
Step 7: Bake
Pop it into your preheated oven and bake for about 50-60 minutes, or until a toothpick inserted in the center comes out clean. Every oven is different, so start checking around the 45-minute mark. If your top gets too dark but the center isn’t baked through, tent it loosely with foil and keep going.
Step 8: Cool & Glaze
Allow the cake to cool in the pan for 10 minutes, then transfer to a wire rack. This step is crucial — if you try to cut into it too soon, it might crumble. Once cooled, drizzle with the glaze or dust with powdered sugar. The glaze adds just the right touch of sweetness and makes it look extra pretty for serving.
Step 9: Slice & Serve
Use a serrated knife for clean cuts — I love how the swirl pattern peeks through each slice. Serve it at room temperature or slightly warm. It’s equally delicious plain or with a dollop of whipped cream or fresh berries. My family always tucks into this with big cups of coffee or milk — it’s a cozy, satisfying moment every time.
What to Serve It With
This cake is so versatile that I love serving it in a bunch of different ways. For breakfast, it’s perfect with a strong cup of black coffee or a latte — the cinnamon flavor really wakes you up. I often slice it thick and toast a piece, spreading a little butter on top to enhance that delicious moist crumb. On weekends, I like to serve it with a side of fresh fruit like berries or sliced bananas — it makes the whole thing feel more like a brunch treat. When I want to turn it into an elegant dessert, I’ll add a side of mascarpone or whipped cream, maybe sprinkle some crushed nuts or a drizzle of honey. It’s also fantastic as a quick snack after school — the kids ask for it by name, and I don’t mind because I know it’s packed with zucchini and good vibes. Memories of backyard gardening mornings flood back with each bite — I truly think this cake brings a bit of sunshine to any table.
Top Tips for Perfecting Your Zucchini Swirl Cake
Over the years, I’ve picked up a few tricks that help make this cake turn out even better every time. First, make sure you squeeze as much excess moisture as you can from the zucchini — if it’s too wet, your batter might be a bit droopy, and nobody wants a soggy cake. I use a clean kitchen towel to really wring it out — it makes a difference. When mixing the wet ingredients, I always make sure the eggs are at room temperature; it helps everything blend smoothly. For the swirl, I recommend using a fork or a toothpick — slow, gentle motions create the nicest marbled pattern. If you want to experiment, try adding chopped nuts, chocolate chips, or even shredded coconut into the batter — I’ve tried them all, and they’re delightful. When baking, keep an eye on the oven temperature. My oven runs a bit hot, so I lower the rack and tent the top if it starts browning too fast. The glaze is totally flexible — I’ve added a splash of lemon juice, vanilla extract, or even a teaspoon of bourbon for a sophisticated twist. Learning how to adjust by eye and smell has been my biggest lesson — baking is all about feeling the rhythm and being flexible. Don’t be afraid to tweak things to suit your taste, and most importantly, have fun!
Storing and Reheating Tips
This cake stays fresh surprisingly long if stored properly. In the morning, I often leave it covered at room temperature for up to two days — it keeps that lovely softness and doesn’t get dry. If I want to keep it longer, I wrap it tightly in plastic wrap or store it in an airtight container in the fridge. It’s great chilled, but I usually let a slice sit out for 10-15 minutes before serving so it’s not too cold. For freezing, I slice the cake first, then wrap individual pieces tightly in plastic, followed by a layer of foil or a resealable bag. It’s perfect for grabbing a slice later on; just defrost at room temp or warm in the microwave for about 20 seconds. The glaze can be added fresh, or if you’re freezing, just wait until it has thawed to drizzle it on. I’ve found that the cake remains tender and flavorful even after a couple of months in the freezer. If the glaze gets a little sticky after freezing, just give it a quick whisk with a teaspoon of milk or lemon juice — it’ll loosen right up. This cake is such a cozy, comforting treat — I honestly don’t mind making a double batch just to keep some on hand.
Frequently Asked Questions
Final Thoughts
This zucchini swirl cake has become a staple in my kitchen because it’s a little bit rustic, a little bit fancy, and absolutely homey. It’s proof that you don’t need complicated ingredients or hours of effort to make something that feels special. Every time I bake it, I remember my grandmother’s garden, late summer mornings, and how simple ingredients transform into something magic. Whether you serve it at breakfast, brunch, or as a dessert, I promise it’ll bring smiles all around. The combination of moist cake, cinnamon swirl, and that subtle vegetable boost is just unbeatable. I hope you give it a try and make it your own — maybe with some nuts, chocolate, or a different spice here and there. But most of all, have fun with the process. Baking is always better when it’s full of love and a little bit of improvisation. Can’t wait to hear how yours turns out! Don’t forget to leave a comment below — I love hearing about your twists and tips. Happy baking!
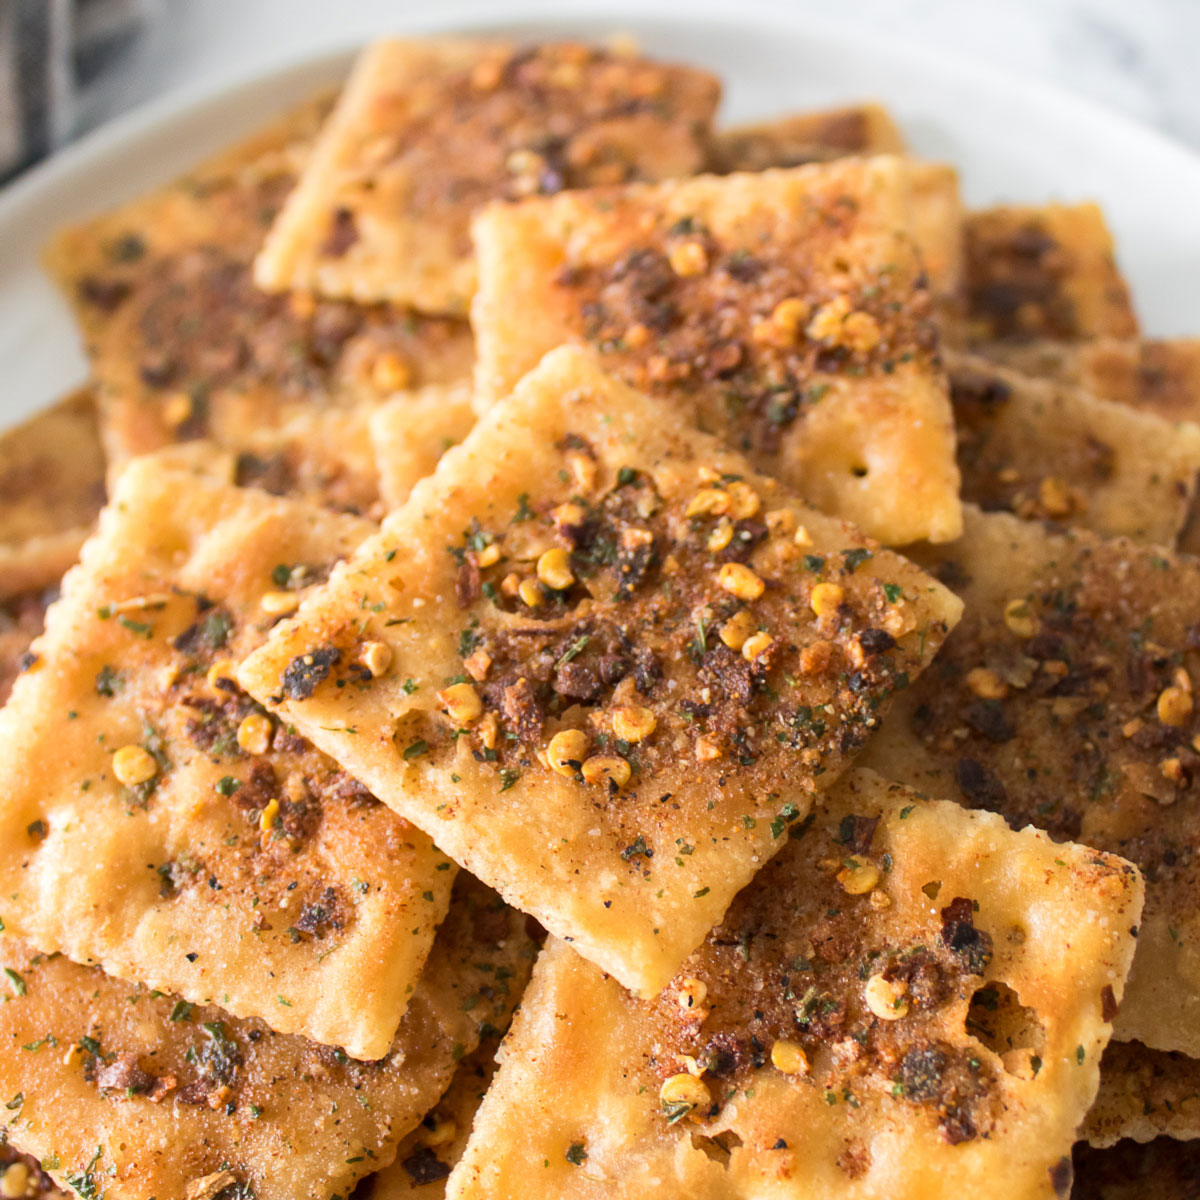
Ingredients
Method
- In a large zip-top bag, combine oil, Ranch mix, red pepper flakes, garlic powder, onion powder, and black pepper. Shake it to mix well.
- Add saltine crackers to the bag, seal it, and gently turn or massage the bag to coat the crackers evenly.
- Allow the crackers to sit for several hours or overnight for the best flavor. If in a hurry, let them rest for 10-15 minutes, then spoon the seasoning onto each cracker.
- Preheat the oven to 250°F. Arrange the seasoned crackers in a single layer on baking sheets and bake for 15 minutes, flipping halfway to ensure even crisping.
- Allow the crackers to cool completely before serving. Enjoy!