Easy Asian Rice Recipe Explained
Imagine the smell of warm, cocoa-tinted batter wafting through your kitchen on a lazy weekend afternoon, with just a hint of fresh zucchini. It’s one of those recipes that feels sneaky good—no one suspects how healthy and moist it is until they take that first bite. Growing up, my mom made a similar zucchini bread, but over the years, I’ve twisted that magic into a cake that’s honestly become a family favorite. My kids ask for this all the time, especially when I want something satisfying but don’t want to mess with complicated baking. It’s incredibly forgiving, super flavorful, and I always do this when I want a little treat that’s not overly sweet or heavy. Plus, trust me on this—this zucchini chocolate swirl cake is a lifesaver on busy nights when I’m craving dessert but don’t want to turn on the oven for hours. Everything about this one feels like a cozy hug—and I promise, it’ll become a staple in your home too.
What is Zucchini Chocolate Swirl Cake?
Think of this as a cross between a moist, tender cake and a little surprise inside—a swirl of rich chocolate running through every slice. It’s essentially a quick, homemade treat that combines the healthful sneaky addition of zucchini with the indulgence of chocolate. The name’s quite simple: zucchini for moisture and nutrition, chocolate for flavor, and a swirl for visual kind of fun. It’s a bit like a disguised vegetable cake that’s perfect for sneaking in some veggie goodness for kids (or even yourself!). The concept is straightforward: a soft, tender cake batter that’s enhanced with shredded zucchini—no one will believe how moist it stays. Then, a luscious chocolate mixture ripples through the batter, creating beautiful marbled patterns when baked. It’s comforting, nostalgic, and honestly, a little bit fancy in its look—yet so easy you’ll wonder why you didn’t make it sooner.
Why you’ll love this recipe?
What I love most about this zucchini chocolate swirl cake is how it hits all the right notes—moist, fudgy, yet light enough not to feel heavy or overly processed. The flavor combo is unbeatable; the subtle sweetness of the cake balances perfectly with the deep richness of the chocolate. This one’s a lifesaver on busy nights because I’ve tested it with just a handful of pantry ingredients, and it always comes together in under an hour. Plus, it’s my go-to for using up those zucchini that seem to grow overnight in my garden—no more sneaking them into bread; now, I swirl them right into a chocolate cake! For a family of four, it’s a crowd-pleaser. My kids ask for seconds, and honestly, I often find myself sneaking a slice after they go to bed. The versatility is fantastic, too; serve it warm with a dollop of whipped cream, or chill it and enjoy whole slices with coffee. It’s budget-friendly, too—no fancy ingredients needed. And trust me, once you master the swirl technique, your cakes will look like they came from a bakery, but your secret stays safe.
How do I make Zucchini Chocolate Swirl Cake?
Quick Overview
This recipe is about mixing simple ingredients into a batter, layering in a chocolate component, swirling to create gorgeous marbling, and baking until just right. It’s one of those recipes that’s a total win-win—easy enough to whip up on a whim but impressive enough to serve to company. I always do this when I want a treat that feels fancy but really isn’t. No need for fancy tools, either—just a whisk, a spatula, and a good loaf or bundt pan. The best part? It’s remarkably forgiving if you slightly overmix or if your zucchini is a tad watery—this cake still comes out perfect. Once baked, the top is glossy and crackly, with a fragrant cocoa aroma that makes it impossible to wait before slicing. I promise you, once you get the hang of swirling, it becomes kind of addictive, and each one turns out a little unique—like a mini masterpiece in your kitchen.
Ingredients
For the Main Batter:
- 1 ½ cups all-purpose flour (or a gluten-free blend if you prefer)
- 1 teaspoon baking powder
- ½ teaspoon baking soda
- ½ teaspoon salt
- ½ cup granulated sugar (feel free to cut back if you like less sweet)
- ½ cup brown sugar (adds depth and a slight molasses flavor)
- ½ cup vegetable oil or melted coconut oil
- 3 large eggs (at room temperature for best results)
- 1 teaspoon vanilla extract
- 1 cup finely shredded zucchini (remove excess moisture with a quick squeeze)
For the Filling:
- ½ cup semi-sweet chocolate chips or chopped dark chocolate
- 3 tablespoons heavy cream or coconut cream (for a dairy-free version)
- 1 teaspoon vanilla (optional, for extra richness)
For the Glaze:
- ½ cup powdered sugar (or less if you prefer less sweetness)
- 1-2 tablespoons milk or almond milk
- 1 teaspoon cocoa powder (for extra chocolate flavor)
- Optional: a dash of vanilla or a sprinkle of sea salt for balance
Step-by-Step Instructions
Step 1: Preheat & Prep Pan
Set your oven to 350°F (175°C) and grease your favorite loaf or bundt pan well, then dust with a little flour or line it with parchment paper. I always do this to prevent sticking—nothing more frustrating than a perfect cake stuck to the pan. If you’re using a dark pan, keep an eye for a shorter baking time, as they tend to heat differently.
Step 2: Mix Dry Ingredients
In a large bowl, whisk together your flour, baking powder, baking soda, and salt. This step ensures everything is evenly distributed, which is crucial for a tender, uniform crumb. Overmixing at this stage isn’t a big deal, but try to just combine thoroughly—you don’t want to activate too much gluten or end up with a dense cake.
Step 3: Mix Wet Ingredients
In a separate bowl, beat together the sugars, oil, eggs, and vanilla until well combined. The mixture should look slightly frothy and light. Then, gently fold in your shredded zucchini—this adds incredible moisture but make sure to squeeze out any excess water beforehand. I tested this with fresh zucchini from my garden, and the key is draining out the extra moisture so the batter isn’t too loose.
Step 4: Combine
Pour the wet mixture into the dry ingredients and fold gently until just combined—overmixing at this stage can make your cake dense. It’s okay if there are a few lumps; they’ll bake out beautifully. Patience here leads to a soft, tender crumb.
Step 5: Prepare Filling
In a small microwave-safe bowl, melt your chocolate chips with the heavy cream, stirring until silky smooth. Add a splash of vanilla if you like. Let it cool slightly—it should be spreadable but not runny. This is your chocolate surprise, so don’t rush it, or you’ll end up with a mess rather than a swirl.
Step 6: Layer & Swirl
Pour half of the batter into your prepared pan. Dollop spoonfuls of the cooled chocolate mixture on top, then spread the remaining batter over it. Using a toothpick or a skewer, swirl gently back and forth to create pretty marbled patterns. The swirl should look natural—don’t overdo it, or you’ll lose the beautiful contrast.
Step 7: Bake
Pop it into the oven and bake for about 40–50 minutes. The top should be golden, with a slight crackle, and a toothpick inserted into the center should come out clean or with just a few moist crumbs. Every oven is different, so start checking around 40 minutes. If your cake starts to darken too much, tent it with foil for the last 10 minutes.
Step 8: Cool & Glaze
Let the cake cool in the pan for about 15 minutes, then transfer to a wire rack. Once cooled completely, mix your glaze ingredients until smooth and drizzle over the top. The warmth of the cake will help the glaze set just enough for drizzle perfection. If it’s too thick, add a tiny splash of milk; if too thin, dust in a little more powdered sugar.
Step 9: Slice & Serve
This cake is best sliced once fully cooled—trust me, the marbled swirls look stunning with a clean cut. Use a serrated knife to get even slices and serve with a steaming cup of coffee or tea. I love it slightly warmed, maybe with a dollop of whipped cream or a dusting of cocoa powder for extra flair. It keeps beautifully in the fridge, and those leftovers are perfect for breakfast or a quick snack.
What to Serve It With
This zucchini chocolate swirl cake is pretty versatile. For breakfast or brunch, pair it with a robust coffee or a glass of cold milk—I love a big mug of French roast with a slice next to it. When I serve it for a laid-back brunch, I add a side of fresh berries and a dollop of whipped cream; it’s like a mini indulgence without feeling too heavy.
As a dessert, it’s delightful warmed slightly with a scoop of vanilla ice cream or a drizzle of caramel. I also enjoy enjoying a slice with a hot cup of herbal tea when I need a quiet moment during a busy weekend. Kids adore it because of the chocolate; I love it because I can sneak in zucchini—it’s a win-win in our house. Plus, this cake travels well, making it a perfect bring-along for potlucks or weekend gatherings. I always say it’s like a hug from the oven—warm, comforting, and just a little bit whimsical.
Top Tips for Perfecting Your Zucchini Chocolate Swirl Cake
Over the years, I’ve picked up a few tricks to make this cake truly shine. First, always squeeze out excess moisture from your zucchini—I’ve learned this the hard way, and a soggy batter is no fun. A quick press in a clean towel does wonders; you want it moist but not drenched. For the swirl, I suggest using a toothpick or skewer to create a zig-zag pattern—easy to do but makes a big visual impact. Trust me, the swirl pattern really elevates the presentation.
If you want to switch things up, try swapping dark chocolate with white chocolate chips or adding a pinch of cinnamon to the batter—this gives it a cozy, spice-laden twist. I’ve also experimented with coconut oil, which adds a subtle tropical aroma and a slightly richer texture. Because this is such a forgiving recipe, feel free to experiment once you get the hang of the base—we’re talking about a cake that’s almost impossible to mess up. My biggest lesson? Don’t overmix once you combine everything, or you risk ending up with a dense, gummy crumb. Mix just until everything’s incorporated, and your cake will be cloud-soft every time.
In terms of baking, I often rotate my pan halfway through to promote even cooking, especially if your oven has hot spots. Keep an eye on it around the 40-minute mark—you don’t want to overbake and lose that luscious moistness. And speaking of moisture, a quick brush of simple syrup or a drizzle of honey before glazing really seals in the flavor and keeps it extra tender. Honestly, the more I make this, the more I realize how many little tweaks can turn a good cake into your personal masterpiece.
Storing and Reheating Tips
This cake stays good for a couple of days at room temperature, covered loosely with foil or a clean towel. If you want to keep it overnight, I prefer wrapping it tightly in plastic wrap and tucking it into the fridge—that way, it keeps its moisture quality. Just remember, if it’s chilled, give it a few minutes at room temp before slicing for best texture and flavor.
For longer storage, freezer it! Wrap individual slices or the whole cake tightly in plastic wrap, then foil, and toss it in the freezer. It can last up to 3 months this way. When you’re ready to enjoy, let it thaw in the fridge overnight, then warm it up in the microwave for about 20 seconds. The flavor and moistness will be just as good, I promise. If you’re adding glaze or frosting afterward, do that after reheating to keep everything looking shiny and fresh.
One tip I swear by—if you’re waiting to serve it, add the glaze just before slicing to keep that glossy finish sharp and appealing. If it’s been refrigerated, a brief warm-up in the oven or microwave helps revive that cozy, just-baked feel. Honestly, this cake is so adaptable—perfect for making ahead or pulling out last-minute. It’s my secret weapon for spontaneous gatherings or when I need a quick mood booster with zero fuss.
Frequently Asked Questions
Final Thoughts
This zucchini chocolate swirl cake is one of those recipes that feels almost like a secret handshake among home bakers. Moist, flavorful, and with just the right amount of chocolatey richness, it’s a testament to how humble ingredients can come together in the most comforting way. Over the years, I’ve made countless batches—sometimes adding walnuts, sometimes swapping dark for white chocolate, always delighted by how forgiving and delicious it is. It’s perfect for cozy Sunday mornings, casual get-togethers, or even just a quiet evening treat when you need a little pick-me-up. The best part? It’s not complicated, and the results look like you spent hours baking—trust me, that swirl pattern queries admiration every time. I encourage you to try it, tweak it, and make it your own. Your family will thank you, and I promise, this will become a go-to in your baking arsenal. Happy baking! And don’t forget to tell me how yours turns out or share your favorite twist—I love hearing new ideas!
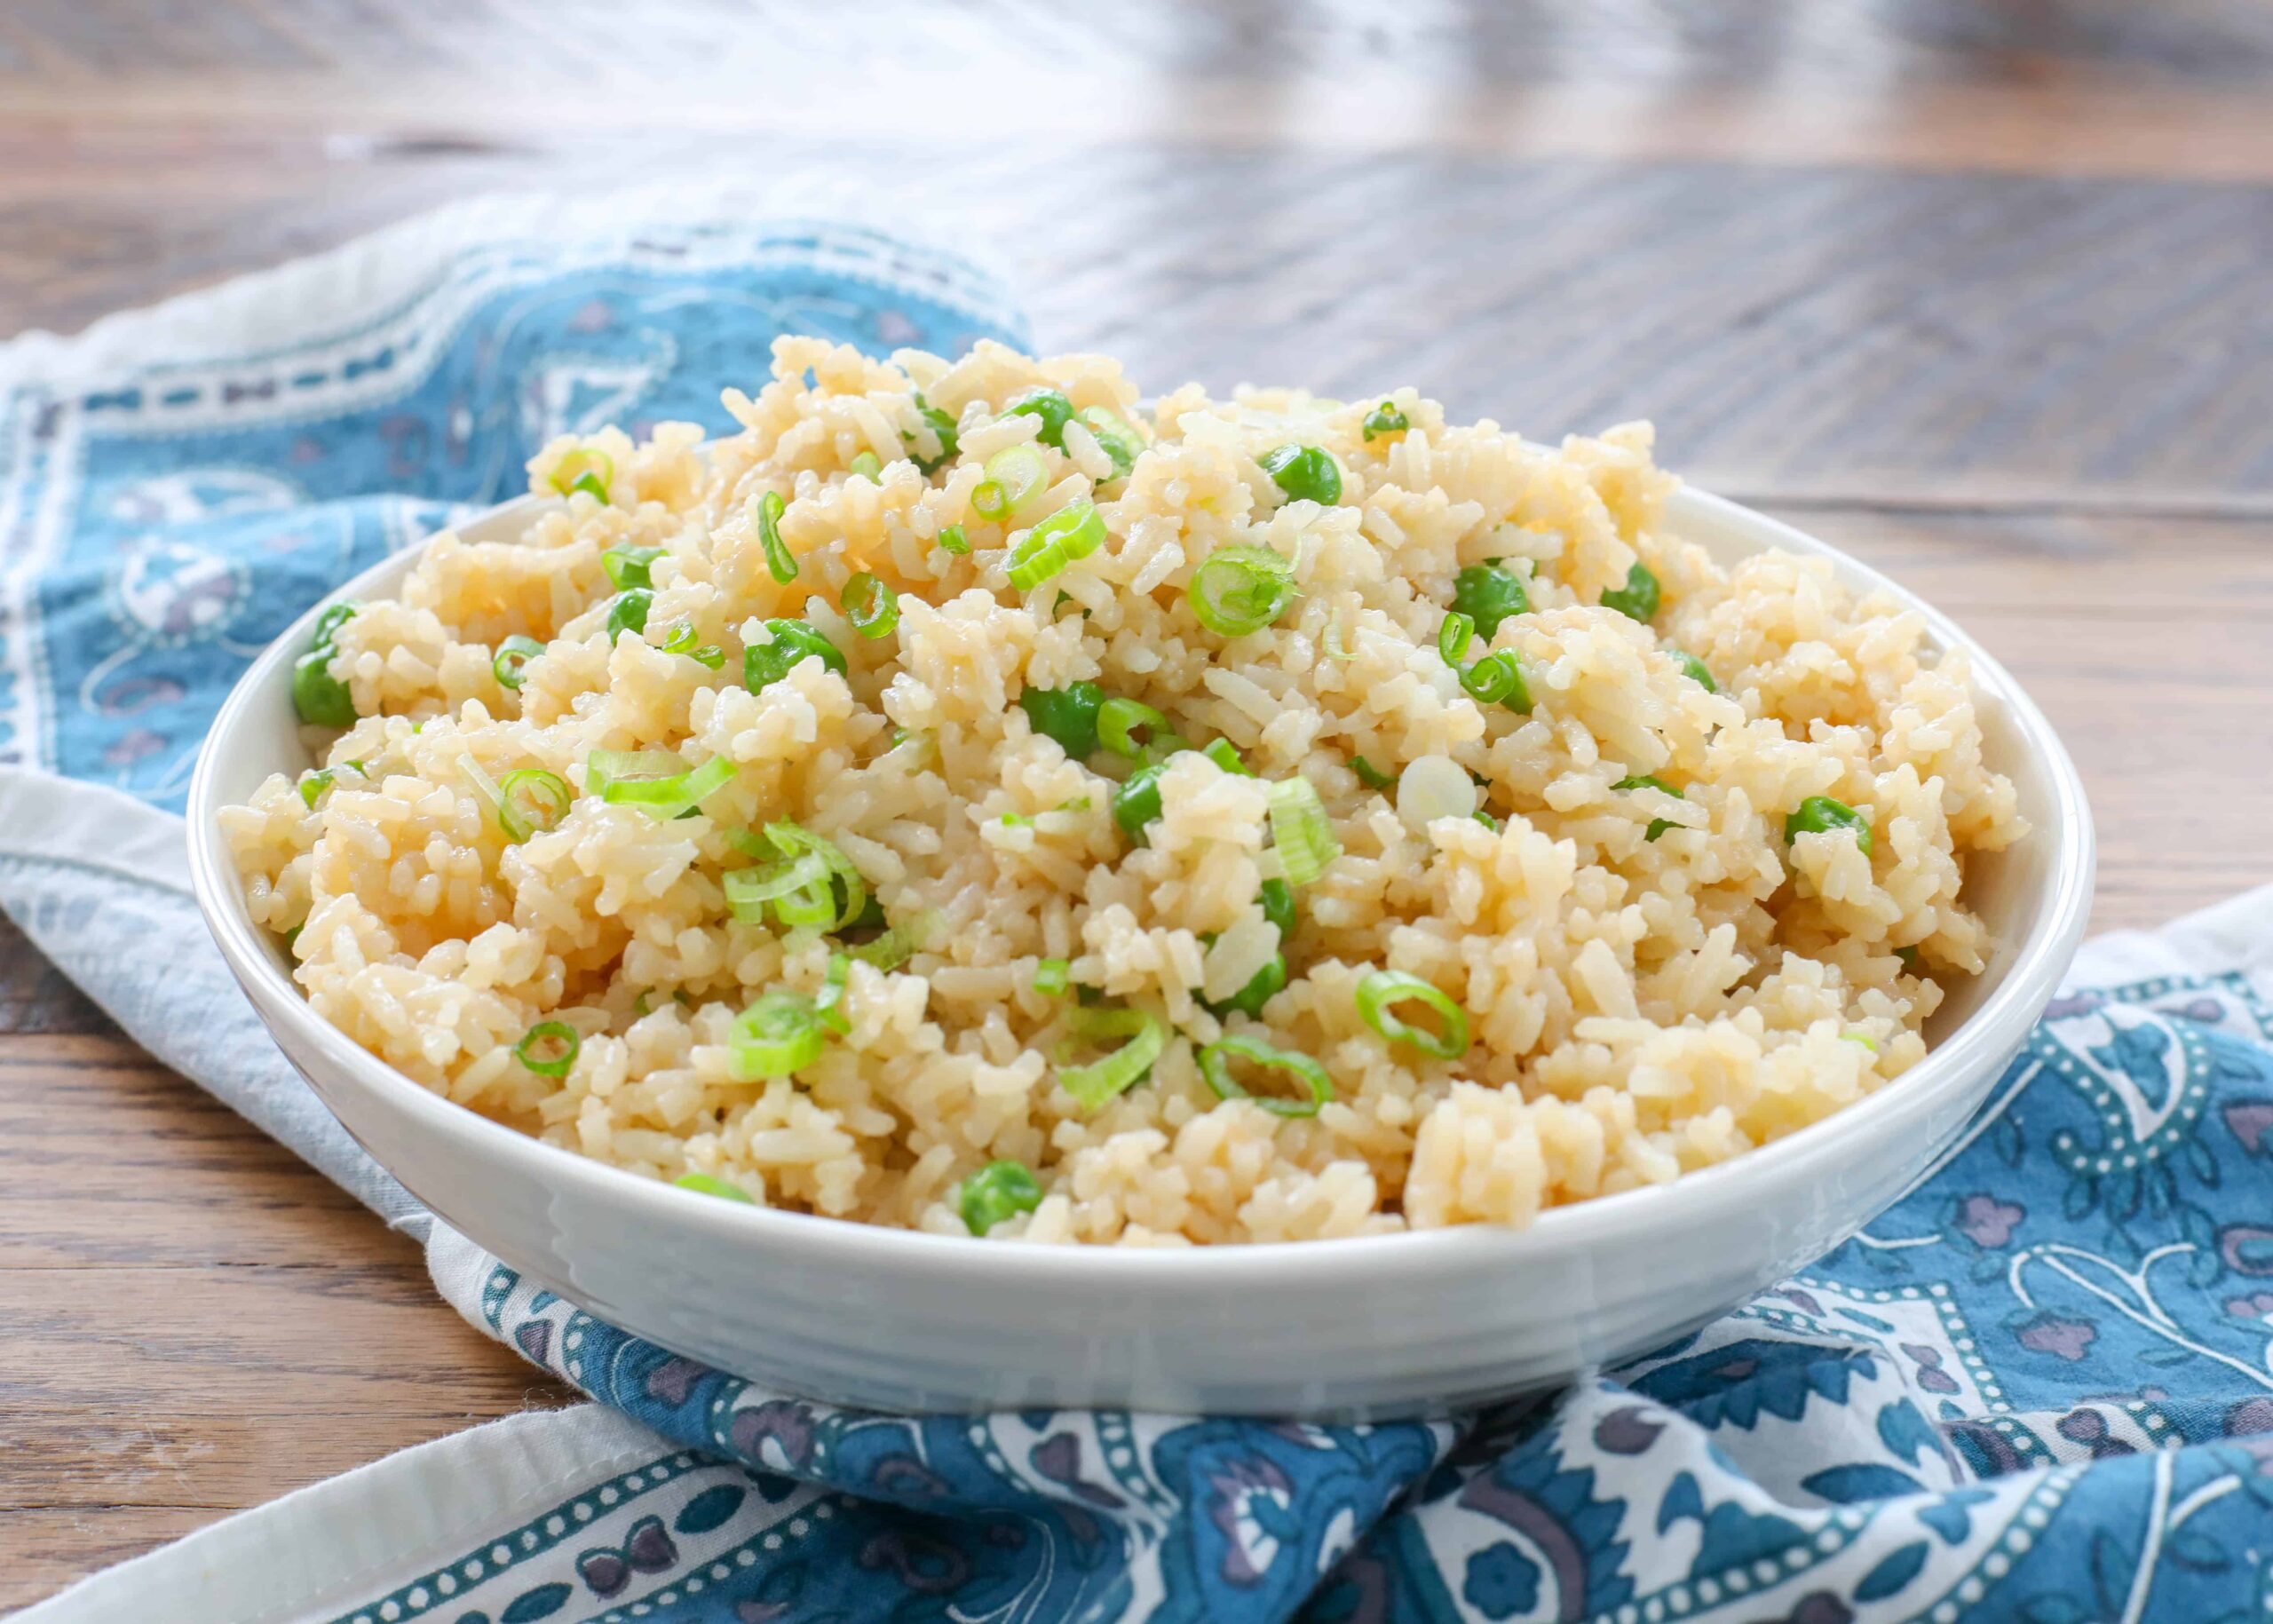
Asian rice
Ingredients
Method
- Combine the rice and the chicken stock in a large saucepan or skillet, cover with a lid and bring to a boil. Reduce the heat to low and simmer for 18 minutes.
- At the end of the cooking time, stir the rice and check for tenderness. If the liquid has been absorbed, drizzle with soy sauce and sesame oil, then toss to coat.
- Add frozen peas if desired and stir. The heat will cook them in a minute or two. Taste and add salt if needed. Add green onions, stir, and keep covered until ready to serve. Enjoy!