Autumn Spice Dip How to Make It Easy
There’s something about the smell of baked zucchini mingling with vanilla and a whisper of citrus that instantly transports me back to lazy summer afternoons at my grandma’s house. This recipe is one I’ve been perfecting for years—my kids ask for it all the time, and honestly, it’s the kind of cake that disappears in minutes at my house. It’s not overly sweet, super moist, and packed with that sneaky veggie goodness that makes everyone feel a little better about indulging. I’ve tested it countless times, trying to make it just the right balance of tender crumb and bright, tangy glaze. Trust me on this one: it’s a lifesaver on busy nights when you want something homemade but don’t have hours to fuss. If you’ve ever made a carrot cake or zucchini bread, you’ll know how the soft feel of grated zucchini keeps everything insanely moist and invites a little bit of nostalgia every time you bake it. This one’s a keeper—your family will thank you! Progressively, it’s turned into a family tradition, especially with that zesty lemon glaze that makes each bite a little brighter. Now, come on in—let’s bake!
What is a Zucchini Snacking Cake?
Think of this as a cross between your favorite quick bread and a tender, old-fashioned cake. It’s essentially a sweet, lightly spiced cake that’s loaded with freshly grated zucchini, which keeps it from being heavy or dense. The name “snacking cake” comes from how perfect it is for anytime—breakfast, a mid-morning pick-me-up, or even dessert after dinner. It’s kind of like that childhood zucchini bread—but with a modern twist and a gorgeous lemon glaze shining on top. What makes it stand out, though, is the way it’s so simple to put together, and it uses ingredients I always have on hand—no fancy stuff required. Plus, zucchini is so mild that many people won’t even notice it’s there—yet the moistness and subtle flavor are just divine. This cake is a testament to how veggies can be secretly sneaked into baked goods for a little extra health boost without sacrificing flavor. Usually, I make a big batch because it tastes even better the next day, and the glaze seeps into every crumb, making it irresistibly delicious.
Why you’ll love this recipe?
What I love most about this zucchini snacking cake is how insanely versatile it is. It’s perfect when you want something sweet but don’t want to fuss over complicated desserts. Plus, it’s super cost-effective—you probably already have everything you need in your pantry. The tender crumb, combined with that bright lemon glaze, is a flavor combo I can’t get enough of. The cake might look modest, but the flavor profile is full and complex—imagine a hint of vanilla, the gentle sweetness of honey or sugar, and a citrusy zing that livens up each bite. It’s also great for making ahead; I often bake it on a Sunday afternoon, let it sit overnight, and serve slices with coffee the next morning. My kids actually ask for seconds, and I’ve even brought leftovers to picnics, where it always gets compliments. One reason I keep coming back to this recipe is how forgiving it is—overmixing won’t ruin the texture, and you can swap out ingredients like whole wheat flour or coconut sugar to adapt it to your diet. Honestly, this cake has become a staple in my little baking arsenal because it’s such a crowd-pleaser and feels like a warm hug in dessert form.
How do I make Zucchini Snacking Cake?
Quick Overview
Making this cake is a breeze—I promise! The key is to start with freshly grated zucchini, squeeze out any excess moisture, then whisk together your wet ingredients. In a separate bowl, stir your dry ingredients—flour, baking powder, cinnamon—and then gently combine everything. Pour the batter into a prepared pan, swirl in your favorite filling if you like, then bake until the top turns golden and a toothpick comes out clean. Once cooled, drizzle with a zingy lemon glaze, and voilà—you’ve got a beautiful, moist cake that’s perfect for sharing. This method keeps your process straightforward, so you can enjoy the fragrant, warm scent of baking without any stress. My favorite part? The glaze—bright, zesty, and just the right amount of sweet—makes every slice feel special.
Ingredients
For the Main Batter:
– 2 cups grated zucchini (about 2 medium zucchinis)
– 1 1/2 cups all-purpose flour (or a mix of whole wheat for extra fiber)
– 1 teaspoon baking powder
– 1/2 teaspoon baking soda
– 1 teaspoon ground cinnamon
– 1/2 teaspoon salt
– 1/2 cup granulated sugar or honey (your call, sweetness preference)
– 1/3 cup vegetable oil or melted coconut oil
– 2 large eggs
– 1 teaspoon vanilla extract
For the Filling (optional):
– 1/2 cup cream cheese or Greek yogurt
– Zest of 1 lemon
– 2 tablespoons honey or maple syrup
– A handful of chopped nuts or berries for extra texture
For the Glaze:
– 1 cup powdered sugar
– Juice of 1 large lemon
– 1 teaspoon lemon zest
– 1-2 tablespoons milk or water (to loosen the glaze as needed)
Step-by-Step Instructions
Step 1: Preheat & Prep Pan
Set your oven to 350°F (175°C). Grease a 9-inch round cake pan or line it with parchment paper. If you want a more humble loaf, a 9×5-inch loaf pan works just as well. I always coat my pan with a little butter or non-stick spray—trust me, it makes unmolding so much easier—and dust it with flour or line with parchment for a smooth finish.
Step 2: Mix Dry Ingredients
In a medium bowl, whisk together the flour, baking powder, baking soda, cinnamon, and salt. This step ensures everything is evenly distributed, so your cake rises uniformly and gets that lovely spice kick. Set aside for now.
Step 3: Mix Wet Ingredients
In a large bowl, whisk the eggs, sugar (or honey), and vanilla until combined. Add the oil and stir well. Then, fold in the grated zucchini—this is a fun step because the zucchini can be a little wet, so I always squeeze out as much moisture as I can with my hands or a clean towel. The less excess moisture, the better the crumb!
Step 4: Combine
Gently add the dry ingredients to the wet, folding carefully so you don’t overmix. Overmixing can make the cake dense, so just fold until the flour is barely incorporated. You want a slightly lumpy batter—trust me!
Step 5: Prepare Filling
If you’re using the optional filling, mix softened cream cheese or yogurt with lemon zest and honey, then set aside. This creates a lovely swirl that adds richness and a little surprise in each bite.
Step 6: Layer & Swirl
Pour half of the batter into your prepared pan. Drop spoonfuls of the filling on top in a decorative pattern. Then add the remaining batter, and using a skewer or butter knife, swirl gently to create a marbled effect. It’s less about perfect patterns and more about a lovely visual surprise!
Step 7: Bake
Pop your cake into the oven and bake for about 45-50 minutes. Keep an eye on it—golden edges, a slightly puffed top, and a toothpick inserted in the center coming out clean are signs of doneness. If the top browns too quickly, loosely cover with foil for the last 10 minutes.
Step 8: Cool & Glaze
Let the cake cool in the pan for about 15 minutes, then transfer to a wire rack. While it cools a bit, whisk together your glaze. Once the cake is just warm (not hot), drizzle generously, allowing the citrusy sweetness to seep into every crumb.
Step 9: Slice & Serve
Slice once fully cooled. I love serving this with a hot cup of tea or a tall glass of iced coffee. The flavors are even better the next day when the glaze has soaked in—if it lasts that long! For presentation, sprinkle a little extra lemon zest or chopped nuts on top. It looks just as pretty as it tastes.
What to Serve It With
This cake is so adaptable—here are some ideas to match any occasion:
For Breakfast: Pair with your favorite coffee or latte, and serve a slice alongside fresh berries or a dollop of Greek yogurt. It’s just the right way to start the day with a hint of sweetness and veggies hiding in plain sight.
For Brunch: Place slices on a pretty platter with a sprig of mint or fresh lemon slices. Serve alongside a fruit salad, maybe some crispy bacon, or a steaming cup of herbal tea. It’s elegant enough for guests but cozy enough to be at home.
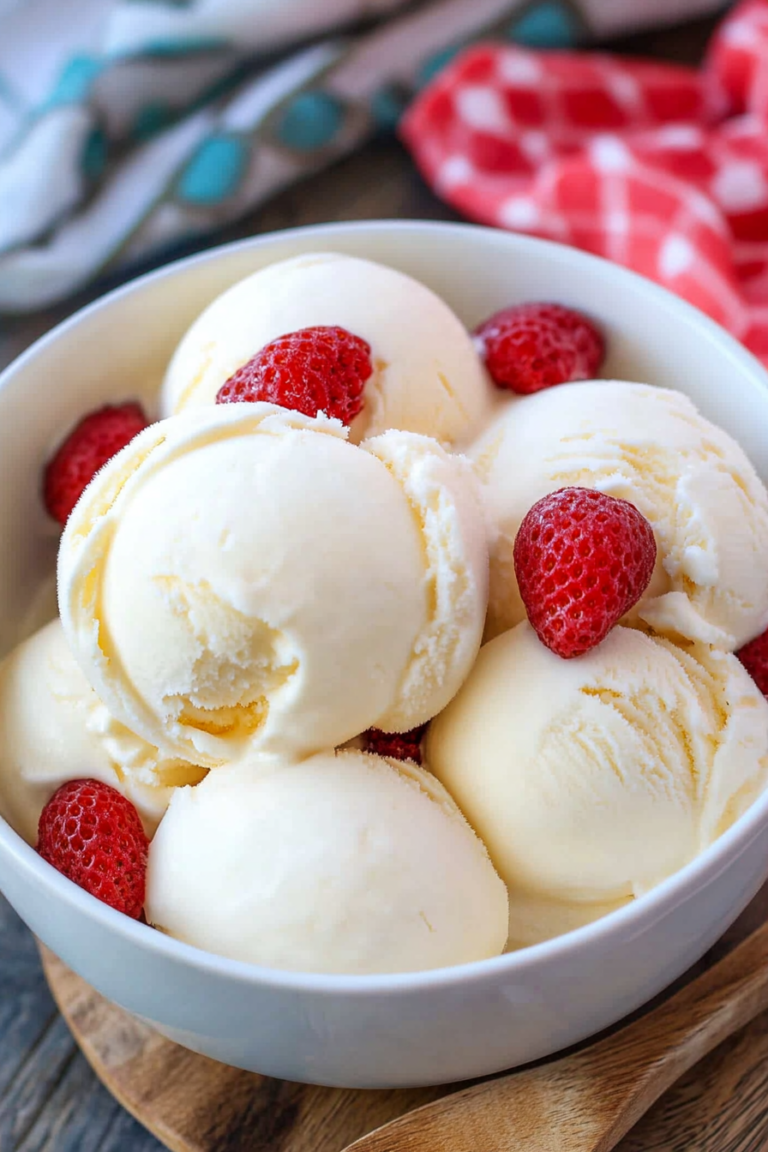
As Dessert: This cake shines with a scoop of vanilla ice cream or a dollop of whipped cream on the side. Drizzle a little extra lemon glaze for an added citrus punch, or even sprinkle some toasted coconut or chopped pistachios for crunch. It’s light enough after a hearty meal but still feels indulgent.
For Cozy Snacks: Warm a slice in the microwave and enjoy with a mug of hot cocoa or tea. It’s perfect for lazy weekend mornings or afternoon tea time. I often stash slices in the freezer for late-night cravings—just microwave for 20 seconds, and it’s like fresh baked.
Top Tips for Perfecting Your Moist Zucchini Snacking Cake
Over the years, I’ve picked up a few tips that help make this cake foolproof. First, always squeeze out excess moisture from the zucchini. Moisture can cause the batter to be too wet, and then the cake might not set properly. I do this by cupping the grated zucchini in my hands and pressing out the liquid—I’ve learned this trick after many soggy mishaps! Second, don’t overmix once you combine wet and dry ingredients. A lumpy batter keeps the cake tender and moist.
When it comes to swirling in the filling, use a gentle motion to create a pretty marbled effect—you want to see streaks of the filling, not fully blended. As for ingredients swaps, I’ve tested replacing half the flour with almond flour (works great, just a touch denser) or using maple syrup instead of sugar for a richer flavor. Just remember, substitutions can alter baking time slightly, so keep an eye on your cake.
Oven positioning matters—bake in the middle rack for even heat, and give your oven a few extra minutes if your cake looks close but isn’t quite done. For the glaze, I prefer thinning it out with a splash of milk so it drizzles easily without pooling too much. The additional lemon zest in the glaze balances the sweetness beautifully, so don’t skip it. From my experience, patience in letting it cool fully before glazing helps prevent the glaze from melting off the warm cake.
Honestly, I’ve learned that the best results come from seasoning your batter and watching the oven like a hawk. This cake is forgiving, but little tweaks—like the moisture from your zucchinis or oven calibration—can affect your final result. Trust your nose; if it smells heavenly and your toothpick comes out clean, you know you’ve nailed it. Happy baking!
Storing and Reheating Tips
This cake holds up surprisingly well! Keep leftovers at room temperature, tightly covered with plastic wrap or stored in an airtight container, for up to 2 days. I prefer to refrigerate leftovers if I want to enjoy it over the next few days—just make sure it’s wrapped well to prevent it from drying out. Once refrigerated, you can reheat slices in the microwave for about 20 seconds or until warm. If you’re freezing a whole cake, wrap it tightly in plastic wrap, then foil, and it’ll keep for up to 3 months. Thaw in the refrigerator overnight or at room temperature for a few hours before serving. If you add the glaze after reheating, it stays fresh and vibrant, but if you want to freeze a glazed cake, do so within a day or two; the glaze might become a little sticky after thawing. The key is to enjoy it fresh when possible, but I promise, leftovers are still delicious toasted or cold with coffee.
Frequently Asked Questions
Final Thoughts
If you’re anything like me, baking is a way to share a little bit of your heart—and this zucchini snacking cake is no exception. It’s humble, straightforward, but full of flavor and love. The moist crumb paired with that zingy lemon glaze just makes the whole experience feel special without needing fancy ingredients or long hours in the kitchen. I’ve baked this so many times, and every single time, it reminds me of summer afternoons spent with family. It’s perfect for lazy Sundays, impromptu get-togethers, or even as a quick gift for a neighbor. My hope is that this becomes part of your baking tradition too—because honestly, there’s nothing quite like the smell of fresh baked cake wafting through the house. Give it a try, and I’d love to hear how yours turns out! Feel free to leave a comment or share your spin on this recipe—I love seeing all the creative twists. Happy baking and enjoying every slice!
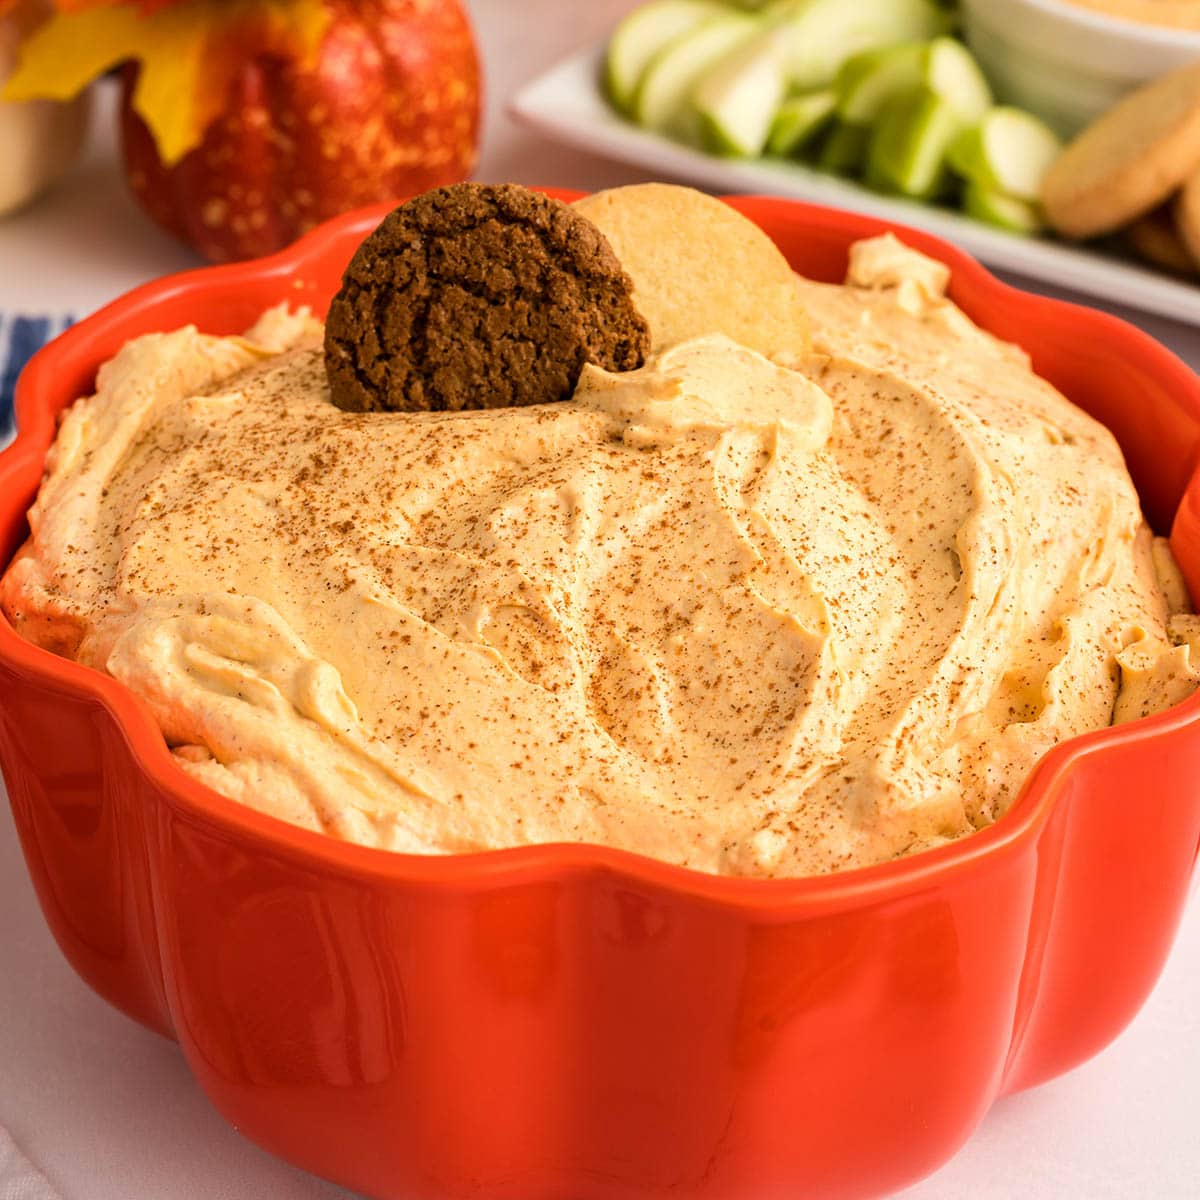
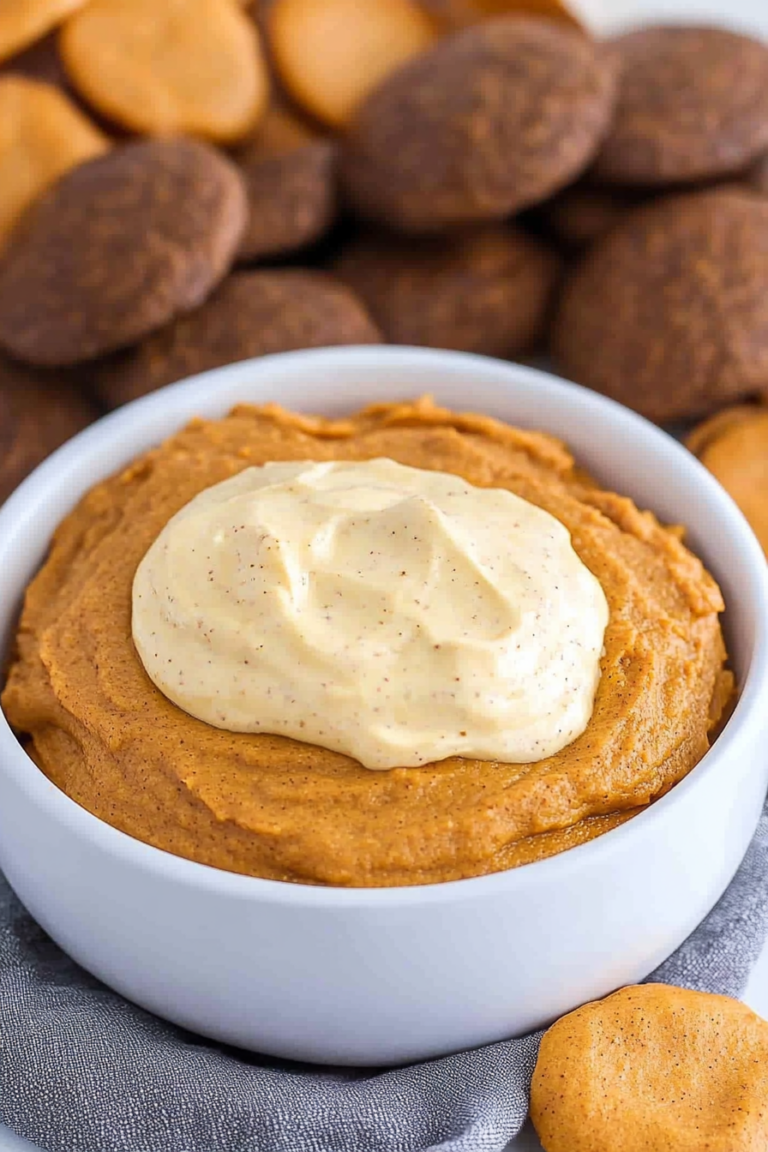
pumpkin pie dip
Ingredients
Method
- In a medium-sized mixing bowl, whip together the cream cheese and powdered sugar until smooth and creamy.
- Add the pumpkin puree and pumpkin spice, whip until fully incorporated.
- Using a rubber spatula, fold in the whipped topping.
- Cover and chill in the refrigerator for at least 30 minutes.
- Serve with your favorite dippers, enjoy.