Easy Zucchini Oatmeal Treats
There’s something so nostalgic about baking with zucchini. I remember my grandma always sneaking zucchini into her baked goods, whispering, “You won’t taste it, I swear,” as she grated it so finely. And honestly, she was right—the zucchini adds this incredible moisture and a subtle tenderness that transforms a simple cake into a real showstopper. I’ve made this zucchini cinnamon swirl cake countless times, and it never fails to bring smiles around my dinner table. It’s the kind of cozy, homey dessert that feels like a warm hug—perfect for lazy Sunday afternoons or whenever I need a little sweet comfort. Plus, it’s surprisingly easy to put together, even on those busy nights when I just want something sweet without the fuss. My kids ask for this all the time, and I love knowing I’m sneaking in some extra veggies too. Trust me on this one—once you try it, it’ll become a staple in your baking repertoire too! And if you’ve got leftover zucchini, this is a great way to use it up, too. Let’s get baking!
What is a Zucchini cinnamon swirl cake?
Think of zucchini cinnamon swirl cake as a delightful mash-up between a spiced coffee cake and a moist zucchini bread. It’s essentially a tender, flavorful cake where grated zucchini adds moisture and a subtle earthiness, balanced beautifully by a swirl of cinnamon sugar across the middle. The name might sound fancy, but it’s honestly just a cozy, homemade dessert that’s perfect for any time you crave something sweet and comforting. It’s kind of like those bakery-style treats, but made with simple ingredients you probably already have in your pantry. And, if you’re into baking with vegetables, this one’s a lifesaver—because it’s sneaky, healthy-ish, and super versatile. The cinnamon swirl on top looks pretty fancy, but it’s just a quick sprinkle before baking. This cake is a great way to get your family to eat more veggies without even realizing it, and it’s so good you might not want to share!
Why you’ll love this recipe?
What I love most about this zucchini cinnamon swirl cake is how it hits all the right notes—soft, moist, with just enough spice to make it cozy and inviting. The smell alone when it’s baking will have everyone coming to the kitchen before it’s even out of the oven. The beauty of this recipe is how insanely simple it is; I’ve tested it with different kinds of zucchinis and even almond milk (which made it even creamier!) and it always turns out tender. Plus, it’s budget-friendly—those zucchinis are basically free this time of year, especially from your garden or local farmers’ markets. I love that it’s versatile, too—you can tweak the cinnamon swirl into other flavors like nutmeg or even a hint of orange zest if you’re feeling fancy. This dessert is perfect whether you’re craving a quick snack, a cozy tea-time treat, or a dessert to serve after dinner. My kids ask for this all the time, and I’ve even made it into muffins for on-the-go mornings. Honestly, once you make this, you’ll wonder why you ever bought bakery treats—because nothing beats a homemade, warm slice of this cake. Trust me, it’s a future favorite for your family too!
How do I make Zucchini Swirl Cake?
Quick Overview
This cake comes together with a simple batter, grated zucchini folded in for moisture, and a quick cinnamon sugar mixture swirled through the center before baking. It’s less than an hour from start to finish and uses ingredients you probably already have, making it perfect for lazy weekends or last-minute snack attacks. My favorite trick is to squeeze out excess moisture from the zucchini so the cake isn’t too wet, and I always do this when I want it to turn out perfectly tender. The swirl on top adds a lovely visual touch and bursts with warm cinnamon flavor. Honestly, once you see the batter come together, it’s all just about layering and baking. No complicated fuss—just good old-fashioned home baking!
Ingredients
For the Main Batter:
– 2 cups grated zucchini (about 2 small zucchinis)
– 1 cup all-purpose flour (or gluten-free blend)
– 1/2 cup granulated sugar
– 1/2 cup packed light brown sugar
– 1 teaspoon baking powder
– 1/2 teaspoon baking soda
– 1/2 teaspoon salt
– 1 teaspoon ground cinnamon
– 1/2 teaspoon vanilla extract
– 1/2 cup vegetable or canola oil
– 2 large eggs
– 1/4 cup milk (dairy or almond, I tested both!)
For the Filling:
– 1/4 cup granulated sugar
– 1 teaspoon ground cinnamon
For the Glaze (optional but lovely):
– 1/2 cup powdered sugar
– 1-2 teaspoons milk
– A dash of vanilla extract
Step-by-Step Instructions
Step 1: Preheat & Prep Pan
Set your oven to 350°F (175°C). Grease a 9-inch round cake pan or line it with parchment paper. I like to give it a quick spray with nonstick spray and dust it lightly with flour, just to make sure the cake comes out clean and pretty.
Step 2: Mix Dry Ingredients
In a large bowl, whisk together the flour, baking powder, baking soda, salt, and cinnamon. This step ensures everything is evenly distributed and helps avoid clumps. I’ve made the mistake of skipping this and ending up with pockets of baking soda—trust me, it’s no fun!
Step 3: Mix Wet Ingredients
In a separate bowl, whisk the eggs, granulated sugar, brown sugar, vanilla, and oil until smooth. Add the milk last, and mix until you get a nice, combined liquid. The apples of my eye here is to make sure your eggs are at room temp so everything incorporates beautifully without separating.
Step 4: Combine
Gradually add the wet mixture to the dry ingredients, folding gently until just combined. Don’t overmix—this is the secret to a fluffy, tender cake. The batter will be thick but moist; that’s perfect. If you find it too dense, a splash more milk can loosen it up a bit.
Step 5: Prepare Filling
Mix together the sugar and cinnamon in a small bowl. This will be your swirl—think of it as the visual and flavor punch in the cake. Feel free to add a pinch of nutmeg or ground ginger for a little extra warmth if you like.
Step 6: Layer & Swirl
Pour half of the batter into your prepared pan. Sprinkle half of the cinnamon sugar mixture evenly over it. Pour the remaining batter on top, then sprinkle the rest of the cinnamon sugar. Use a butter knife or skewer to swirl gently through the batter—don’t overdo it, just a few zig-zag motions for marbled goodness.
Step 7: Bake
Pop it into your preheated oven and bake for 40-45 minutes. You’ll know it’s ready when a toothpick inserted in the center comes out clean. I always start checking around 38 minutes to prevent overbaking—nothing worse than a dry cake!
Step 8: Cool & Glaze
Let the cake cool in the pan for about 15 minutes, then transfer it to a wire rack. Once completely cool (or just slightly warm for that irresistible first slice), drizzle with your prepared glaze if you’re feeling fancy. The glaze adds a touch of sweetness and makes it look bakery-perfect.
Step 9: Slice & Serve
This cake slices beautifully when fully cooled. Use a serrated knife for clean cuts and serve with a cup of tea or coffee. Honestly, I love it warm with a dollop of whipped cream or a scoop of vanilla ice cream on the side. My kids adore it, and I always do a happy dance when their eyes roll back in delight with the first bite. It’s that kind of “bring on the cozy” dessert that just feels like home.
What to Serve It With
For breakfast, simply warm slices with a drizzle of honey and a cup of your favorite coffee—trust me, this feels like a treat but is healthy enough to start your day. If you’re hosting brunch, pile slices onto a pretty plate, add some fresh berries, and serve with mimosa or hot tea. As a dessert after dinner, it pairs beautifully with a scoop of vanilla ice cream or a dollop of whipped cream, maybe topped with a sprinkle of chopped nuts for crunch. When I want a quick snack, I toss a slice into my warm toaster oven, and it becomes that perfect, comforting moment you didn’t know you needed. My family loves it on weekend mornings with scrambled eggs on the side or tucked in a picnic basket for a sweet, portable treat. The versatility of this cake is what keeps me coming back—it’s adaptable, forgiving, and so satisfying. Plus, the smell alone will have everyone in the house following their noses straight to the kitchen.
Top Tips for Perfecting Your Zucchini Cinnamon Swirl Cake
Over the years, I’ve picked up a few tricks that make this cake turn out perfect every time. First, always squeeze out excess moisture from your grated zucchini—this stops the cake from turning into a soggy mess. I use a clean dish towel or cheesecloth to do this—it’s a simple step but totally worth it. When mixing, I’ve learned to fold gently—from the outside in—to keep the batter airy and light. If you want a more intense cinnamon flavor, double the cinnamon in the filling or sprinkle extra on top before baking. For visual flair, I love swirling the batter with a toothpick or skewer—try different patterns for fun effects! Ingredient swaps are also fun—swap in brown sugar for coconut sugar or add chopped nuts or chocolate chips for variation. Baking tip: oven temperatures can vary, so start checking your cake around 38 minutes. If your oven runs hot, reduce the temperature slightly or shield the top with foil if it’s browning too fast. For the glaze, I’ve tested adding a splash of maple syrup or lemon juice—it’s delicious! Remember, the most important thing is to have fun and adjust as you go. I’ve tested this recipe with so many different tweaks over the years, and it just keeps getting better. The key is your love and patience—trust me, your family will taste it!
Storing and Reheating Tips
This cake stays fresh for about two days at room temperature—just cover it loosely with foil or a cake dome to keep it moist. I prefer refrigerating leftovers if you’re not planning to eat it within a day or two; just keep it in an airtight container and enjoy within 4-5 days. For longer storage, wrap individual slices tightly in plastic wrap, then pop them in a freezer-safe bag. This way, you can enjoy slices later—defrost at room temp or warm in the microwave for a cozy treat. A quick tip: if you’ve added glaze, wait until the cake is fully cooled before drizzling, so it doesn’t melt away into the cake. Reheating a slice in the microwave for about 20 seconds brings back that just-baked softness. To keep the glaze fresh, I like to add it just before serving, especially if stored in the fridge. The flavors might deepen a little, making it even more delicious on the second day. Freshly baked or reheated, this cake always tastes like a warm hug, and I promise, it won’t dry out if stored properly. It’s the kind of recipe that makes you look like a hero even on your busiest days.
Frequently Asked Questions
Final Thoughts
This zucchini cinnamon swirl cake is one of those recipes that feels like a warm hug in every bite. It’s simple enough to whip up on a weekday, but special enough to serve at weekend gatherings. The moistness from the zucchini, combined with that cinnamon swirl, creates a flavor that’s comforting, kid-approved, and a little bit sneaky—your secret weapon for sneaking in some veggies! Over the years, I’ve made this so many times that I’ve lost count, and it’s always a hit. Whether you’re looking for a cozy afternoon snack or a dessert that will wow your friends, this cake never disappoints. I love experimenting with different toppings and flavor tweaks—be bold, have fun, and trust your taste buds. I’d love to hear how yours turns out—drop a comment, share a photo, or tell me your own twist. Happy baking, friends! This one’s a keeper for sure. Cheers to good food and cozy moments in the kitchen!
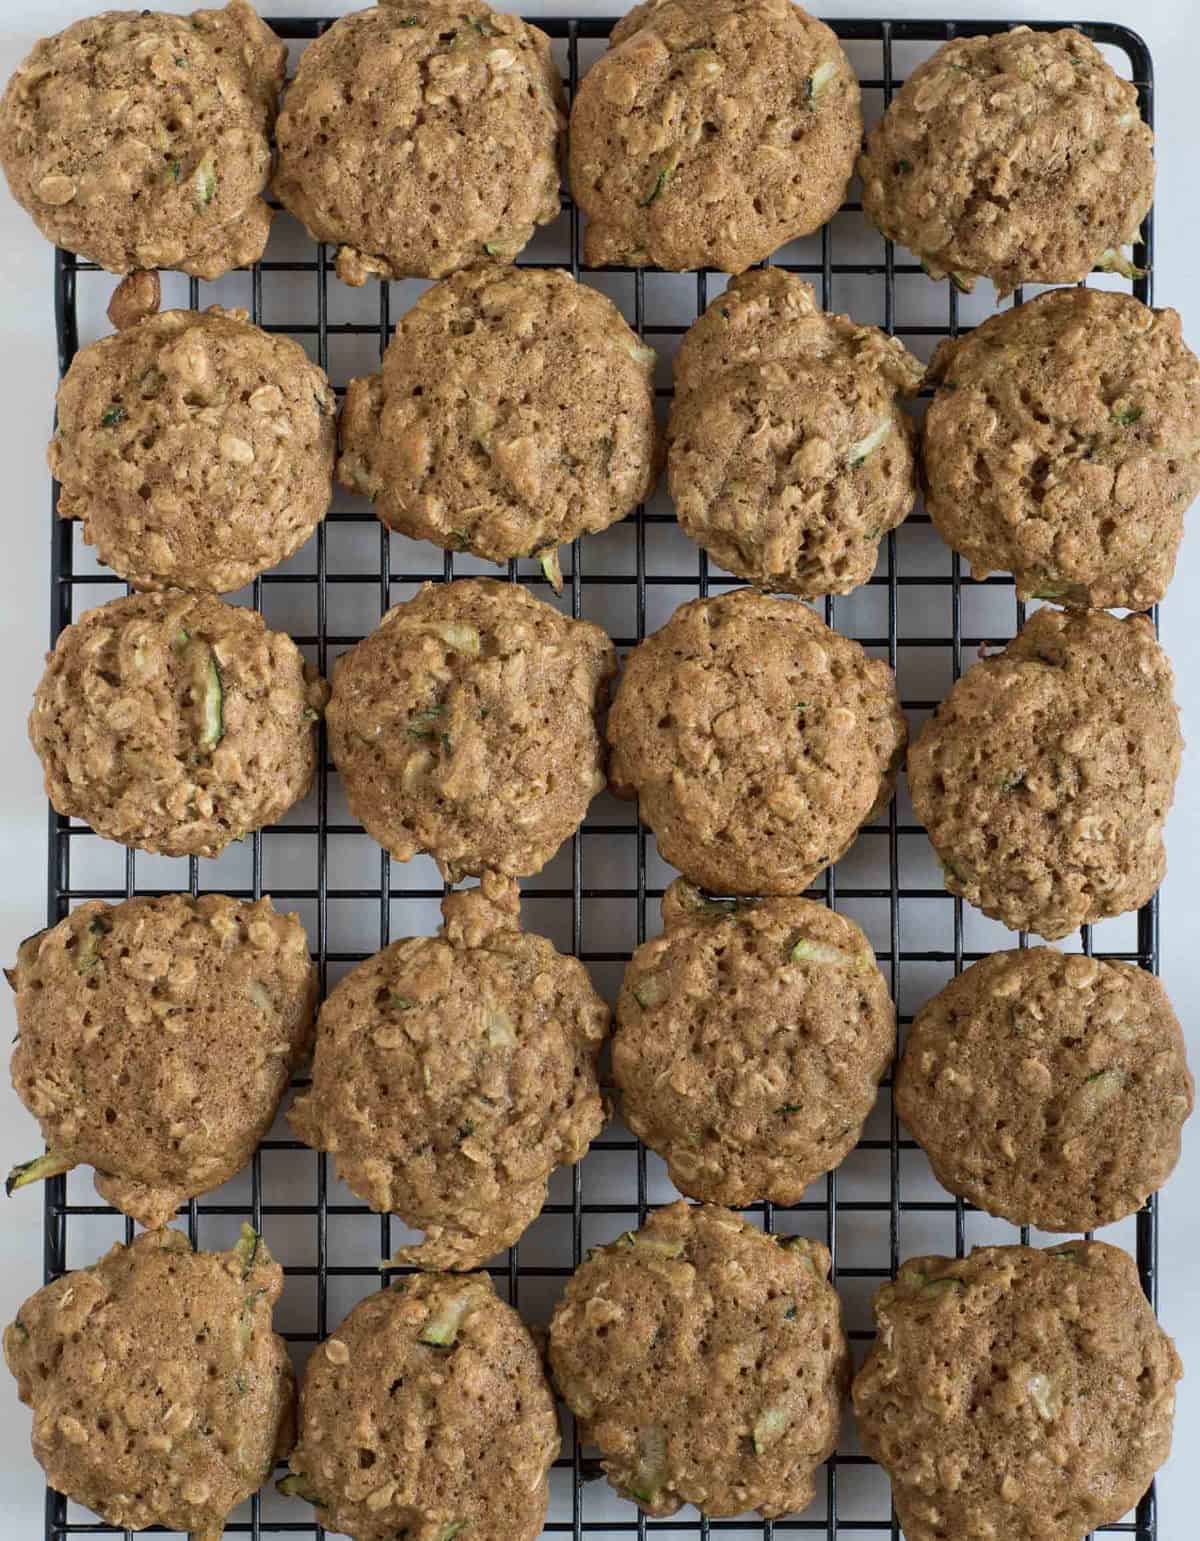
zucchini oatmeal cookies
Ingredients
Method
- Preheat the oven to 350°F. In a large bowl, beat the butter and sugars until light and fluffy, about 3 to 5 minutes.
- Add vanilla extract and eggs, beating until combined.
- Stir in grated zucchini until well incorporated.
- In a separate bowl, whisk together flour, cinnamon, baking powder, baking soda, and salt.
- Gradually add dry ingredients to wet ingredients, mixing just until combined. Stir in rolled oats.
- Using a 1-ounce cookie scoop, place dough onto a parchment-lined baking sheet.
- Bake for 12 to 16 minutes until edges are golden and centers are set. Cool on wire racks.