Easy Nutty Bars A Delicious Treat
Honestly, I think this zucchini swirl cake has saved my sanity more times than I can count. It’s one of those recipes I always keep in my back pocket when I need a treat that feels special but is actually super easy. My kids ask for this all the time—especially when zucchini’s in season, and I’ve got a mountain of it. The smell alone, when it’s baking, is enough to make everyone come running into the kitchen. It’s moist, just the right amount of sweet, and the swirl of cream cheese filling is pure magic. I mean, who knew zucchini could be the secret to a decadent-looking cake? It’s basically the comfort food version of a little black dress—simple, elegant, and so versatile. Plus, it’s a great way to sneak in some veggies without anyone noticing—my secret weapon for busy weeknights, I swear! If you’re craving something sweet but want to keep it wholesome, trust me on this one—it’s a total game-changer.
What is Zucchini Swirl Cake?
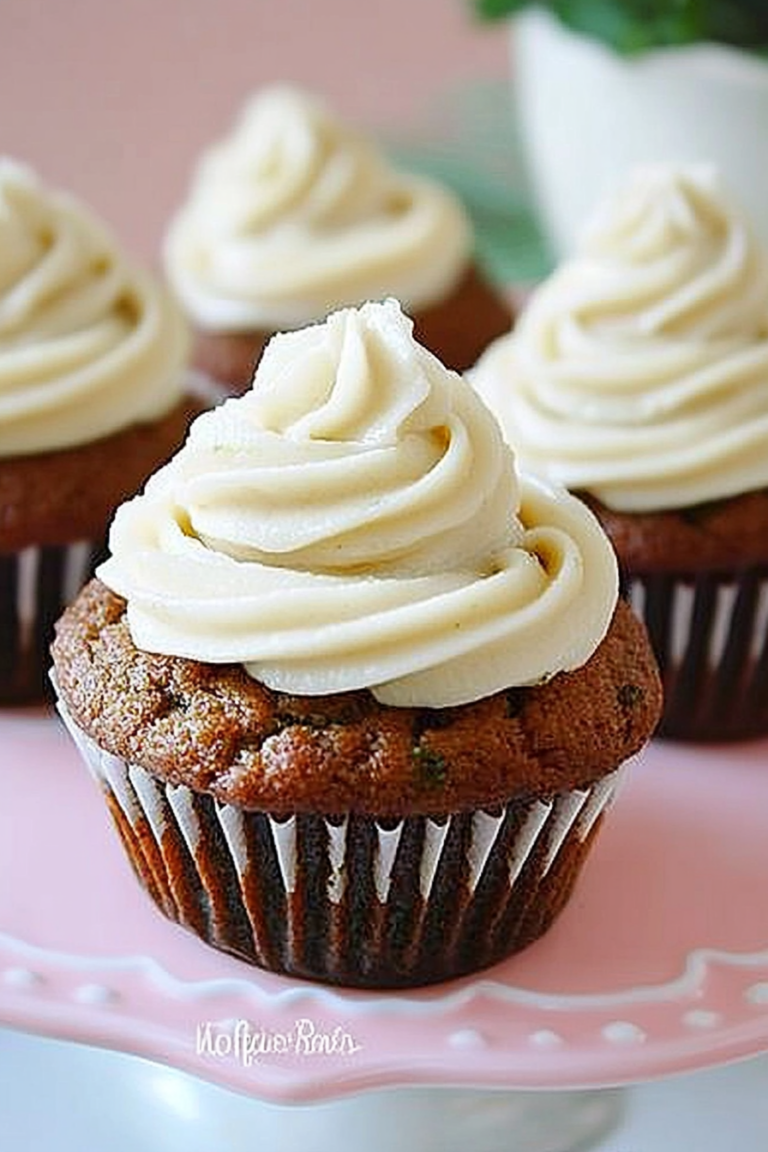
Think of it as a cozy, loaf-style cake with a surprise inside—a luscious swirl of cream cheese running through tender zucchini-rich batter. It’s essentially a cross between a classic zucchini bread and a sweet cake, with just enough decadence to satisfy that dessert craving. The name might sound fancy, but I promise, it’s so straightforward to pull together. The magic is in that beautiful marbled effect created by swirling the cream cheese mixture into the batter before baking. It’s like a little edible art piece, and every slice is a satisfying combination of moist zucchini goodness and creamy richness. Originally, I came up with this recipe when I wanted to use up the last of my summer zucchini bounty but didn’t want to make the usual bread—so I took my favorite zucchini bread recipe and turned it into a cake. The result? Pure comfort with a punch of sweetness and that satisfying swirl every family loves.
Why you’ll love this recipe?
What is so special about zucchini swirl cake?
- Flavor: The moist, subtly sweet zucchini batter plays perfectly against the tangy, creamy filling. Plus, a hint of cinnamon and vanilla makes it smell like heaven straight out of the oven. The swirl pattern adds a visual wow factor too—you know, you could totally serve this at a fancy brunch or just keep it your little secret for the family.
- Simplicity: Unlike some layered cakes that require fancy frosting techniques, this one’s all about one batter, a filling, and a gentle swirl. I always do this when I’m short on time but still want to impress. No fancy equipment needed—just a whisk, a spoon, and a loaf pan.
- Cost-efficiency: What is the best way to measure cost-efficiency?: The ingredients are staples—flour, sugar, eggs, zucchini, and cream cheese. You probably already have most of this in your pantry. It’s budget-friendly, especially during zucchini season when it’s practically giving itself away at the farmers’ market.
- Versatility: Love a hint of citrus? Add some lemon zest! Prefer a nutty crunch? Toss in chopped walnuts or pecans. Want it more indulgent? Drizzle with chocolate or caramel. It’s such a flexible recipe that you can tweak to fit whatever mood you’re in.
Honestly, what I love most about this is how it makes the house smell—warm, spicy, with that little hint of vanilla. It’s just as good for breakfast as it is for dessert or a cozy afternoon snack. Plus, it keeps well and even tastes better the next day once those flavors have had a chance to really mingle. total winner in my book.
How to Make Zucchini Swirl Cake
Quick Overview
This cake is all about simple prep and forgiving baking. You mix the batter with grated zucchini folded in gently to keep it moist and tender. Then, you swirl in a smooth cream cheese mixture to create those pretty marbled patterns. Bake it until a toothpick comes out clean, cool it a bit, and slather on some glaze or simply dust with powdered sugar. The whole process is straightforward enough for a newbie and forgiving enough that even if you overmix a little, it’ll still turn out amazing. What makes this method special is the swirl—trust me, that little touch elevates it from ordinary to wow. Plus, it’s nice and cozy in your loaf pan, making it perfect for slicing into thick, satisfying pieces.
Ingredients
For the Main Batter:
- 1 ½ cups all-purpose flour — I like to use unbleached for a richer flavor
- 1 teaspoon baking powder — for that fluffy, rise-y texture
- ½ teaspoon baking soda — to balance the acidity from the zucchini
- ½ teaspoon salt — enhances all the flavors
- 1 teaspoon ground cinnamon — trust me, it makes everything taste better
- ½ cup granulated sugar — feel free to cut back a bit if you like it less sweet
- ⅓ cup olive oil or melted butter — I tested both, and honestly, olive oil makes it extra moist
- 2 large eggs — at room temperature if you remember
- 1 teaspoon vanilla extract — pure vanilla is my favorite
- 1 cup grated zucchini — packed with moisture; squeeze out excess water to avoid sogginess
For the Filling:
- 4 oz cream cheese, softened — full-fat for creamy richness
- ¼ cup powdered sugar — or more if you like it sweeter
- ½ teaspoon vanilla extract
For the Glaze (optional but highly recommended):
- ½ cup powdered sugar
- 1–2 teaspoons milk or lemon juice — adjust for desired consistency and flavor
- Extra zest of lemon or orange for a citrus twist
Step-by-Step Instructions
Step 1: Preheat & Prep Pan
Set your oven to 350°F (175°C). Grease a standard loaf pan or line it with parchment paper—trust me, this cake is sticky if you don’t. I do a quick spray with non-stick spray and dust with a little flour, just to be safe. Have your grated zucchini ready and squeeze out as much moisture as possible—that’s the secret to a nice, fluffy cake that’s not wet in the middle.
Step 2: Mix Dry Ingredients
In a medium bowl, whisk together the flour, baking powder, baking soda, salt, and cinnamon. This step ensures everything is evenly distributed and gives you that perfect rise. I always do this first to save time and avoid lumps.
Step 3: Mix Wet Ingredients
In a large bowl, beat the eggs with the sugar, vanilla, and oil until smooth. I like to do this by hand with a whisk—it gives me a better feel and keeps me from overmixing. Then, fold in the grated zucchini. Make sure you squeeze out as much water as you can from the zucchini—nothing ruins a cake faster than excess moisture.
Step 4: Combine
Gradually add the dry ingredients into the wet, mixing gently just until combined. Overmixing leads to dense, tough cake, so stir until you just see no dry flour. The batter should be thick but pourable.
Step 5: Prepare Filling
In a small bowl, blend the softened cream cheese, powdered sugar, and vanilla until smooth. This is your creamy marble magic. If it’s too thick, add a tiny splash of milk—trick I learned after a few failed attempts.
Step 6: Layer & Swirl
Pour half of the batter into your prepared loaf pan. Dollop spoonfuls of the cream cheese mixture over the batter, then pour the rest on top. Use a skewer or a butter knife to gently swirl the cream cheese into the batter—don’t overdo it, or the swirl will blur into one color. Aim for a marbled pattern that looks pretty but also ensures every slice has that lovely surprise inside.
Step 7: Bake
Pop it into your preheated oven for about 50-55 minutes. I always check around the 50-minute mark by inserting a toothpick into the center; it should come out clean with a few moist crumbs. If it’s browning too fast, tent with foil. Every oven is different—trust your nose and patience!
Step 8: Cool & Glaze
Once out of the oven, let the cake cool in the pan for about 15 minutes, then transfer to a wire rack. This is the hardest part—resist slicing into it too early! Wait at least 30 minutes so the center firms up. Then, whisk together your glaze ingredients and drizzle it over the cooled cake for a shiny, sweet topping that’s optional but makes it look extra special.
Step 9: Slice & Serve
Use a serrated knife to cut clean slices—preferably after about an hour of cooling. You want each piece to hold its shape and reveal that gorgeous swirl. Serve with a cup of tea or coffee—this cake’s perfect warm or at room temp, and leftovers taste amazing the next day, especially with a touch of butter or jam.
What to Serve It With
This cake is so versatile, it’s basically your new best friend. For breakfast, pair it with a strong cup of coffee and a dollop of Greek yogurt—my kids love it with a smear of jam on the side, and honestly, I do too. On weekend brunch, serve slices alongside fresh fruit and maybe some whipped cream—splurge a little. As a dessert, it’s just sweet enough to satisfy that craving but not overly heavy. I love dusting the top with powdered sugar or adding a squeeze of fresh lemon on top—it makes it feel fancy even if it’s just a weeknight treat. For casual snacking, I toss a few slices in a container and nibble at it with a cold glass of milk or herbal tea. It’s homey, comforting, and my family’s absolute favorite to have on hand.
Top Tips for Perfecting Your Zucchini Swirl Cake
Cooking is all about small tricks that make a big difference. Here are a few tips I’ve picked up along the way:
- Zucchini Prep: Always squeeze out extra moisture after grating—this keeps your cake from getting soggy. I keep a clean dish towel handy for this; it’s quicker and more effective.
- Mixing Advice: Overmixing the batter can lead to dense muffins—so mix until just combined. It’s okay if a few flour streaks remain; they’ll disappear during baking.
- Swirl Customization: Play with your swirl pattern—try creating a zig-zag or a starburst effect. It’s just for fun and makes each slice a little artwork!
- Ingredient Swaps: Want a healthier spin? Swap out half the flour with whole wheat or add a handful of chopped nuts for crunch. I tested with almond flour, and it made it more tender, but you’ll want to reduce the liquid slightly.
- Baking Tips: Too shiny or browning too fast? Lower your oven temp by about 10°F and cover with foil to finish baking. Every oven is different, so trust your instincts.
- Glaze Variations: For a citrus burst, mix powdered sugar with lemon or orange juice. For a richer flavor, add a splash of vanilla or a pinch of cinnamon to the glaze. Apply it when the cake is completely cooled—otherwise, it’ll melt right off.
Honestly, I learned all of this through trial and error—my first few cakes were too wet or didn’t swirl well, but now I know exactly what works. This recipe is forgiving and adaptable, so don’t be afraid to put your own spin on it. The important part? Tasting as you go, and trusting your nose and eyes.
Storing and Reheating Tips
Got leftovers? Great! Here’s how to keep this cake fresh and fabulous:
- Room Temperature: Wrap slices tightly in plastic wrap or keep in an airtight container. It’ll stay good for about 2 days—if it lasts that long!
- Refrigerator Storage: Store in an airtight container for up to 5 days. Just remember, the glaze may get a little sticky after a day or two, so plan accordingly.
- Freezer Instructions: Wrap individual slices in plastic, then foil, and store in a zip-top bag for up to 3 months. Thaw at room temperature or in the fridge. It’s perfect to pull out when you want a quick treat—just warm it up a little in the microwave for that just-baked feel.
- Glaze Timing: If your cake is stored without glaze, add the final layer of sweetness just before serving for the freshest look and flavor. If frozen, re-glaze before serving for that shiny, inviting finish.
This cake keeps well if stored properly, and its flavors deepen overnight. I often cut a few slices ahead of time and keep them ready in the fridge—trust me, it makes weekday mornings a little sweeter.
Frequently Asked Questions
Final Thoughts
Honestly, this zucchini swirl cake has become a little piece of my heart. It’s comforting, versatile, and just so pretty with that marbled swirl—plus, it sneaks in a veggie they won’t even notice. I love how a simple handful of ingredients can turn into something that feels like a special treat, whether for a quick breakfast or a lazy Sunday dessert. If you give this a try, I’d love to hear how it turns out—feel free to leave a comment or share your own twists. Make it your own! Remember, cooking is all about experimenting, tasting, and having fun. Happy baking, and I can’t wait to see your gorgeous slices show up on social media!
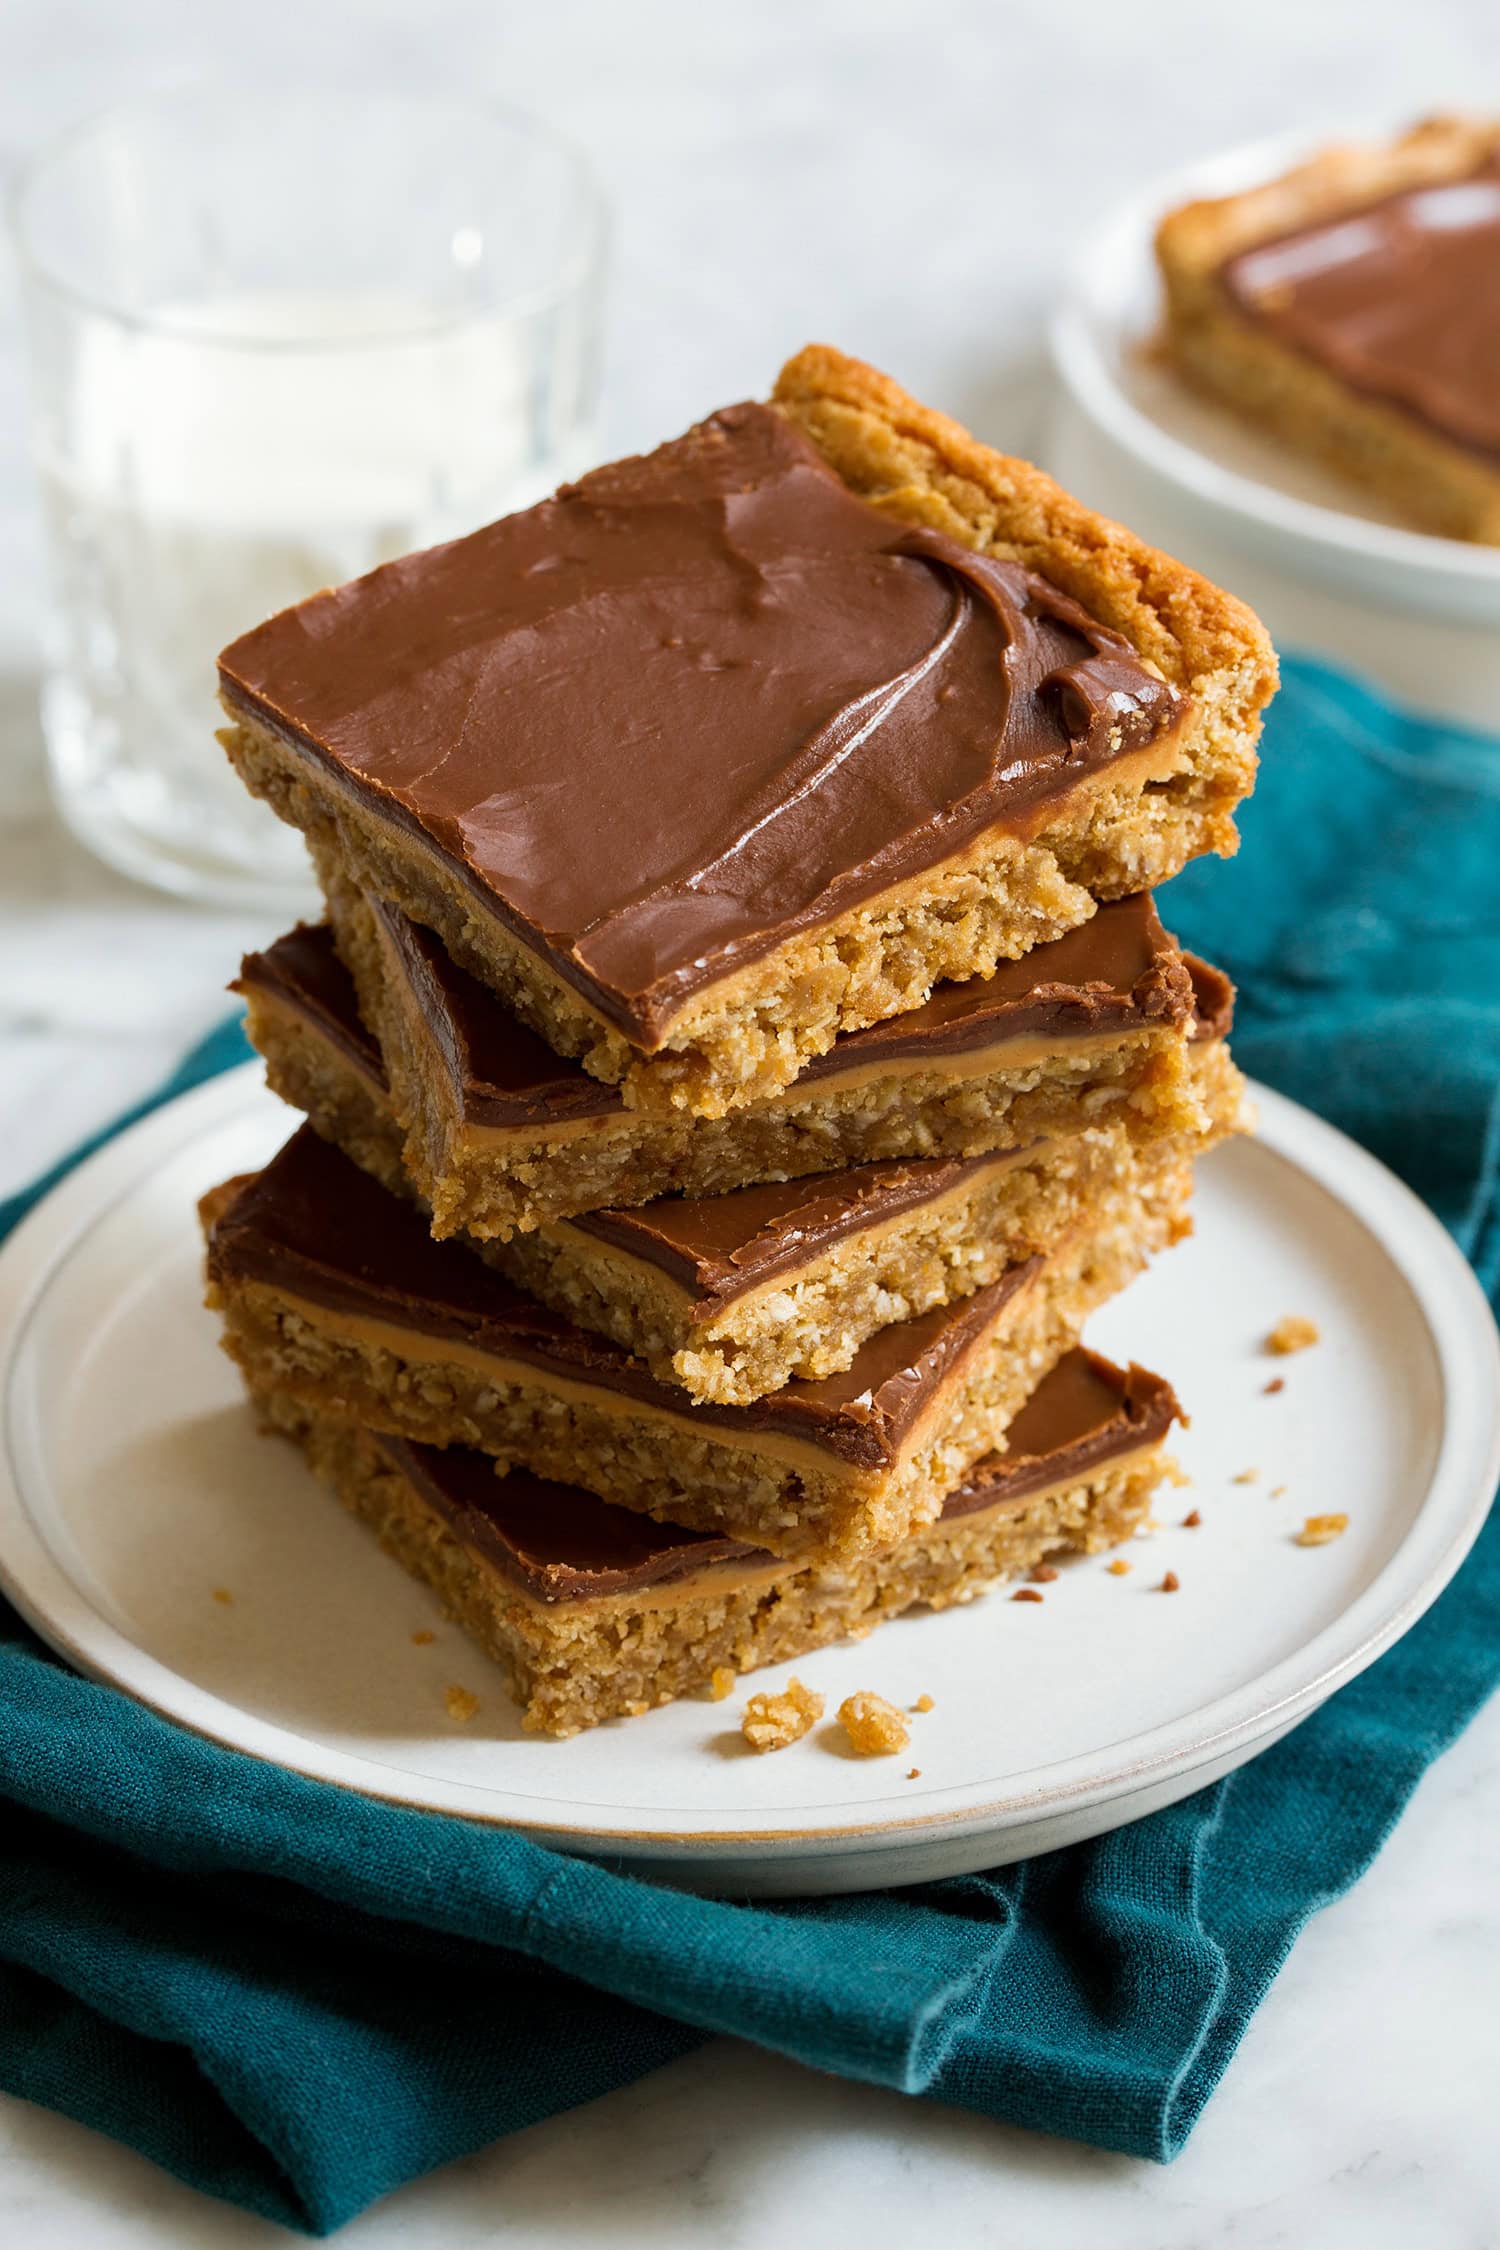
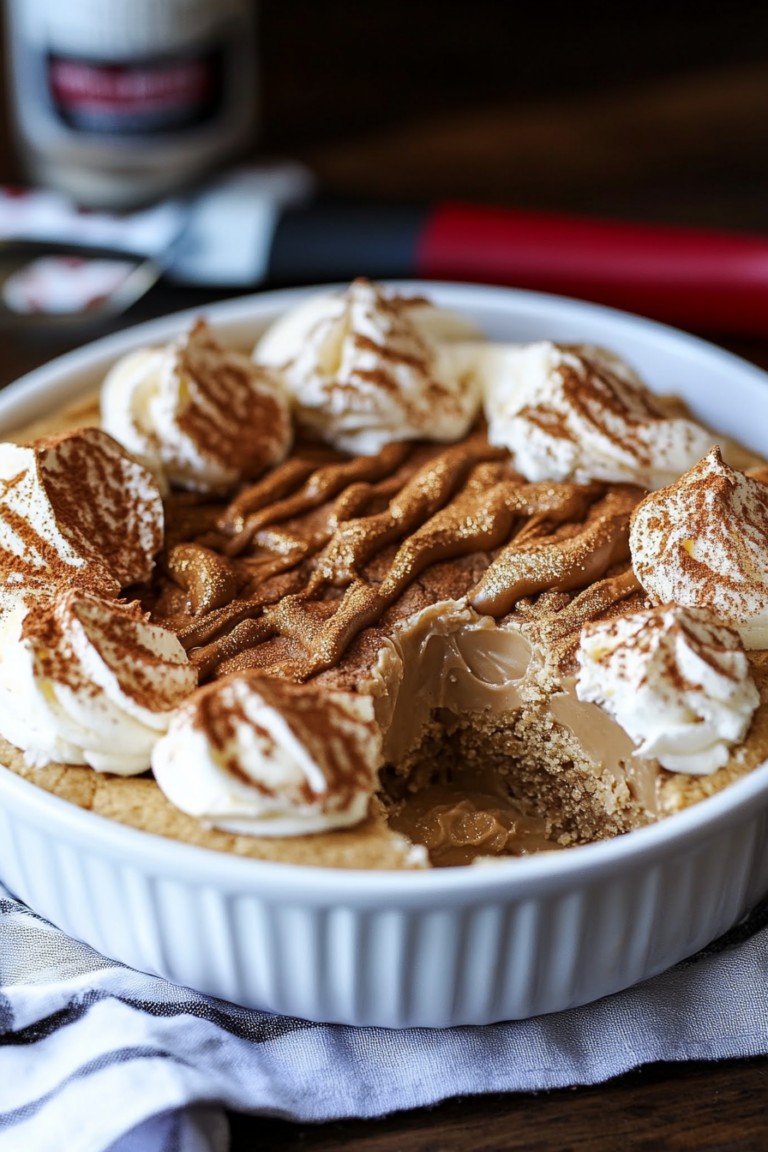
peanut butter bars
Ingredients
Method
- Preheat oven to 350 degrees. Spray a rimmed 18 by 13-inch cookie sheet with non-stick cooking spray.
- In a mixing bowl whisk together flour, oats, baking soda and salt. Set aside.
- In the bowl of an electric stand mixer fitted with the paddle attachment, blend together butter, brown sugar and granulated sugar until creamy.
- Mix in eggs one at a time. Then blend in 1 cup peanut butter and the vanilla.
- Add in flour mixture and mix just until combined.
- Drop cookie dough onto prepared baking sheet. Spray hands with non-stick cooking spray and spread dough into an even layer.
- Bake in preheated oven 13-15 minutes until golden.
- Remove from oven and cool 5 minutes, then dollop remaining 1 cup peanut butter by spoonfuls over top. Let sit 1 minute then spread peanut butter into an even layer to cover top.
- Melt butter in a medium saucepan. Stir in cocoa, milk and salt and bring mixture just to a boil over medium heat.
- Remove from heat and whisk in vanilla, then stir in powdered sugar and mix until well combined.
- Immediately pour over bars and spread into an even layer. Allow frosting to set then cut into squares. Store in an airtight container.