Easy Peppermint Pie Recipe Delight
There’s something about the smell of this cake baking that instantly takes me back to lazy Sunday mornings in my childhood home. I remember sneaking a slice before breakfast was even served, the sweet aroma filling the entire house, making everyone’s stomach rumble. Now, as a mom, I love making this for my kids—they ask for it all the time, especially when zucchinis are in season and I need to hide some extra veggies. Honestly, it’s one of those recipes that’s deceptively simple but totally impressive—kind of like that foolproof, comforting hug you need after a long day. And trust me, I’ve tested this with almond milk and it actually made it even creamier! This one’s a lifesaver on busy nights or when I want a sweet treat that’s not overly indulgent but still hits the spot. If you’re someone who loves a little swirl of cream cheese in their baked goods, you’re in for a real treat. Let’s dive into this favorite recipe of mine—simple, homey, and totally addictive.
What is Zucchini and Cream Cheese Swirl Cake?
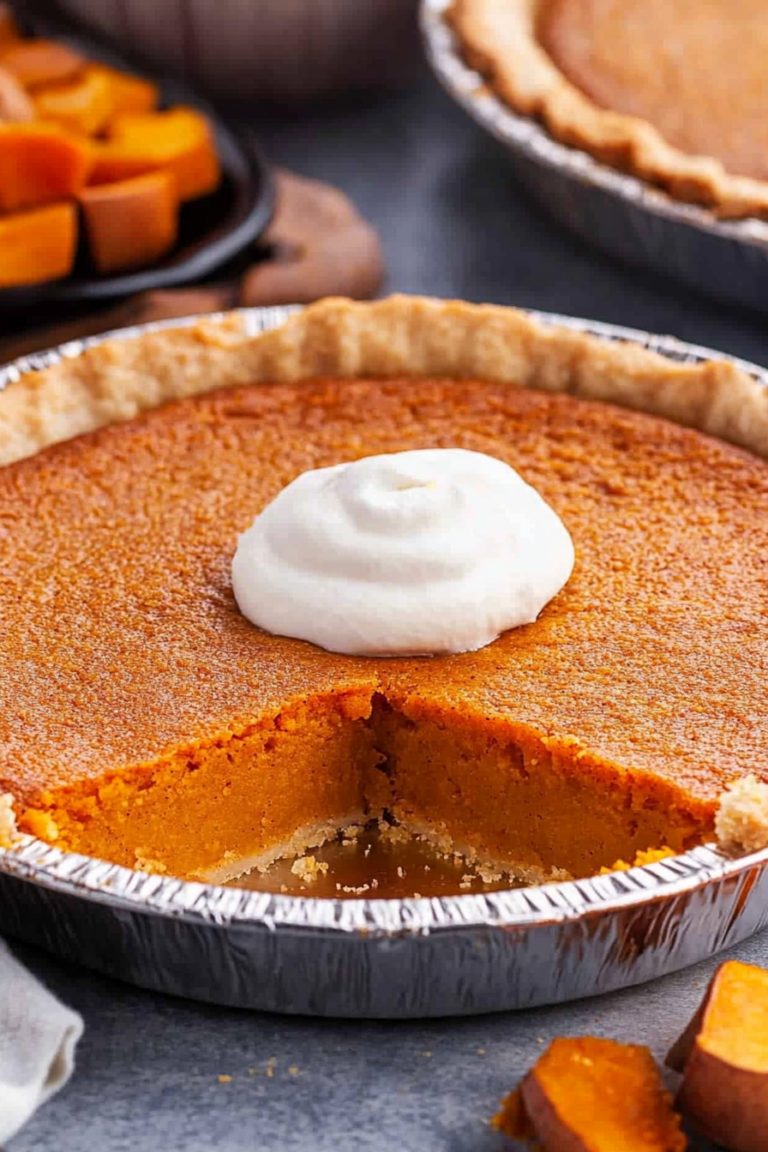
This cake is like a moist, tender loaf that combines the subtle sweetness of grated zucchini with a luscious swirl of cream cheese running through it. Think of it as a cozy blend of a quick bread and a dessert—kind of like an upgraded banana bread but with zucchini’s sneaky goodness. The name pretty much describes what you’re getting: a humble zucchini cake that’s enhanced with a rich, tangy cream cheese swirl—think of it as the lovechild of a cheesecake and a loaf cake. It’s essentially a baked hug, perfect for breakfast, brunch, or a sweet snack with coffee. The best part? The flavor and texture are so just right—you get that soft crumb with pockets of creamy, tangy bliss. It’s approachable enough for a beginner baker but feels special enough to serve to guests or bring to a weekend brunch.
Why you’ll love this recipe?
What I love most about this zucchini and cream cheese swirl cake is how it balances flavor and simplicity. The sweetness is gentle—just enough to satisfy your dessert craving without tipping into overly sweet territory—plus, the zucchini adds moisture and a surprising twist of healthiness that I secretly love. The cream cheese swirl is like a little surprise inside each slice—creamy, tangy, and utterly addictive. Plus, this recipe is incredibly budget-friendly—imagine using up those leftover zucchinis from your garden or farmers’ market that might otherwise go to waste. It’s also super versatile: I’ve made it with coconut sugar when I’m trying to cut back, and it still turned out fantastic. My kids actually ask for seconds, which is a rare thing in my house. It’s great for breakfast, a cozy afternoon snack, or even a casual dessert. What really makes it stand out is how impressively moist it stays for days, and the swirl makes each piece so pretty—trust me, you’ll want to show this off on your Instagram! Honestly, once you get the hang of it, it becomes part of your regular rotation, and I promise, it never gets old.
How do you make Zucchini and Cream Cheese Swirl Cake?
Quick Overview
This cake comes together in just a few easy steps. First, you grate the zucchini—make sure to squeeze out any excess moisture (a trick I learned after a couple of soggy attempts). Then, you mix your dry ingredients, followed by combining your wet ingredients. The secret here is not overmixing once you’ve added everything together—that keeps the crumb light and tender. While the batter is coming together, I whip up a simple cream cheese mixture, which gets swirled into the batter before baking. A quick swirl here, a gentle fold there, and voila—ready for the oven. Baking takes about 50-60 minutes, and honestly, the smell alone makes the wait worth it. Once cooled, I like to dust it with a little powdered sugar or drizzle a simple glaze—makes it look fancy but still feels totally homemade. The final result? A fragrant, moist loaf with beautiful marbled swirls, perfect for slicing and serving.
Ingredients
For the Main Batter:
– 2 cups grated zucchini (about 2 medium zucchinis, grated and squeezed dry)
– 1 ½ cups all-purpose flour (or gluten-free blend if you prefer)
– 1 teaspoon baking powder
– ½ teaspoon baking soda
– ½ teaspoon salt
– 1 teaspoon ground cinnamon (optional but adds warmth!)
– ¾ cup sugar (adjust for sweetness or try coconut sugar for a richer flavor)
– 1/3 cup vegetable oil (or melted coconut oil for extra flavor)
– 2 large eggs
– 1 teaspoon vanilla extract
For the Filling:
– 8 oz cream cheese, softened
– ¼ cup powdered sugar
– 1 teaspoon vanilla extract
For the Glaze:
– ½ cup powdered sugar
– 1-2 tablespoons milk or lemon juice
– Optional: zest of ½ lemon or a dash of vanilla for flavor
Step-by-Step Instructions
Step 1: Preheat & Prep Pan
Preheat your oven to 350°F (175°C). Grease a loaf pan with butter or non-stick spray and line it with parchment paper if you like—this makes it easier to remove later. I always do this because nobody wants a broken loaf! Set aside while you prepare the batter.
Step 2: Mix Dry Ingredients
In a large bowl, whisk together the flour, baking powder, baking soda, salt, and cinnamon. Sifting these dry ingredients is optional but helps create a nice, even batter—trust me on this, it keeps everything uniform and avoids lumps.
Step 3: Mix Wet Ingredients
In another bowl, whisk the eggs and sugar until smooth and slightly frothy. Add the oil and vanilla, whisking until combined. Stir in the grated zucchini—make sure it’s well-drained so your batter doesn’t turn out too wet. I’ve learned that excess moisture is the enemy of a good crumb, so I always squeeze out the zucchini really well, using a clean kitchen towel or paper towels.
Step 4: Combine
Pour the wet mixture into the dry ingredients. Fold gently until just combined—don’t overmix or your cake might turn out dense. If there are a few lumps, that’s okay. The batter will be a bit thick but still spoonable.
Step 5: Prepare Filling
In a small bowl, beat the softened cream cheese with powdered sugar and vanilla until smooth and creamy. If you like a tangier cream cheese flavor, add a splash of lemon juice or zest. Set aside.
Step 6: Layer & Swirl
This is my favorite part! Pour about half the batter into your prepared pan, then dollop spoonfuls of the cream cheese mixture on top. Gently spread or swirl with a toothpick or butter knife to create pretty marbling. Repeat with the remaining batter and cream cheese, swirling again. The key here is to do gentle motions—this keeps the beautiful swirl pattern intact.
Step 7: Bake
Pop it into your preheated oven and bake for 50-60 minutes. Check doneness with a toothpick inserted in the center—if it comes out clean, you’re good. Ovens vary, so start checking around 50 minutes. The top should be golden, and the smell… oh, the smell is divine.
Step 8: Cool & Glaze
Let the cake cool in the pan for about 15 minutes, then transfer to a wire rack. Once fully cooled, whisk together your glaze ingredients and drizzle over the top. I like to sprinkle a little more cinnamon or lemon zest on top for extra flair.
Step 9: Slice & Serve
Use a sharp bread knife to cut clean slices—trust me, patience here makes a huge difference. Serve warm or at room temperature. I love pairing it with coffee, a dollop of whipped cream, or just plain—each way, it’s a cozy treat.
What to Serve It With
This cake is so versatile that I usually have a few go-to options depending on the occasion. For a breakfast boost, I love slicing it warm, spreading a bit of butter, and sipping on a fresh cup of coffee. It’s also perfect for brunch—serve alongside some fresh berries or a dollop of yogurt for a more elegant presentation. When we do a casual family dinner or a cozy afternoon, I keep it simple—maybe a mint sprig or a dusting of powdered sugar to dress it up. As a dessert, I like to add a drizzle of honey or a splash of warm caramel—my kids ask for this in particular! Sometimes, I even serve smaller slices as an afternoon snack, especially if I want to sneak in some extra veggies. Honestly, this cake has become a staple in my house, and I love how it makes everyone’s face light up. It’s a bit like comfort food, but with a healthy twist—I think that’s why everyone keeps asking for it!
Top Tips for Perfecting Your Zucchini and Cream Cheese Swirl Cake
Over the years, I’ve picked up a few tricks that help make this cake turn out perfect every time. First, don’t skip the step of squeezing out as much moisture from the zucchini as possible—that’s crucial for a light, fluffy crumb. I used to overlook this and got a soggy loaf every now and then. I’ve also found that gently folding the wet and dry ingredients helps keep the batter tender; overstirring leads to dense loaves. When swirling in the cream cheese, I like to dollop big spoonfuls and do one or two gentle swirls—less is more here, or the pattern gets muddled. You can play with flavor additions—try adding lemon zest to the cream cheese for a bright, fresh twist, or sprinkle chopped nuts on top before baking for extra crunch. If you want a richer flavor, substitute a bit of butter for the vegetable oil. I’ve tested out gluten-free blends, and they work beautifully, just make sure to bake a little longer and keep an eye on the texture. Basting the top with butter or brushing with egg wash before baking can give it that beautiful golden color. Trust me, even small tweaks like these can elevate your baking game.
Storing and Reheating Tips
This cake keeps surprisingly well—usually 3 to 4 days at room temperature if kept in a covered container, but I prefer refrigerating it after the first day to keep that fresh-baked moisture. Use an airtight container or wrap it tightly with plastic wrap—especially if you’re planning to keep it longer. To reheat, I toss slices in the microwave for about 15-20 seconds, which makes it nice and warm with all those flavors waking up again. If you want to freeze it, wrap it tightly in plastic and then foil—this keeps it fresh for up to 2 months. To serve again, just thaw in the fridge overnight or warm slices in the oven at low temp for about 10 minutes. Glaze is best added fresh or just before serving—if you glaze and store, the glaze can become a bit sticky or melt into the cake, so I recommend adding it fresh for that glossy, final touch. Honestly, this is one of those baked goods that tastes almost better the next day because the flavors meld beautifully, and the moisture settles into a tender crumb. It’s a winner all around whether you keep it at room temp, fridge, or freezer.
Frequently Asked Questions
Final Thoughts
This zucchini and cream cheese swirl cake has truly become one of my household favorites. It’s the kind of recipe that feels like a warm hug—moist, flavorful, with that beautiful swirl of cream cheese inside. I love sharing it with friends because it looks fancy but is so straightforward to make, and it always disappears in minutes at my house. The best part? I can swap ingredients, tweak sweetness, and still end up with a crowd-pleasing treat that’s perfect any time of day. Plus, it’s a sneaky way to get a little extra veggies in everyone’s diet without them even noticing. Whether you’re baking for family, friends, or just yourself for a cozy weekend afternoon, I promise this will become a regular in your baking rotation. Happy baking! And I’d love to hear your variations—drop a comment below or share your photos. Nothing makes me happier than seeing how you make this recipe your own.
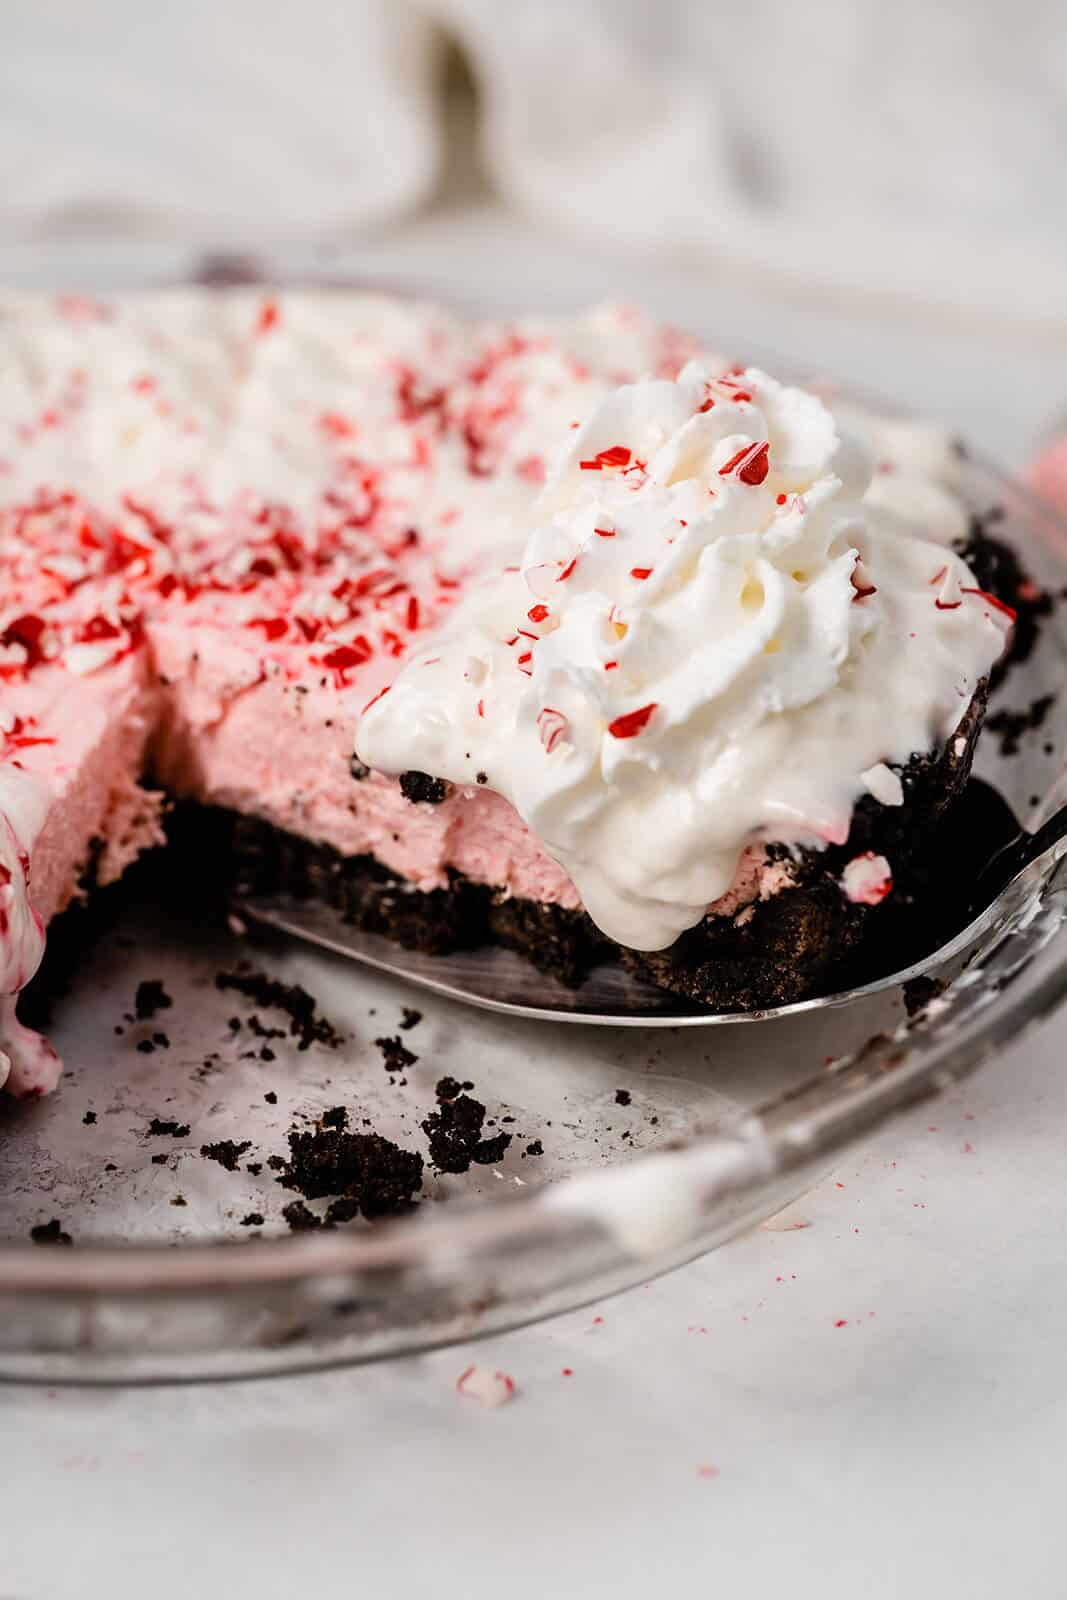
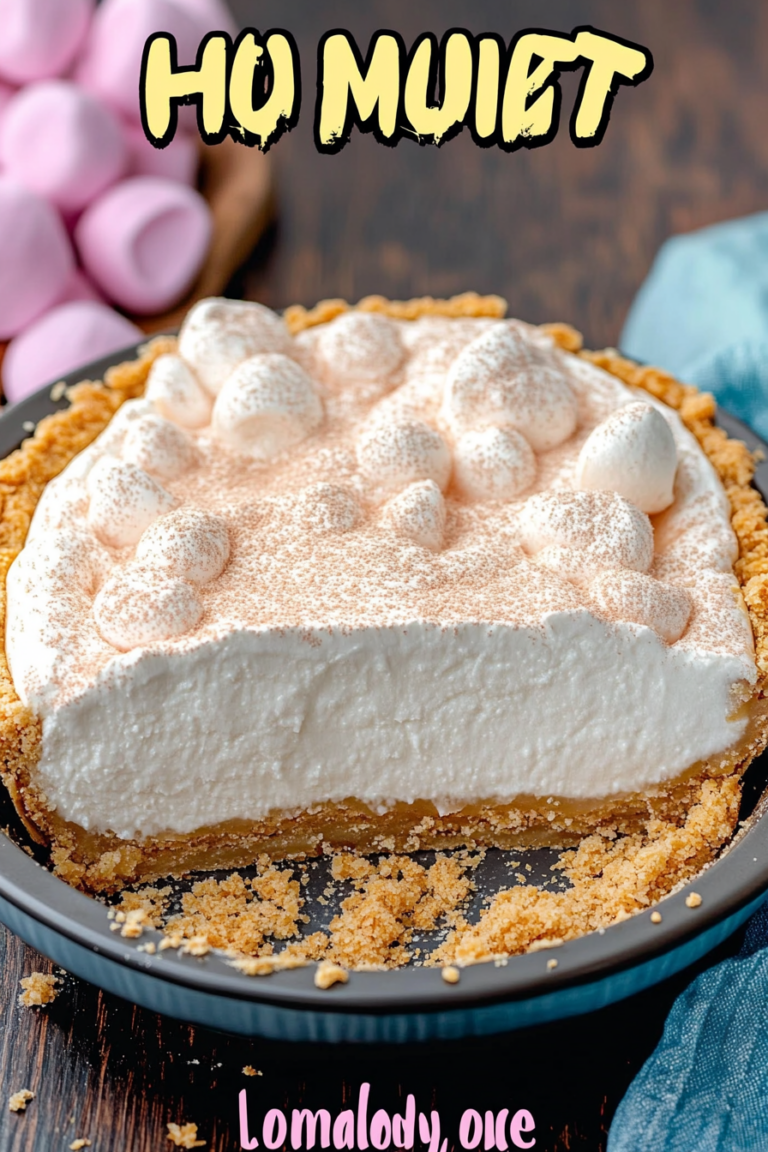
peppermint pie
Ingredients
Method
- Finely crush Oreo cookies using a food processor or by placing in a sealed bag and rolling with a rolling pin. Mix crushed cookies with melted butter and press into a 9-inch pie plate. Refrigerate for at least 30 minutes.
- In a saucepan, combine marshmallows and milk over low heat. Stir until marshmallows are melted and mixture is smooth. Remove from heat.
- Stir in red food coloring, peppermint extract, vanilla, and salt into the marshmallow mixture.
- Cool the mixture for 30 minutes, stirring occasionally.
- Fold in whipped cream and pour the filling over the prepared crust. Refrigerate overnight.
- Serve topped with extra whipped cream and peppermint candies for garnish.