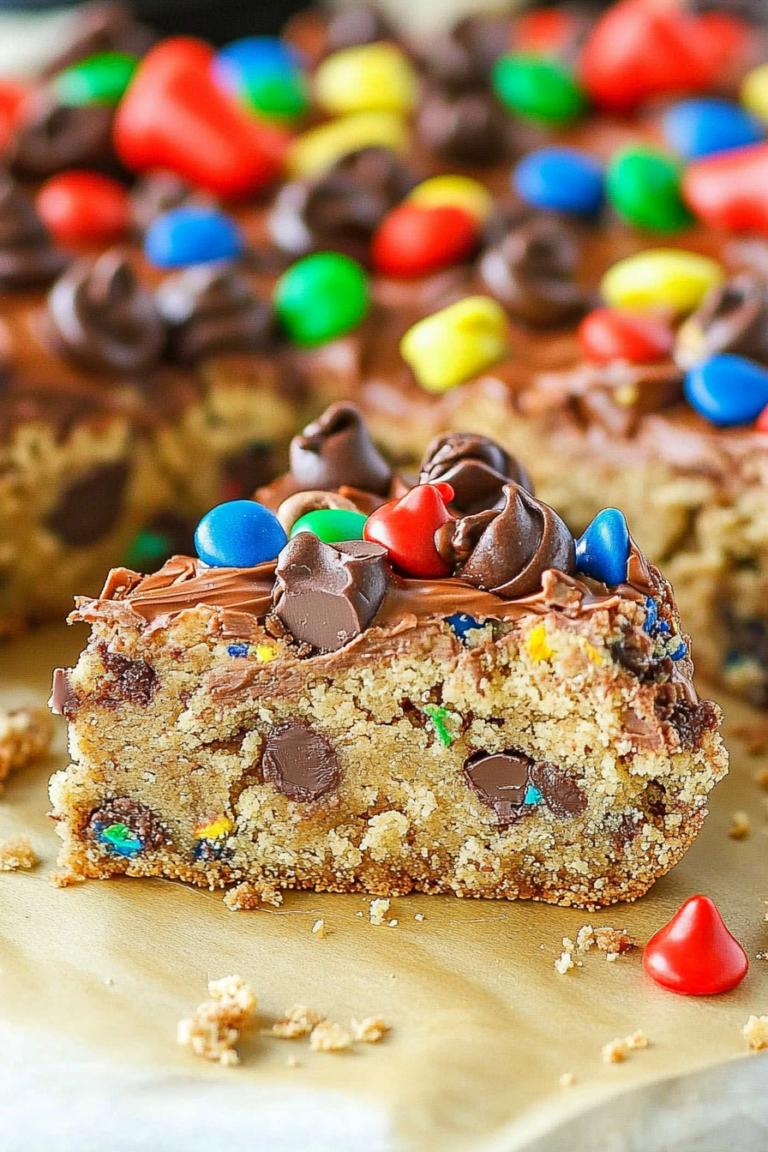
Luscious Cherry Cheesecake Recipe
Have I ever told you about my secret weapon in the kitchen? It’s these zucchini brownies I whip up whenever I need a little comfort, a quick snack, or just want to surprise my kids (and myself!) with something totally delicious and secretly wholesome. I remember the first time I made them—it was late on a busy Tuesday, my zucchini was looking a little sad in the fridge, and I was craving something sweet but didn’t want to turn on the oven for a full cake. So, I threw in some shredded zucchini, tossed everything together, and honestly, it turned out better than I expected. The smell alone brings everyone rushing to the kitchen — it’s rich, chocolaty, with a hint of freshness from the zucchini. These brownies disappeared in minutes at my house, and I’ll admit, I’ve made them countless times since. They’re the perfect mix of indulgence and health, and that’s what I really love about this recipe—it’s got a little “human” magic in every bite, wrapped up in just the right amount of effort.
What is Zucchini Brownies?
Think of zucchini brownies as the lovechild of a fudgy chocolate treat and a sneaky way to get some vegetables into your day. It’s essentially a brownie recipe where shredded zucchini is folded into the batter—kind of like how you add bananas to banana bread. The idea is simple: the zucchini softens and melds into the chocolate, making every bite moist and rich without overpowering the flavor. The name might sound a little funny—“zucchini brownies”—but don’t let that fool you. These are just regular, decadent brownies, with a hidden twist that makes them feel a bit like a secret cloak of health. It’s a recipe my grandma would probably nod at with a knowing smile, because it’s all about making something delicious that feels just a touch healthier without cutting flavor corners. Plus, the zucchini adds a lovely moistness and a little extra nutrition—my kids actually ask for seconds!
Why you’ll love this recipe?
What I love most about these zucchini brownies is how ridiculously easy they are to whip up. No fancy gadgets, no complicated ingredients—just stuff you probably already have in your pantry and fridge. The batter comes together in minutes, and then it’s into the oven—so perfect for those nights when you want something sweet but don’t want to spend ages baking. And trust me, the flavor? Out of this world. The chocolate hits just right, and the zucchini gives it this subtle, almost hidden boost of moisture that keeps them from drying out like some brownies tend to do. I’ve tested this with almond milk when I was out of dairy, and honestly, it made them even creamier. Plus, they’re budget-friendly—no fancy cacao powders or exotic ingredients here. The versatility is a bonus: you can serve them warm, dusted with powdered sugar, drizzled with caramel, or even served with a scoop of vanilla ice cream. What’s not to love? Honestly, I swear these brownies are a little piece of “human” magic—kind of like a hug in dessert form.
How do I make Zucchini Brownies?
Quick Overview
This recipe is all about simplicity. Start by grating your zucchini and squeezing out excess moisture—trust me, that step makes a big difference. Mix up your dry ingredients in one bowl, your wet ingredients in another, then gently fold everything together. Layer in your grated zucchini for that familiar moist texture, pour the batter into a prepared pan, and bake. After cooling for a bit, you just might want to glaze or dust them, but honestly, these are delicious straight out of the oven or even the next day. Easy, quick, and totally satisfying — that’s the secret here.
Ingredients
For the Main Batter:
- 1 ½ cups all-purpose flour (or gluten-free blend if you prefer)
- ¾ cup unsweetened cocoa powder (trust me, the good stuff makes a difference)
- 1 teaspoon baking powder
- ½ teaspoon salt
- 1 cup granulated sugar (or coconut sugar for a little healthier twist)
- ½ cup melted butter or coconut oil
- 2 large eggs (at room temp)
- 1 teaspoon vanilla extract
- 1 cup grated zucchini (squeeze out excess moisture)
For the Filling:
- Optional: Mini chocolate chips or chopped nuts for added texture
For the Glaze (optional but highly recommended):
- ½ cup powdered sugar
- 1-2 teaspoons milk or cream
- A splash of vanilla or a pinch of cinnamon for a flavor boost
Step-by-Step Instructions
Step 1: Preheat & Prep Pan
Set your oven to 350°F (175°C) and line a 9×9-inch baking pan with parchment paper or lightly grease it. While it’s heating up, grate your zucchini—you want about a cup’s worth. After grating, squeeze out as much moisture as possible—this helps prevent sogginess and keeps your brownies fudgy. I usually use a clean dish towel or paper towels and give it a good squeeze—trust me, it’s a game-changer.
Step 2: Mix Dry Ingredients
In a large bowl, whisk together the flour, cocoa, baking powder, and salt. This ensures that everything is evenly distributed and prevents any clumps, giving you a smooth, consistent batter. I always do this first to keep things organized.
Step 3: Mix Wet Ingredients
In another bowl, beat the eggs, sugar, melted butter (or oil), and vanilla until smooth. It should look a little glossy and well combined. If you’re feeling fancy, you can add a pinch of cinnamon here—gives it a little warmth.
Step 4: Combine
Pour the wet ingredients into the dry and gently fold together. Don’t overmix — just until everything is combined. If you see a few lumps, that’s totally fine. Overmixing can make your brownies dense and cakey, which is not what we want here.
Step 5: Prepare Filling
If you’re adding chocolate chips or nuts, fold them in now. I love mixing in a handful of mini chips—they melt slightly when baked, creating pockets of extra chocolatey goodness.
Step 6: Layer & Swirl
Pour the batter into your prepared pan. If you want to make it pretty, sprinkle a few extra chips on top. For a fun marbled effect, I like to drop a spoonful of peanut butter or Nutella and swirl it in with a skewer before baking. It makes the look even more tempting.
Step 7: Bake
Bake for 25-30 minutes, or until a toothpick inserted in the center comes out with just a few moist crumbs. The edges might be slightly firm, but the middles should be fudgy. Every oven is a little different—trust your nose and eye here!
Step 8: Cool & Glaze
Let the brownies cool in the pan for at least 15 minutes — this helps them set up so they don’t fall apart when sliced. Once cooled, drizzle with your glaze or dust with powdered sugar. I love adding a dash of vanilla to the glaze; it elevates the flavor beautifully.
Step 9: Slice & Serve
Cut into squares using a clean, sharp knife. For best results, wipe the blade clean after each cut. Serve slightly warm or room temperature. It’s equally good the next day—if you can resist eating them all immediately!
What to Serve It With
Ah, the best part—what do you pair these brownies with? Honestly, my favorite is a tall glass of cold milk or a steaming cup of coffee. The richness balances out the chocolate and makes it feel like a little treat in your everyday life. Sometimes I top them with a dollop of whipped cream or a scoop of vanilla ice cream—fancy, but honestly, just a little bit of sweetness that makes everything more delightful.
For brunch or a casual snack, I love serving these with fresh berries or a drizzle of caramel sauce. They’re also perfect for picnics or potlucks; just cut into smaller squares and pack them up nicely. Trust me, everyone will ask for the recipe. My kids especially love these because they’re still “dessert,” but I know I’m sneaking some goodness in too. It’s a win-win all around.
Top Tips for Perfecting Your Zucchini Brownies
After making these dozens of times, I’ve picked up a few tricks that keep them consistently fantastic. First, always squeeze out as much moisture as you can from the zucchini. I even freeze grated zucchini for a few days if I want to make these ahead—when it’s time, thaw and squeeze again. It keeps everything super moist without turning the brownies soggy.
Overmixing is the enemy—mix just until combined. I used to think I had to beat the batter like crazy, but learned that gentle folding keeps them tender and fudgy. If you want more chocolate punch, toss in a handful of mini chips into the batter at the end; they melt slightly and give those gooey pockets we all adore.
Regarding baking times, every oven is different. I recommend starting with 25 minutes, then checking with a toothpick. If it doesn’t come out clean, give it a few more minutes. And for the glaze—if it’s too runny, just add a little more powdered sugar; if it’s too thick, a splash of milk smooths it out. Simple, right?
Honestly, these brownies are perfect as-is, but feel free to experiment: try adding a dash of espresso powder for a mocha flavor, or mix in some orange zest for a citrus twist. The key is to keep the moisture right and not overbake. Every time I tweak the recipe, I learn a little more about what makes it shine, and I bet you will too.
Storing and Reheating Tips
If you’ve got leftovers (which is rare at my house!), here’s how I keep them fresh—and it’s surprisingly simple. Once cooled, store the brownies in an airtight container at room temperature for up to two days—cover them loosely so they don’t get stale. For longer storage, I pop them in the fridge in a sealed container; they stay moist for about a week, and I just warm them up gently in the microwave before serving.
Want to freeze? Wrap them tightly in plastic wrap and foil, then store in an airtight container for up to three months. Thaw at room temperature or give them a quick warm-up in the microwave—trust me, they taste just as good as fresh. Just hold off on adding the glaze until they’re defrosted; it tends to get a little tricky in the freezer.
When reheating, make sure not to overdo it—a short 10-15 second blast works wonders. The secret is keeping that fudgy texture intact and not turning them into a dry, crumbly mess. And if you’re serving for company, a little powdered sugar or a fresh drizzle of chocolate makes them look even more inviting after reheating.
Frequently Asked Questions
Final Thoughts
Honestly, these zucchini brownies have become a staple in my house. They’re not just a “healthy” swap—they’re a total indulgence with a secret twist that makes me feel like a bit of a kitchen genius. Whether I’m craving something chocolatey after dinner, packing a treat for the kids’ lunchboxes, or just need a quick fix of comfort, these brownies always deliver. The best part? They’re super forgiving, adaptable, and taste amazing whether warm or cooled. I encourage you to play with the add-ins—maybe some chopped nuts, a hint of orange zest, or a splash of espresso—whatever makes your taste buds happy. The simplest recipes often leave the biggest smiles, and I hope these do exactly that for you. Happy baking — can’t wait to hear how yours turn out! And if you try any fun variations, don’t forget to leave a comment—I love hearing new ideas.
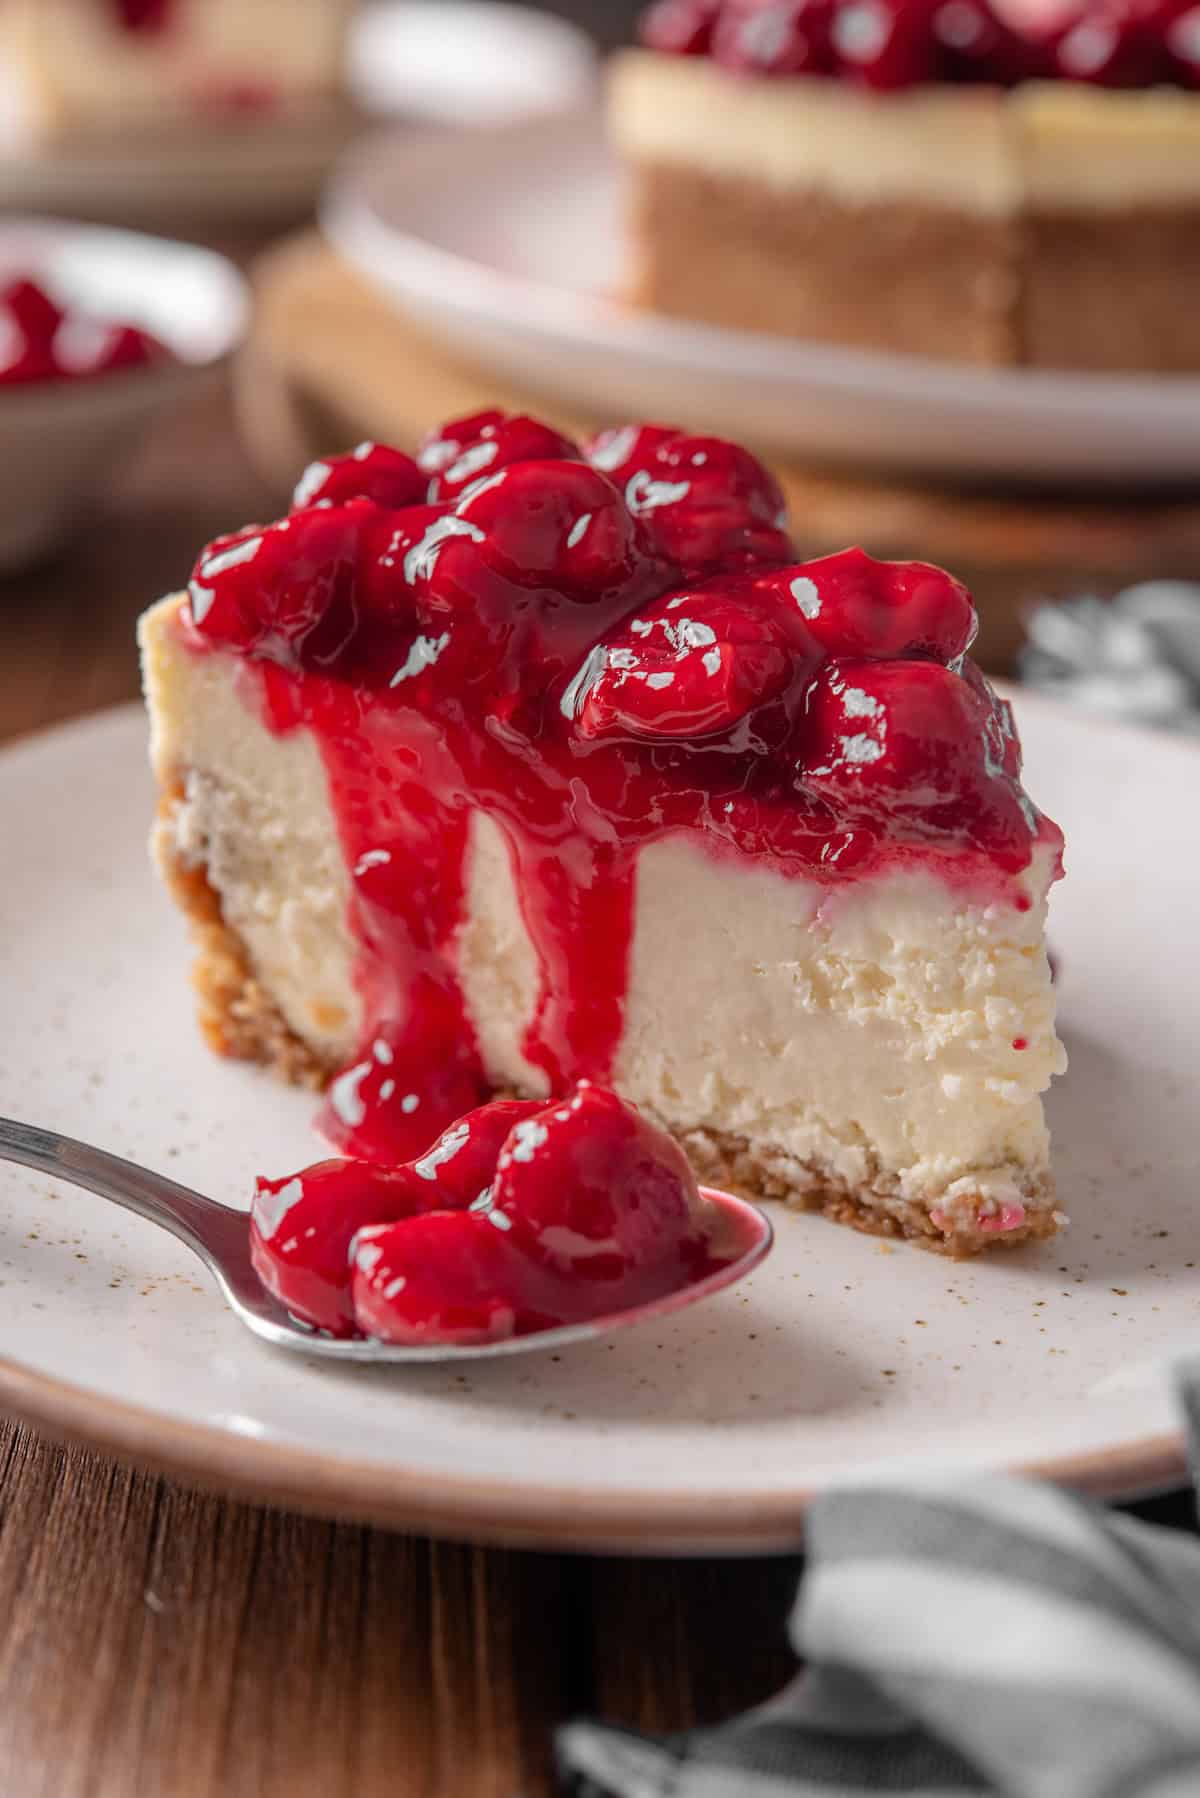
cherry cheesecake
Ingredients
Method
- Preheat oven to 350°F. Double-wrap bottom of a 9-inch springform pan with foil to prevent leaks.
- Mix graham cracker crumbs, melted butter, sugar, and salt until evenly combined.
- Press mixture into the bottom and slightly up the sides of the prepared pan.
- Bake crust for 8-10 minutes until lightly golden, then set aside to cool.
- In a large bowl, beat cream cheese and sugar until smooth.
- Add sour cream and vanilla, blending until combined.
- Add eggs one at a time, mixing just until incorporated.
- Pour filling over the cooled crust and smooth the top.
- Place the springform pan into a water bath by setting it inside a larger pan, adding hot water until it reaches 3/4 of the sides.
- Bake for 60-70 minutes until the center is just set and slightly jiggly.
- Let the cheesecake cool in the pan for one hour, then refrigerate for at least 6 hours or overnight.
- Top with cherry pie filling before serving.
- Run a knife around the edge and remove the sides of the springform pan to serve.