Effortless Pumpkin Cheesecake in Your Instant Pot
If you’ve ever had that moment where you want something sweet but don’t want to mess around with complicated recipes, this zucchini chocolate swirl cake is my secret weapon. Honestly, it’s one of those recipes I’ve been making for years, and every time I do, I fall in love all over again. The best part? It’s so tender, so flavorful, and the kids actually ask for seconds — which, trust me, isn’t always guaranteed with veggies in baked goods! I remember the first time I tested this with shredded zucchini and a splash of almond milk (yes, almond milk!), and it actually made the texture even creamier. This cake’s a lifesaver on busy nights or when I’m craving something comforting and chocolatey, but I don’t want to bake a huge mess. It’s like a warm hug fresh out of the oven, paired perfectly with a cup of coffee or glass of milk. You’ll see, once you get the hang of layering that cute swirl pattern, you’ll be surprised how simple and stunning this cake really is. And hey, I bet you’ll be making it on repeat, just like I do!
What is Zucchini Chocolate Swirl Cake?
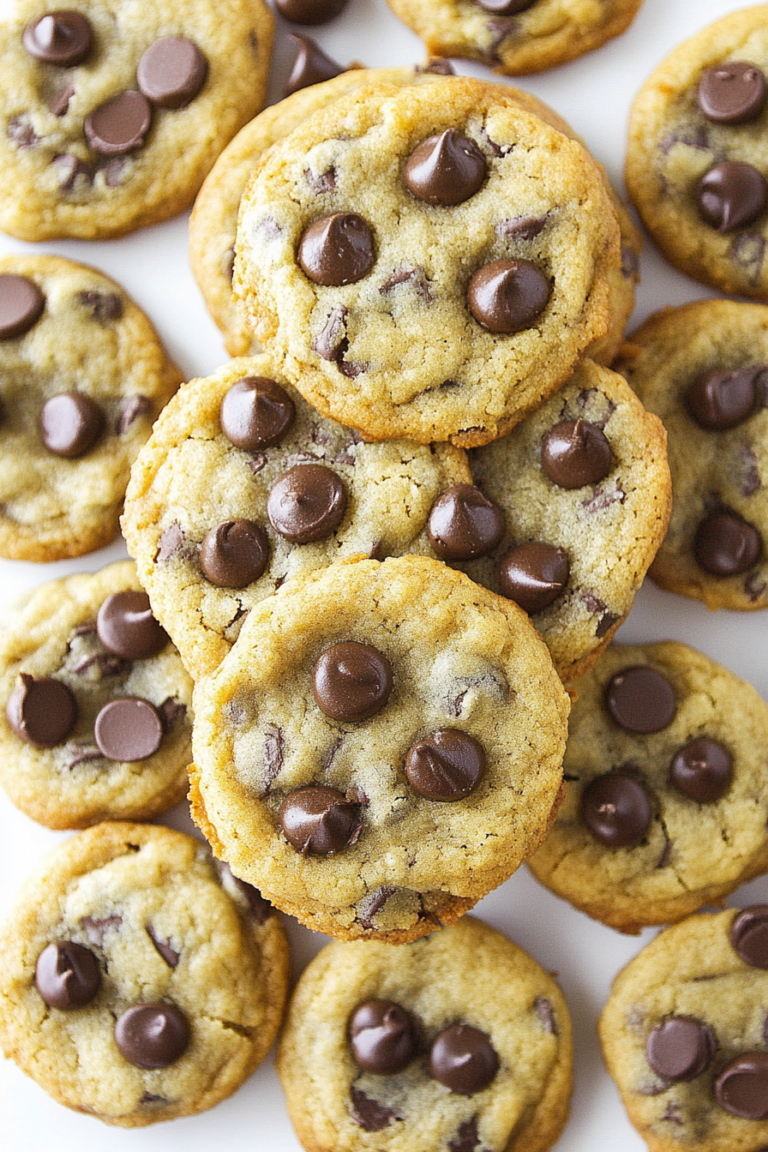
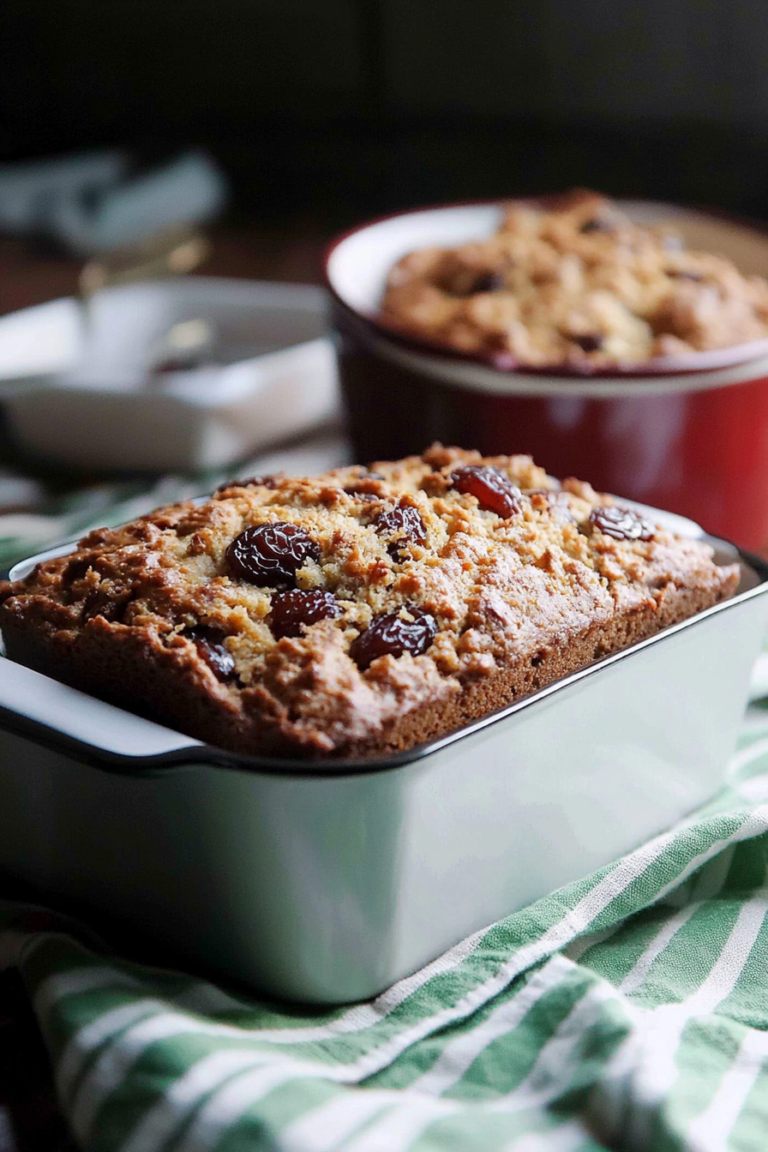
This zucchini chocolate swirl cake is essentially a moist, tender cake that combines the wholesome goodness of zucchini with rich chocolate swirls. The name might sound fancy, but think of it as a cross between a classic chocolate loaf and a vegetable-packed snack. It’s a marvelous way to sneak veggies into your family’s diet without raising any eyebrows. The idea is to shred zucchini finely so it melts right into the batter, adding moisture and a little protein boost. Then, you swirl in a luscious chocolate spread or cocoa mixture — kind of like marbling a beautiful piece of art — making each slice a happy surprise. It’s not overly sweet, but just enough to satisfy that craving for chocolate without feeling heavy. Over the years, I’ve tweaked the ingredients and discovered a few tricks to get that perfect swirl every time. Think of it as your new secret weapon for brunch, snack time, or even as a spontaneous dessert that everyone loves — no fancy frosting required!
Why you’ll love this recipe?
First, let me tell you — what I love most about this zucchini chocolate swirl cake is how incredibly moist it stays. No dry bites here! The zucchini works like magic, keeping the crumb soft and lush, even the next day. It’s honestly a joy to slice through because the swirl pattern makes it look so pretty, but it’s also a real treat to eat. And speaking of ease, you can whip this up in one bowl, no mixer needed — I always do this when I’m short on time or energy, and it’s never failed me. Plus, it’s budget-friendly. Most ingredients I keep in my pantry already: flour, cocoa powder, sugar, a zucchini or two, and some chocolate spread or chips for that stunning swirl. And the versatility? Oh man, this one’s a lifesaver on busy nights or when friends pop by unexpectedly. I’ve made variations with dark chocolate or even added a handful of nuts — and honestly, each version is delicious. Best of all? My kids ask for this all the time, and I love that I can sneak in some greens. That’s a win in my book!
How do I make Zucchini Chocolate Swirl Cake?
Quick Overview
This cake is all about simple, one-bowl baking with a fun swirl technique. You start by shredding your zucchini finely so it distributes evenly and keeps the cake moist. Then, mix your dry ingredients in one bowl, and your wet ingredients in another — usually just a quick whisk. Combine everything carefully, pour part of the batter into your loaf pan, spread a generous layer of chocolate spread or cocoa mixture over it, add the remaining batter, and then swirl a knife through to create that enticing marbled look. Toss it into a preheated oven, bake until a toothpick comes out clean, and cool for a few minutes before glazing or serving as-is. The magic is in how stress-free and forgiving this process is — perfect for bakers of all levels. Trust me, it’s one of those recipes that gets better with age and a little practice, especially when you master the swirl technique to perfection.
Ingredients
For the Main Batter:
- 1 ½ cups all-purpose flour — I like to use unbleached for a richer flavor
- 1 cup granulated sugar — adjust if you prefer less sweetness
- ½ cup unsweetened cocoa powder — Dutch-process if you like a smoother taste
- 1 teaspoon baking powder
- ½ teaspoon baking soda
- ¼ teaspoon salt
- ⅓ cup vegetable oil — or melted coconut oil for a slightly tropical twist
- 1 cup shredded zucchini — make sure it’s well-drained and lightly squeezed to remove excess moisture
- ¾ cup almond milk — you can swap for regular milk, but almond milk makes it extra creamy
For the Filling:
- ½ cup chocolate spread or nutella — I like to warm it slightly so it spreads easily
- 1 tablespoon cocoa powder (optional, for deeper flavor)
For the Glaze:
- ½ cup powdered sugar
- 1-2 teaspoons milk
- ¼ teaspoon vanilla extract
Step-by-Step Instructions
Step 1: Preheat & Prep Pan
Set your oven to 350°F (175°C). Grease a loaf pan with butter or line it with parchment paper — trust me, this makes all the difference when it’s time to get it out. I always do this first so I can focus on mixing everything else while the oven heats up. If you want a crisp top, sprinkle a little sugar on the surface before baking.
Step 2: Mix Dry Ingredients
In a big bowl, whisk together the flour, cocoa powder, baking powder, baking soda, and salt. I’ve tested this with a fork sometimes — it’s a messy, hands-on job, but I find the dry ingredients get evenly distributed that way. Plus, it’s satisfying to see the rich, dark cocoa blend in seamlessly.
Step 3: Mix Wet Ingredients
In a separate bowl, combine the sugar, oil, almond milk, and shredded zucchini. I usually just whisk it all together until smooth. When I add the shredded zucchini, I make sure to squeeze out all the excess water — otherwise, the batter can get a bit too loose, and that’s not what we want here.
Step 4: Combine
Pour the wet mixture into the dry ingredients. Gently fold until just combined — overmixing can make the cake dense, and nobody wants that. It should look thick but still scoopable. It’s okay if there are a few lumps; that’s part of the charm.
Step 5: Prepare Filling
Warm your chocolate spread slightly — maybe in the microwave for 10 seconds — so it’s spreadable. If you want a little extra depth, mix in a teaspoon of cocoa powder, but that’s optional. Set this aside.
Step 6: Layer & Swirl
Pour half the batter into your loaf pan. Spread the softened chocolate over the top, then carefully dollop the rest of the batter on top. Use a knife or a skewer to gently swirl, making figure-eight patterns or circles for that gorgeous marbled effect. Don’t overdo it — just a few swirls are enough for a beautiful look and even distribution of flavors.
Step 7: Bake
Pop it into your preheated oven for about 50-55 minutes. Check for doneness by inserting a toothpick into the center — it should come out with a few moist crumbs, not wet batter. If it’s browning too fast on top, tent with foil. I’ve found every oven is a little different, so keep an eye after 45 minutes.
Step 8: Cool & Glaze
Let the cake cool in the pan for about 10 minutes, then transfer to a wire rack. Meanwhile, mix your powdered sugar with just enough milk and vanilla to get a smooth, pourable glaze. Drizzle this over the warm cake — the warmth helps it seep into all those nooks and crannies.
Step 9: Slice & Serve
Once fully cooled, slice with a sharp serrated knife. Watch those beautiful swirls unfold as you cut! This cake is fantastic slightly warm or at room temperature. My family loves it with a dollop of whipped cream or a side of fresh berries. It’s especially cozy next-day — if you manage to keep some leftovers, that is!
What to Serve It With
This cake is pretty versatile, so I love to serve it in different ways depending on the time of day. For breakfast, it pairs beautifully with a strong cup of coffee or a latte. I sometimes warm a slice and spread a bit more of that chocolate spread on top — it’s a decadent start. During brunch, I like to serve it with a dollop of whipped cream and some fresh berries, especially if there’s a lazy weekend ahead.
As a dessert, it’s rich enough to stand alone but also looks lovely with a dusting of powdered sugar or a drizzle of caramel. My kids ask for this all the time after dinner. It’s become our “special” weekend treat, especially when I want something quick, homemade, and impressively pretty. And on casual afternoons, a slice with a glass of milk or tea works just as well — cozy, comforting, and utterly satisfying.
Top Tips for Perfecting Your Zucchini Chocolate Swirl Cake
Once you’ve made this a couple of times, you’ll see what I mean about little tricks that make all the difference. First, always squeeze out extra moisture from your zucchini — I learned this after a few too-many soggy cakes. Shredding it finely helps it blend seamlessly into the batter, almost like a secret ingredient that keeps the crumb tender. Trust me on this one. If you want an even richer chocolate flavor, try replacing a tablespoon of cocoa powder with a bit of espresso powder; it deepens the chocolate notes without overpowering.
Mixing is key — overmixing makes the batter dense. Gently fold until just combined and stop as soon as you see no streaks. For the swirl, I suggest dropping dollops of the chocolate filling randomly and then swirling carefully with a skewer or butter knife. A good swirl pattern is about controlled movement, not churning the batter too much. If you prefer a more intense chocolate look, layer more spread in the middle and make bigger swirls.
When baking, not all ovens are created equal. I’ve learned to check around the 50-minute mark and do the toothpick test. If it comes out moist but not wet, you’re good. Sometimes I rotate the pan halfway through to ensure even baking. If the top browns too quickly, tent with foil — better safe than burnt! For the glaze, I recommend starting with less milk and adding gradually: you want a pourable consistency but not runny. A thicker glaze adheres better and looks prettier.
This recipe has been tweaked and tested so many times that I feel confident in saying that once you master a few techniques, it’s all about making it your own — maybe adding a handful of chopped nuts or a splash of vanilla. Whatever you do, remember: the love and imperfect swirl are what make this cake special, not perfection.
Storing and Reheating Tips
This cake stays pretty darn good for a few days. At room temperature, I recommend wrapping it tightly in plastic or storing it in an airtight container — it’ll last about 2 days that way. If you want to keep it longer, pop it in the fridge for up to 4 days; just bring it out and let it come to room temp before slicing for that perfect tender bite.
Freezing? Absolutely! Wrap individual slices tightly in plastic wrap, then aluminum foil, and stash for up to 3 months. When you’re ready for a treat, defrost overnight in the fridge or at room temp for a quick fix. The texture stays moist, and the flavors deepen nicely. Just remember, if you added glaze, it’s best to wait to glaze after reheating — simply microwave slices for 20 seconds, then drizzle with glaze. The warmth enhances the chocolate aroma, making every bite feel freshly baked.
Frequently Asked Questions
Final Thoughts
This zucchini chocolate swirl cake isn’t just a recipe — it’s a cozy tradition, a little secret in my kitchen that I hope you’ll love as much as I do. It’s proof that you can sneak a veggie into a decadent treat and still make something irresistible. I’ve made it so many times I’ve lost track, and every batch gets a thumbs-up from friends and family. It’s forgiving, flexible, and looks gorgeous when sliced — perfect for sharing or just enjoying all to yourself with a hot cup of coffee on a lazy Sunday. Remember, perfection isn’t the goal here; love and a dash of messiness are what make homemade baking special. I can’t wait to see how yours turns out — don’t forget to leave me a comment with your tweaks and stories! Happy baking!
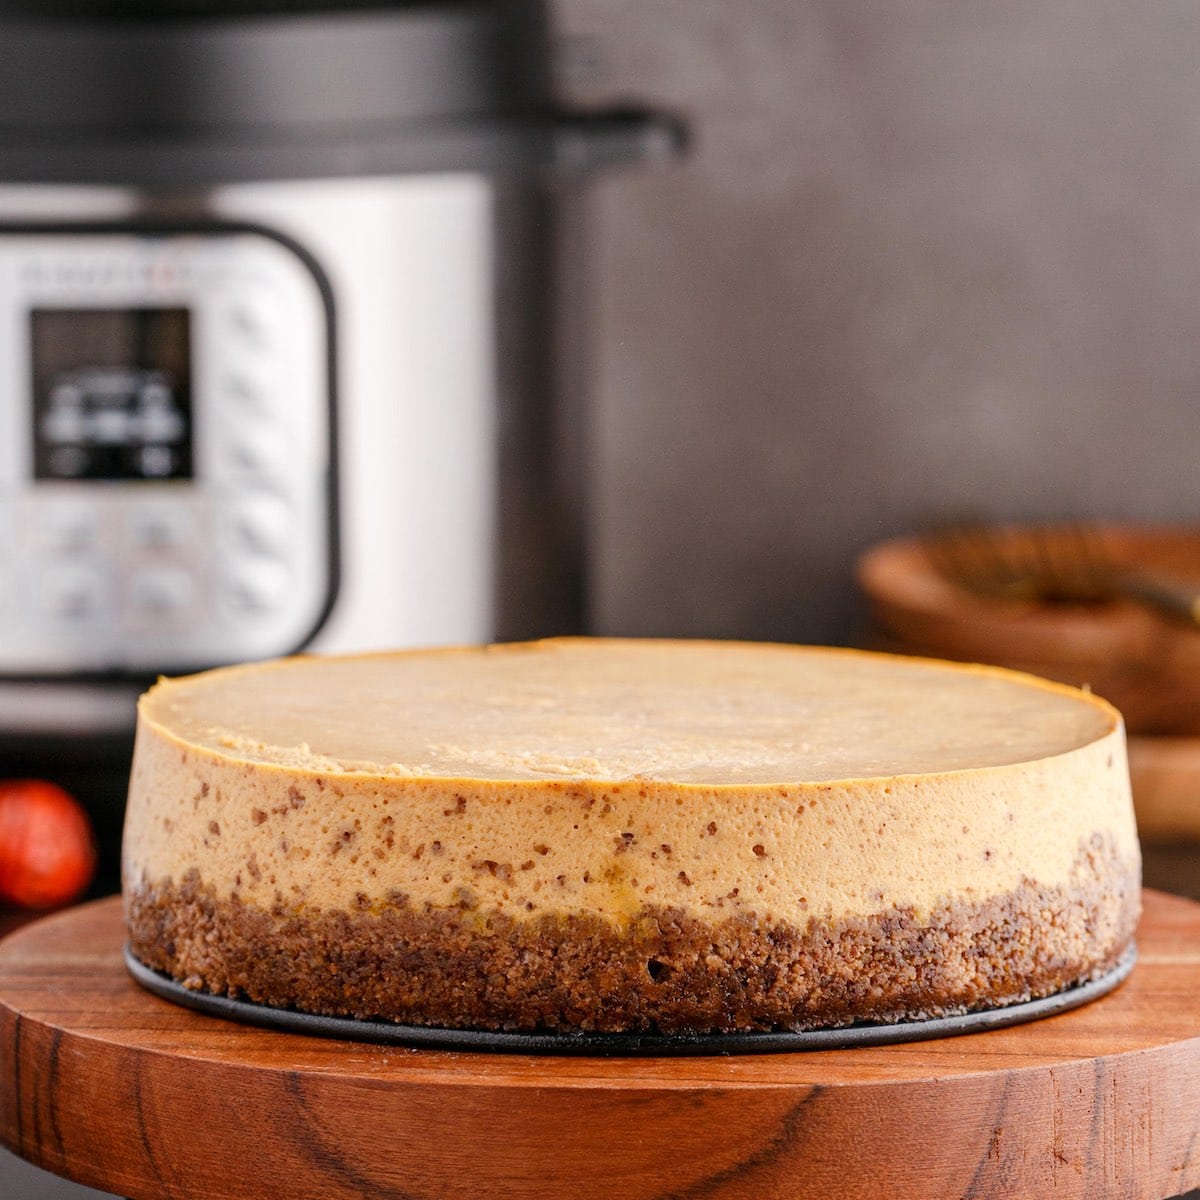
pumpkin cheesecake
Ingredients
Method
- Using a non-stick spray, coat a 7x3 inch springform pan.
- In a food processor, pulse your pecans until very fine and transfer to a small bowl.
- Add graham cracker crumbs, melted unsalted butter, brown sugar, and cinnamon, mixing until coated.
- Pour the mixture into the springform pan, spreading evenly across the bottom, and press down to form the crust.
- Place the pan in the freezer for 25 minutes.
- While crust is freezing, beat softened cream cheese and sugars in a medium bowl until smooth.
- Add remaining ingredients: eggs, heavy cream, pumpkin puree, vanilla, cornstarch, cinnamon, nutmeg, and ginger. Beat until combined.
- Remove springform pan from freezer and pre-fit with a foil lid, loose at the top.
- Pour the filling into the crust, leaving about ¼ inch at the top, then cover with foil.
- Add 1.5 cups of water to the Instant Pot, place the trivet inside, and set the pan on top.
- Secure the lid and cook using manual mode for 40 minutes, then allow natural release for 25 minutes.
- Refrigerate the cheesecake for at least 6 hours or overnight before removing from the pan.
- Serve topped with whipped cream and optional caramel or chocolate drizzle.