Easy Fried Chicken Sandwich Recipe
There’s something about the smell of warm cake baking in the oven that instantly takes me back to childhood Sunday mornings at my grandma’s house. Her kitchen was always filled with the sweet, comforting aroma of cinnamon and butter, and I swear, the whole house could smell like a cozy hug. Now, whenever I make this zucchini swirl coffee cake, it brings that same warmth—and I love that my kids ask for it every weekend, claiming it’s their new favorite treat.
This cake is special because it’s not just about its incredible flavor but also how surprisingly easy it is to throw together. I always do this when I want something sweet but don’t want to spend hours in the kitchen—or when I have zucchini left from the garden and need to use it up before it spoils. Trust me, this one’s a lifesaver on busy nights or when you’re just craving that perfect balance of moist, tender crumb and a little fruity crunch. Plus, it’s endlessly adaptable—make it gluten-free, add walnuts, or swap the glaze for fresh fruit. I can’t wait to share my secrets with you!
What is Zucchini Swirl Coffee Cake?
Think of this as a twist on classic coffee cake, but with a sneaky vegetable boost. It’s essentially a moist, buttery cake layered with a cinnamon-sugar zucchini filling that swirls beautifully when baked, creating ribbons of flavor and texture throughout. The name ‘swirl’ comes from that gorgeous marbled effect you get when you gently ripple the zucchini mixture into the batter—like a work of art you can eat!
While it sounds fancy, it’s really just a straightforward, homey cake that feels sophisticated enough for brunch but comforting enough for a lazy weekend breakfast. The idea is that the zucchini adds moisture and a subtle veggie sweetness—plus a sneaky extra serving of veggies into dessert, which I love. It’s the kind of recipe that makes everyone, kids included, ask for seconds—and sometimes thirds.
Why you’ll love this recipe?
What I love most about this zucchini swirl coffee cake is how it combines the cozy flavor of cinnamon and butter with the fresh, slightly sweet hint of zucchini. It’s almost like a carrot cake’s cousin—moist, rich, but with a lighter, more delicate crumb. The zucchini disappears during baking, leaving behind a tender texture that’s just perfect with a cup of coffee or tea. Trust me, once you try it, you’ll be amazed at how sneaky and delicious vegetable-based baked goods can be.
This recipe is also super simple. No fancy gadgets needed—just a bowl, a whisk, and a spatula. I’ve made this countless times, tweaking the amount of zucchini and sugar to suit different tastes, and it never fails. Plus, it’s budget-friendly using everyday ingredients I already have in the pantry or fridge. And the best part? It’s endlessly adaptable. Feel free to swap the cinnamon with nutmeg or cardamom, or add chopped nuts for extra crunch. It’s truly a canvas for your creativity.
What’s more, this cake is versatile enough to serve at breakfast, brunch, or as a sweet treat after dinner. My friends swear it’s a “dessert disguised as breakfast,” but honestly, my family likes it anytime. This is comfort food at its best—simple, wholesome, and so darn good.
How do I make Zucchini Swirl Coffee Cake?
Quick Overview
This cake comes together in about an hour, from whisking together the batter to pulling it out the oven. The trick is to keep the batter light and airy—so I always fold in the zucchini gently to keep that perfect moist crumb. The zucchini filling is just a quick mash of grated zucchini with cinnamon and sugar, which swirls beautifully into the batter before baking. It’s a simple, stress-free process that results in a stunning, flavorful loaf that’s perfect for sharing.
Ingredients
For the Main Batter:
– 2 cups all-purpose flour (or a 1:1 gluten-free blend)
– 1 cup granulated sugar
– 1 teaspoon baking powder
– ½ teaspoon baking soda
– ½ teaspoon salt
– 1 teaspoon ground cinnamon
– 1 cup vegetable oil or melted butter
– 3 large eggs
– 1 teaspoon vanilla extract
– 1 cup grated zucchini (squeeze out excess moisture)
For the Filling:
– 1 cup grated zucchini
– 2 tablespoons brown sugar
– 1 teaspoon ground cinnamon
– 1 tablespoon melted butter or coconut oil (for richness)
For the Glaze:
– ½ cup powdered sugar
– 1-2 teaspoons milk or cream
– A dash of vanilla or lemon zest (optional)
Step-by-Step Instructions
Step 1: Preheat & Prep Pan
Preheat your oven to 350°F (175°C). Grease a 9-inch loaf pan or round cake pan with butter or non-stick spray. Lining it with parchment paper makes life easier when you’re ready to serve—trust me, I learned that the hard way! Set it aside while you mix up the batter.
Step 2: Mix Dry Ingredients
In a large bowl, whisk together the flour, sugar, baking powder, baking soda, salt, and cinnamon. Combining these first ensures your leavening agents are evenly distributed, which helps the cake rise beautifully.
Step 3: Mix Wet Ingredients
In a separate bowl, beat the eggs, then add the oil (or melted butter), vanilla, and grated zucchini. Mix well until smooth. I always do this last because I want the zucchini to just incorporate into the wet mix without overworking the eggs.
Step 4: Combine
Pour the wet mixture into the dry ingredients and fold gently with a spatula until just combined. Don’t overmix! Overmixing can make the cake dense instead of tender. A few streaks of flour are okay—that’s your cue to stop.
Step 5: Prepare Filling
In a small bowl, toss the grated zucchini with brown sugar, cinnamon, and melted butter. It’ll look juicy and vibrant, with that cinnamon aroma already filling the air. If you want to add chopped nuts or raisins, now’s the time.
Step 6: Layer & Swirl
Pour about half of the batter into your prepared pan. Spread the zucchini filling evenly over the top—don’t worry if it’s a little messy. Then add the rest of the batter, smoothing the surface gently. Using a toothpick or skewer, run it through the batter in swirling motions to create those beautiful ribbons.
Step 7: Bake
Pop it into the oven and bake for 40-45 minutes. Check for doneness by inserting a toothpick in the center—if it comes out clean, you’re good. Ovens vary, so start checking at 40 minutes. Your kitchen will smell incredible—warm cinnamon, zucchini, and buttery goodness.
Step 8: Cool & Glaze
Let the cake cool in the pan for at least 15 minutes before transferring to a wire rack. Once cooled slightly, drizzle with your glaze—powdered sugar mixed with a splash of milk and a dash of vanilla. If you like, sprinkle a little extra cinnamon or zest on top for presentation.
Step 9: Slice & Serve
Use a sharp knife to cut into slices—clean cuts make for prettier presentation, so wipe the blade between slices. Serve it warm or at room temperature, maybe with a dollop of whipped cream or a cup of strong coffee. I promise, this disappears in minutes at my house!
What to Serve It With
This cake is versatile enough for many occasions. For breakfast or brunch, I love pairing it with a steaming mug of coffee or chai—something warm to complement the sweet spices. It’s also fantastic as a dessert, especially when served a la mode with vanilla ice cream or a drizzle of honey. When I have visitors over, I sometimes add a handful of toasted walnuts on top for extra crunch and presentation flair.
My family loves it as a cozy snack on lazy Sunday afternoons, especially when we sit around the table chatting and nibbling. It’s the imperfect, homemade kind of treat that makes everyone feel at home. Sometimes I also layer slices with cream cheese spread for an elegant breakfast toast-like twist. Honestly, this cake makes every occasion feel special.
Top Tips for Perfecting Your Zucchini Swirl Coffee Cake
One thing I’ve learned after making this a dozen times is that the moisture content of zucchini can vary based on the season or how you prepare it. I always squeeze out some of the excess water after grating—trust me, this keeps the cake from turning soggy. I’ve tested with different zucchinis from my garden and packaged ones from the store, and squeezing out the moisture makes a world of difference.
When mixing the batter, fold gently—don’t rush it. Overmixing the batter leads to a dense, rubbery crumb, which is the opposite of the tender, moist texture we’re aiming for. If you want to get fancy, sprinkle a handful of chopped almonds or walnuts into the batter or the filling—delicious and a nice texture contrast.
For the swirl effect, try to add the zucchini filling in small spoonfuls dotted across the surface and then swirl vertically with a skewer. It’s all about those pretty ribbons! Also, don’t overbake. I find that taking it out a minute or two early ensures the center stays moist. The toothpick test is your best friend here.
If you want to make this gluten-free, swap the flour with a 1:1 gluten-free baking blend and add an extra teaspoon of baking powder. It does change the texture slightly—less airy but still delicious. Play around with nutmeg or ginger for variation, or try a lemon glaze instead of cinnamon for a citrusy twist.
Lastly, I’ve learned that letting the cake sit for at least 20 minutes after baking helps the flavors meld. The upgrade here is to add a splash of vanilla or lemon zest into the glaze for a fresh finish. This is a forgiving recipe—perfect for experimenting until it’s just right for your taste buds!
Storing and Reheating Tips
This cake keeps surprisingly well—if it lasts that long! At room temperature, it’s best enjoyed within a day or two, covered tightly with plastic wrap or stored in an airtight container. The moisture stays just right, and the flavors are at their peak. If you’re making it ahead or have leftovers, refrigerate it—just bring it back to room temperature or warm slices gently in the microwave for that fresh-baked feel.
Freezing is a great option, too. Wrap individual slices tightly in plastic wrap and then in foil—they’ll keep for a month or so. To reheat, unwrap and microwave for about 20 seconds or warm in a low oven—trust me, it keeps the moistness beautifully. If you add the glaze before freezing, just re-glaze once nice and warm. It’s one of those cakes that actually gets better with a little rest—flavors deepen, and the texture settles perfectly.
Frequently Asked Questions
Final Thoughts
This zucchini swirl coffee cake is one of those recipes that feels like a warm hug—comforting, easy, and packed with flavor. I’ve made it for everything from weekend brunches to last-minute potlucks, and it always gets rave reviews. The best part? It’s adaptable enough to tweak until it’s just right for you, whether that’s adding nuts, swapping spices, or trying different toppings. Trust me, once you get the hang of it, you’ll be baking this masterpiece regularly—and maybe even experimenting with your own twists. Happy baking, and I can’t wait to hear how yours turns out! Don’t forget to leave a comment, share your photos, or tell me about your favorite variation. Let’s keep the kitchen full of happiness and good smells!
chicken sandwich
Ingredients
Method
- Pound the chicken breasts lightly and trim any extra fat off.
- In a small bowl, stir together the Cajun seasoning, pepper, garlic powder, onion powder, and sugar.
- Add 1 tablespoon of the seasoning mix to the buttermilk and stir to combine. Pour over the chicken. Marinate for at least 1 hour or overnight.
- Combine remaining seasoning with flour. Whisk to mix.
- Add 3 to 4 tablespoons of the buttermilk marinade into the flour mix, keeping some chunky pieces.
- Dredge the chicken in the flour mixture, dip back into buttermilk, then dredge again, pressing chunky flour into the chicken.
- Heat oil in a deep pan over medium-high heat until a little flour sizzles upon contact.
- Fry chicken pieces for 5-6 minutes on each side until golden and cooked through (165°F).
- Remove fried chicken and drain on a cooling rack. Repeat with remaining chicken.
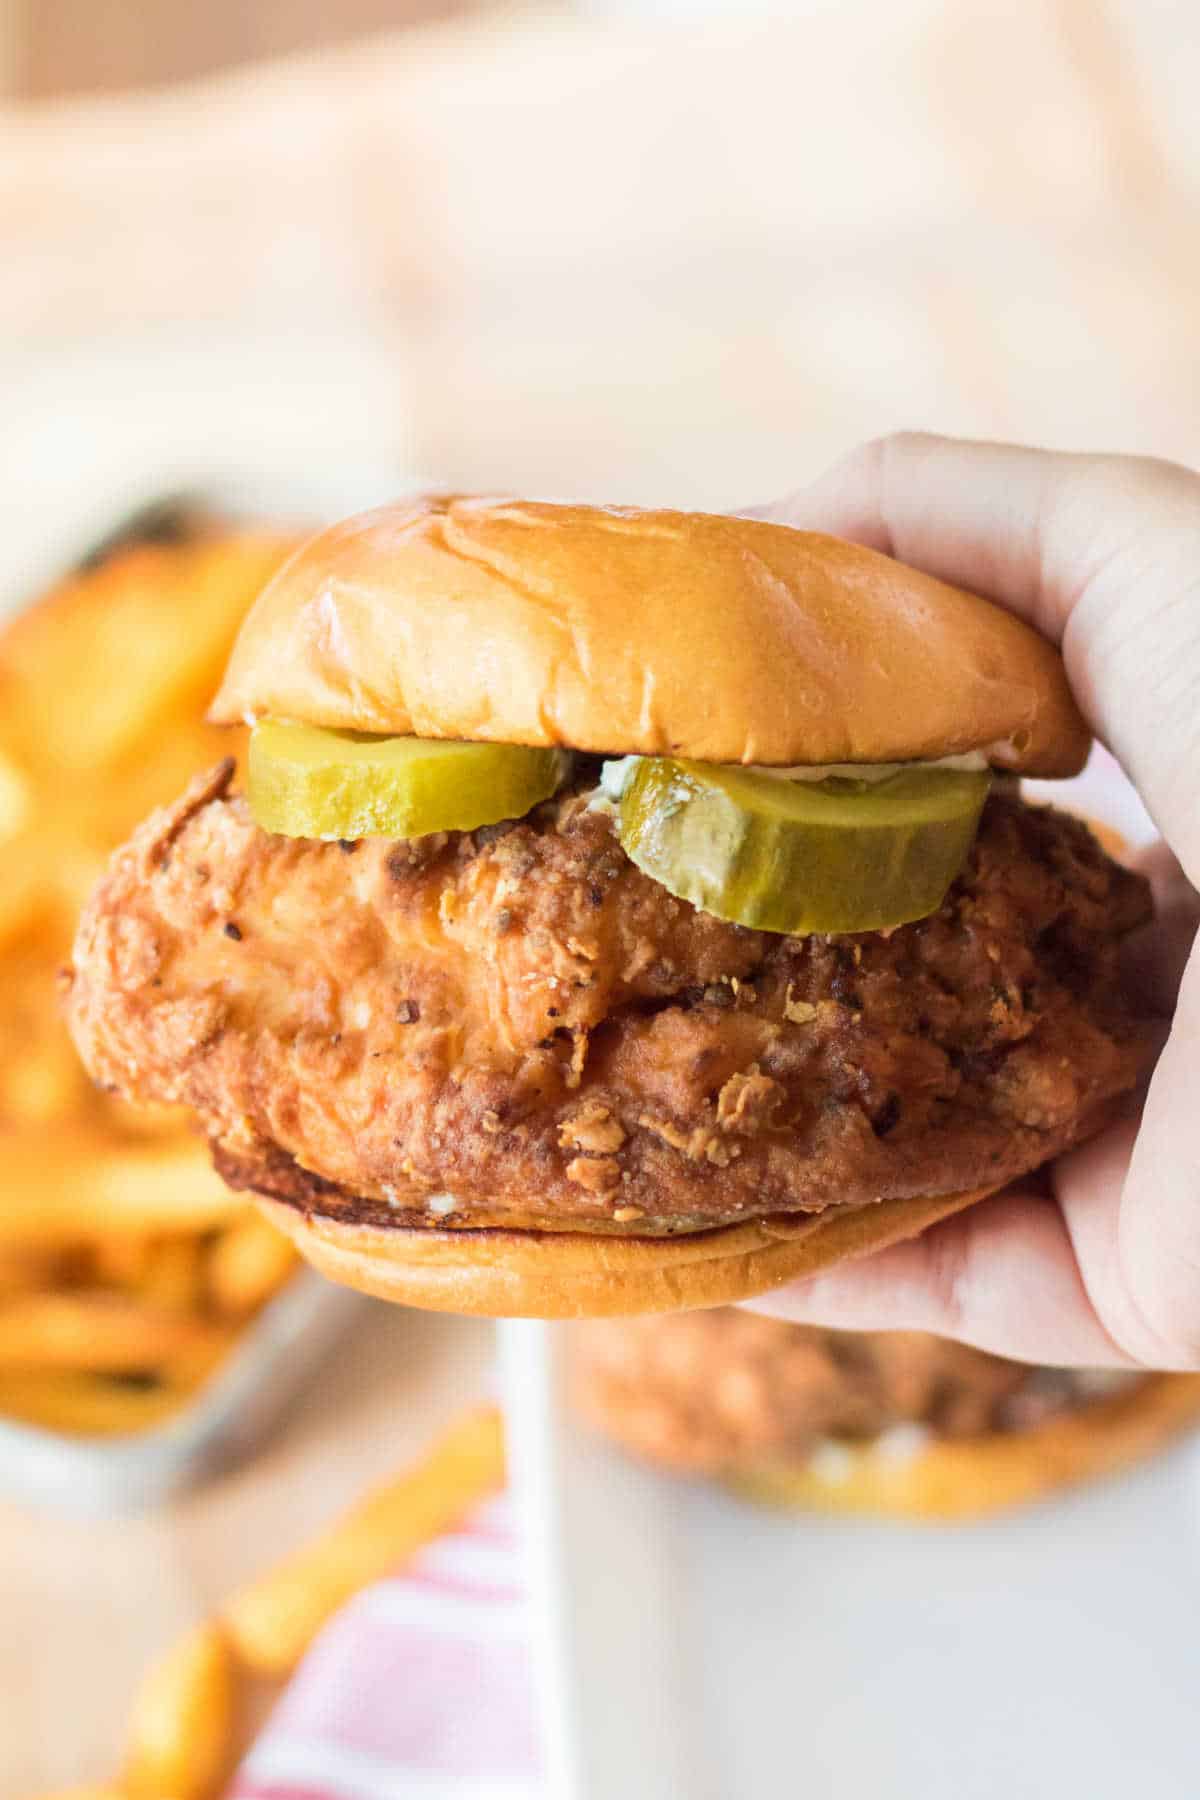
- Assemble sandwiches by placing chicken on toasted buns and adding mayonnaise and pickles if desired.