Simple Baked Apple Bread Recipe
Let me tell you—there’s nothing quite like the smell of baking sweet, moist cake wafting through my kitchen. I remember my grandma’s old recipe box, full of handwritten notes and scribbles, but this zucchini chocolate swirl cake? It’s a modern twist she’d totally approve of. I always do this when I want something comforting but with a little surprise—like a secret ingredient that totally makes a difference. And honestly, this one’s a lifesaver on busy nights when my kids are craving something sweet, but I don’t want to spend hours baking. Plus, I love how you get to sneak in some veggies without anyone noticing—well, except for maybe my kids, who ask for seconds every single time. The best part? It’s ridiculously easy and comes together in no time. Trust me, once you try this, it’ll become a regular in your baking rotation. It’s perfect for every occasion—breakfast, snack, or late-night treat. So let’s get to it—you’re going to love how simple and delicious this is!
What is Zucchini Chocolate Swirl Cake?
This zucchini chocolate swirl cake is essentially a tender, moist crumb with a surprise twist—hidden zucchini blended into the batter, creating a rich, decadent texture. Think of it as a mash-up between a fudgy brownie and a classic pound cake, with a marbled swirl of chocolate that keeps every bite interesting. The name might sound fancy, but it’s actually super laid-back to make—no fancy equipment needed. It’s a clever way to get those greens into your kids’ diet without any fuss and still satisfy that chocolate craving. I first stumbled upon this idea years ago when I was looking for a way to sneak extra veggies into my family’s diet without complaints. The zucchini keeps the cake incredibly moist and adds a subtle sweetness that enhances the chocolate flavor. Plus, it’s a great way to stretch your ingredients—fewer trips to the store for basic staples and lots of satisfaction at the end. Think of this as your new go-to for quick, flavorful baking—perfect for a cozy weekend or an impromptu dinner party!
Why you’ll love this recipe?
What I love most about this zucchini chocolate swirl cake is the way it combines simplicity with that wow-factor finish. First off, the flavor—every bite is soft, chocolaty, with that hint of earthy zucchini that makes it uniquely delicious. It’s not overly sweet, which means I can enjoy a slice with my afternoon coffee without feeling guilty. The texture? Oh, so moist and tender—you know the kind where your fork just glides through with ease. And since it’s pretty forgiving, even if you’re a beginner baker, you’ll find yourself making this without stress. Budget-wise, it’s super friendly—mostly pantry staples you probably already have, plus the occasional zucchini from your garden or the farmers’ market. What’s more, I love its versatility. I’ve topped it with a simple dusting of powdered sugar, drizzled it with extra chocolate, or even layered whipped cream on top for a fancy brunch. It’s adaptable, forgiving, and downright tasty. Honestly, this cake has become a staple around here—my kids ask for it all the time, and it disappears in minutes. That’s a good sign, right?
How do I make Zucchini Chocolate Swirl Cake?
Quick Overview
This cake comes together faster than you’d think. You start by grating the zucchini and squeezing out excess moisture—trust me, this step makes all the difference in keeping the cake moist without it feeling too heavy. While the zucchini is draining, you whisk your dry ingredients, then mix your wet ingredients, including a good splash of vanilla and a little oil for richness. After combining everything into a smooth batter, you pour half into your loaf pan or baking dish, then spoon on a thick chocolate layer, swirling it gently into the batter before topping with the remaining batter and more chocolate. Pop it into a preheated oven, bake until a toothpick comes out moist but clean, and then cool slightly before glazing or serving plain. It’s honestly so easy—you won’t believe how fast it all comes together. Plus, the swirl technique makes its presentation cozy and beautiful—perfect for sharing. You’ll love how adaptable it is, too. No fancy tools required—just a few bowls, a spatula, and a good oven.
Ingredients
For the Main Batter:
– 2 cups all-purpose flour (or whole wheat for extra health boost!)
– 1½ teaspoons baking powder
– ½ teaspoon baking soda
– ¼ teaspoon salt
– 1 teaspoon cocoa powder (for depth, optional but recommended)
– ¾ cup sugar (honey or maple syrup works too)
– ½ cup vegetable oil or melted coconut oil
– 3 large eggs
– 1 teaspoon vanilla extract
– 1 cup grated zucchini (squeezed dry) – I always do this after grating, then toss in a clean towel or paper towel!
For the Filling:
– ½ cup semi-sweet chocolate chips or chopped chocolate
– 2 tablespoons unsweetened cocoa powder
– 1-2 tablespoons milk (dairy or almond) to loosen up the mixture
Tip: You can swap in peanut butter or caramel for a different flavor twist!
For the Glaze:
– ½ cup powdered sugar
– 1-2 teaspoons milk or cream
– A splash of vanilla or a sprinkle of cocoa powder for a richer look
Step-by-Step Instructions
Step 1: Preheat & Prep Pan
Set your oven to 350°F (175°C). Grease a loaf pan or line it with parchment—less mess, easier cleanup. I love using silicone pans—they make for easy unmolding and give a nice crust on the edges.
Step 2: Mix Dry Ingredients
In a large bowl, whisk together your flour, baking powder, baking soda, salt, and cocoa powder if using. This ensures everything gets evenly distributed. I always do this first—it’s the baseline for a tender crumb!
Step 3: Mix Wet Ingredients
In a separate bowl, beat your eggs lightly, then add sugar, oil, vanilla, and zucchini. I tested this with almond milk once, and it actually made it even creamier—who knew? Mix until smooth and slightly fluffy. The zucchini should be evenly dispersed, almost like a secret green marbling through the batter.
Step 4: Combine
Pour the wet into the dry ingredients and gently fold together. Avoid overmixing—it can make the cake dense and rubbery. We want fluffy, tender crumbs, not a workout-resistance batter! Fold until just combined—that’s key.
Step 5: Prepare Filling
For the chocolate swirl, stir the chocolate chips or chopped chocolate into the cocoa mixture with a splash of milk to loosen it. It should be thick but scoopable—think chocolatey peanut butter texture. You can also add a pinch of cinnamon or chili powder if you like a little kick.
Step 6: Layer & Swirl
Pour about half of the batter into your pan. Then dollop spoonfuls of the chocolate filling in the center. Using a skewer or toothpick, gently swirl the chocolate into the batter—don’t overmix, just enough to create pretty marbled ribbons. Repeat with the remaining batter and chocolate, creating a layered, swirling effect.
Step 7: Bake
Pop it into the oven and bake for about 45-50 minutes. Do a toothpick test—insert in the center; it should come out with moist crumbs, not wet batter. Every oven is different, so start checking around 45 minutes. If it’s browning too fast, tent it with foil.
Step 8: Cool & Glaze
Let the cake cool in the pan for about 15 minutes, then transfer to a wire rack. Once cooled slightly but still warm, drizzle your glaze over the top. For best presentation, I like to use a spoon to create beautiful streaks that catch the light and make it look irresistible.
Step 9: Slice & Serve
Use a serrated knife to cut clean, even slices. Serve warm or at room temperature—either way, it’s fabulous. I sometimes add a dollop of whipped cream or a drizzle of caramel for extra indulgence. The cake looks lovely on a platter with some fresh berries or a dusting of powdered sugar. Bonus: it slices beautifully after a night in the fridge for that perfect, fudgy texture.
What to Serve It With
This cake is versatile—here are some ideas that have worked magic for my family:
For Breakfast: Warm slices with a dollop of Greek yogurt and a drizzle of honey. It’s honestly decent enough to start your day—moist, chocolatey, and secretly nutritious!
For Brunch: Stack slices on a pretty plate with fresh berries and a side of crispy bacon. Pair it with a strong cappuccino or a glass of freshly squeezed orange juice. My friends always comment on how sophisticated yet effortless it looks.
As Dessert: Cut into pretty squares, top with whipped cream, or serve with vanilla ice cream. The richness of the chocolate perfectly balances the zucchini’s subtle earthiness—it’s seriously crowd-pleasing.
For Cozy Snacks: Warm a slice in the microwave for 20 seconds, then spread with almond butter or Nutella for a quick, satisfying treat. Perfect for late-night cravings or when the kids walk in starving after school.
Over the years, I’ve paired this with everything from a simple cup of milk to sparkling wine for a fancy touch. The versatility is endless, and I love how everyone at my table is surprised to learn there’s zucchini in the mix. It’s one of those recipes that feels homey but special—exactly what baking should be.
Top Tips for Perfecting Your Zucchini Chocolate Swirl Cake
Having made this cake countless times, I’ve learned a few tricks to make it even better:
Zucchini Prep: Always squeeze out that excess moisture after grating—this keeps the cake from turning into a soggy mess. I use a clean dish towel or paper towel to press out the water, and it makes such a difference in texture.
Mixing Advice: Be gentle when combining wet and dry ingredients. Overmixing is the enemy of fluffiness. You’re aiming for a batter that’s just combined, with a few lumps remaining—that’s perfect.
Swirl Pattern: When layering your chocolate, think about creating a pretty pattern. Use a knife or skewer to do figure eights or simple circles. It will look gorgeous when baked, and the swirl will be more distinct.
Ingredient Swaps: Feel free to experiment! I’ve tried swapping in coconut sugar, which gave a lovely caramel flavor, or using dairy-free chocolate chips for an allergy-friendly version. If you prefer less sweetness, cut back on the sugar a bit—you might want to add a dash more vanilla or a pinch of cinnamon to keep it balanced.
Baking Tips: Every oven is different—I’ve learned to start checking around the 45-minute mark. Use the toothpick test liberally, and if your cake is browning too fast, tent it with foil to prevent burning.
Glaze Variations: For different flavor profiles, try adding a splash of espresso, orange zest, or even a sprinkle of sea salt on top. The glaze can be as simple or fancy as you like, depending on the mood.
This recipe has been a hit with my family, and each time I bake it, I adjust little things based on how I feel or what I have on hand. That’s the beauty of it—improvise, play, and enjoy the process. The result is a cozy, homemade treat that I genuinely love sharing, and I know you’ll feel the same.
Storing and Reheating Tips
This cake keeps well in a covered container at room temperature for about two days. After that, I pop it into the fridge to keep it fresh—just make sure it’s wrapped tightly so it doesn’t dry out. It’s still delicious chilled, especially if you love a dense, fudge-like texture. If you want to keep it longer, the freezer works great—wrap slices in plastic wrap, then foil, and they’ll last up to 3 months. To reheat, just microwave a slice for 20-30 seconds until warm and gooey again. I do recommend adding a fresh drizzle of glaze or melting some extra chocolate over it right before serving—makes it feel like fresh-baked all over again.
When storing, avoid leaving it uncovered—those moisture-locking benefits are worth it. And if you’re planning to frost or glaze later, keep the cake plain until just before serving to prevent the topping from slipping or melting.
Frequently Asked Questions
Final Thoughts
This zucchini chocolate swirl cake has become a family favorite because it’s so forgiving and rich in flavor, yet so simple to whip up. I love how it hides a bit of greens, making it feel like a sneaky but wholesome dessert that everyone loves. Honestly, once you get the hang of swirling and baking it, you’ll find yourself making it over and over—you might even sneak some extra zucchini from the garden just to keep baking! Whether you serve it for breakfast, a cozy afternoon snack, or an elegant dessert, it always manages to put a smile on everyone’s face. I hope you try it soon—trust me, your kitchen will smell amazing, and your family will thank you. And hey, if you do make it, don’t forget to let me know how it turned out. Happy baking, my friend!
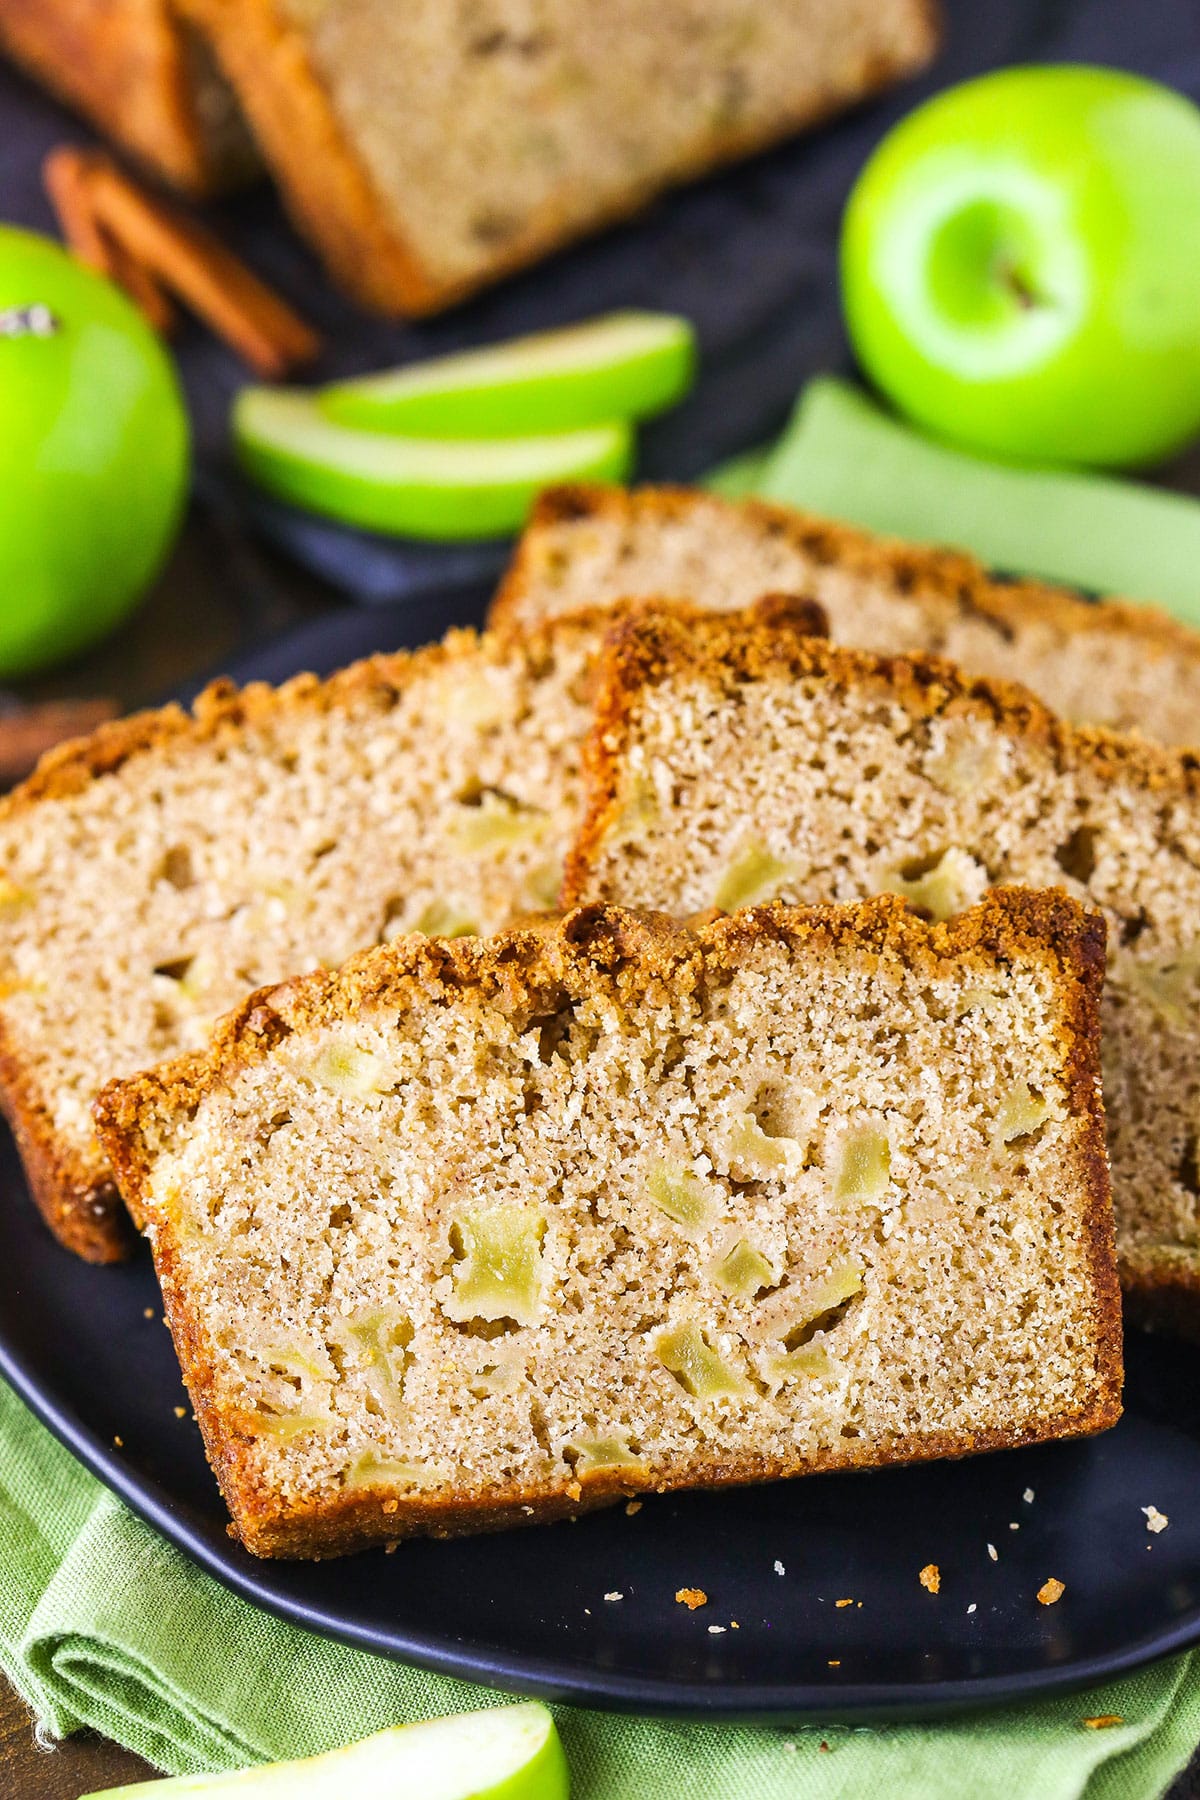
apple bread
Ingredients
Method
- Preheat oven to 350 degrees. Grease a 9×5 loaf pan very well with non-stick baking spray.
- In a medium size bowl, combine the flour, baking powder, cinnamon, and salt. Whisk together to combine, then set aside.
- Combine the melted butter, sugars, eggs, vanilla extract, and milk or applesauce and whisk together to combine.
- Add the dry ingredients to the wet ingredients and stir to combine. Don't over-mix.
- Fold in the chopped apples.
- Pour the batter into the loaf pan and bake for 60-65 minutes, or until a toothpick inserted in the middle comes out clean.
- Remove the loaf from the oven and allow to cool for about 10 minutes, then transfer to a cooling rack to cool completely.
- Apple bread can be served warm or at room temperature. Store at room temperature, well covered. Best eaten within 4-5 days.