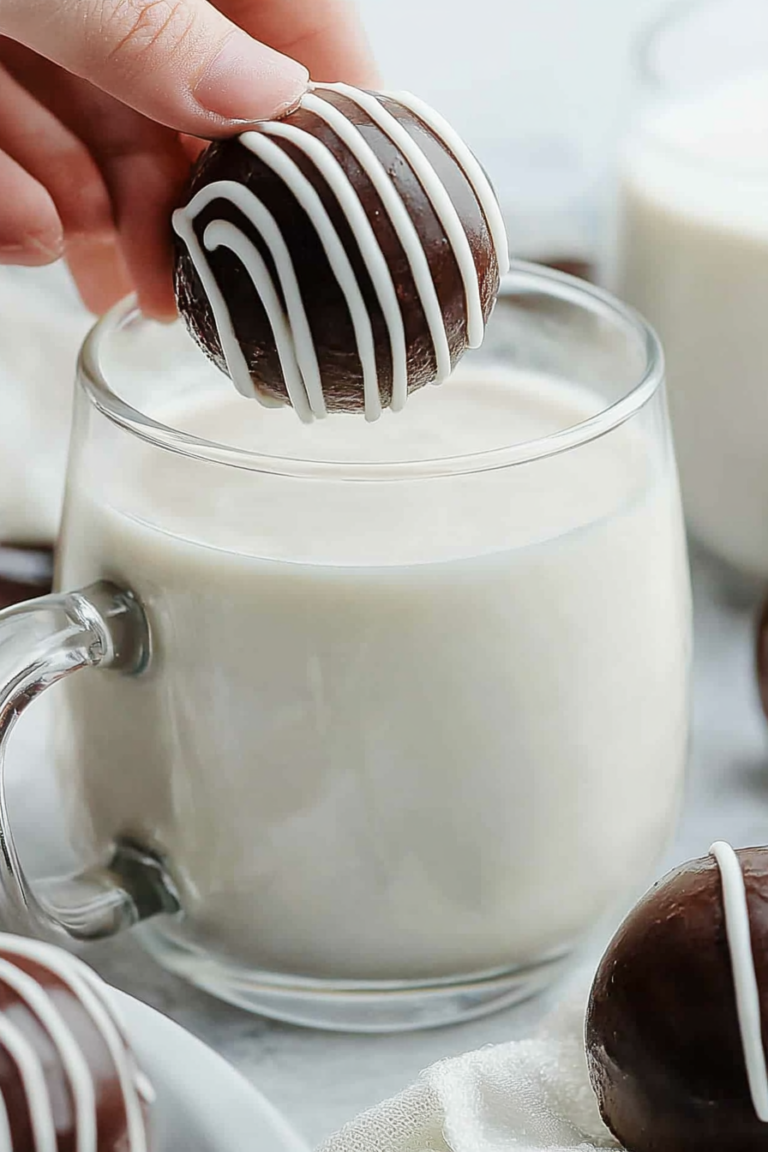
Autumn Spice Latte Jello Shots How To
There’s something about the smell of freshly baked treats that instantly transports me back to childhood summers spent in my grandma’s kitchen. The warmth, the sweet hints of lemon, and that soft, crumbly smell that fills the air — it’s pure comfort. But here’s the funny thing: as much as I adore cookies or cakes, sometimes I want something lighter, yet just as satisfying. That’s how I stumbled upon this little treasure — zucchini lemon bliss bars. I know, zucchini sounds boring, right? But trust me on this one — it’s like a secret weapon for sneaking in veggies without anyone even noticing. Plus, these bars are incredible — sweet, tart, moist, and with that tender crumb that just melts in your mouth. This one’s a lifesaver on busy nights when I want a sweet treat that doesn’t take hours to whip up. My kids ask for these all the time, and honestly, I don’t mind playing the hero with sneaky vegetables. They disappear in minutes at my house, and I promise, once you try them, you’ll be hooked — zucchini or not!
What is Zucchini Lemon Bliss Bars?
Think of these zucchini lemon bliss bars as a cross between a tender lemon cake and a chewy cookie bar, with a surprising secret ingredient — shredded zucchini! The idea behind it is pretty simple: you grate zucchini into a smooth, moist batter, then infuse it with fresh lemon zest and a splash of lemon juice for that bright, tangy flavor. It’s essentially a way to get your kids (or yourself) to eat more veggies without sacrificing flavor. The batter itself is thick and versatile, perfect for spreading into a pan and then baking to golden perfection. Once baked, you get a wonderful balance of sweet, citrusy, and slightly earthy zucchini flavor wrapped in a delicate, crumbly crust. The best part? No fancy tools needed — just a box grater, a mixing bowl, and a good intuition. This recipe is great for making ahead, sharing with friends, or just having a little slice of sunshine on a cloudy day. It’s genuinely a love letter to simple ingredients turned into something special.
Why you’ll love this recipe?
What I love most about these zucchini lemon bliss bars is how effortlessly they come together, yet taste like you fussed over them for hours. The flavor is just divine — the natural sweetness from the zucchini paired with the zingy brightness of lemon makes every bite feel like a little celebration. This is one of those recipes I turn to when I want something comforting but don’t want to spend ages in the kitchen. It’s honestly a lifesaver on busy weeknights when the kids are begging for dessert and I’m feeling a little worn out. Plus, the ingredients are budget-friendly and easily accessible, which means I can whip these up even when I haven’t gone grocery shopping in a while. The versatility is another reason I keep this recipe bookmarked: serve them as a casual snack, a sweet breakfast, or a fancy-ish dessert. I’ve even experimented with adding a dusting of powdered sugar or a drizzle of honey — trust me, every variation feels like a personal win. It’s also a fantastic way to introduce zucchini to picky eaters — they’ll never guess how sneaky the little green specks are hiding inside.
How do I make Zucchini Lemon Bliss Bars?
Quick Overview
This recipe is all about mixing simple ingredients into a luscious batter, layering in a tangy lemon zest, and then baking it into golden, irresistibly tender bars. The process is straightforward: grate and drain your zucchini, whisk together your dry ingredients, then combine with wet ingredients, pour into a baking dish, and bake. The whole thing takes about 45 minutes from start to finish, and honestly, it’s almost too easy to believe. What makes this special is how moist and flavorful they turn out, with none of that dense, greasy feeling you sometimes get with store-bought bars. The lemon really sings, and the zucchini keeps everything so soft and tender. Once baked, I like to let them cool a bit, then top with a little extra lemon zest or a sprinkle of powdered sugar before slicing into squares. Perfect for sharing or just keeping all the deliciousness to yourself!
Ingredients
For the Main Batter:
– 2 cups shredded zucchini (about 2 small zucchinis, grated and drained)
– 1 cup all-purpose flour (or use a gluten-free blend if needed)
– 3/4 cup granulated sugar
– 1 teaspoon baking powder
– 1/2 teaspoon baking soda
– 1/4 teaspoon salt
– Zest of 2 large lemons
– 1/4 cup fresh lemon juice
– 1/2 cup vegetable oil (I’ve tested this with olive oil and it’s deliciously moist! Or even almond milk for a dairy-free touch)
– 3 large eggs
For the Filling:
– Extra lemon zest for a punch of citrus flavor
– A teaspoon of vanilla extract (optional, but adds nice depth)
For the Glaze (optional but lovely):
– 1 cup powdered sugar
– About 2 tablespoons lemon juice
– A tiny pinch of salt (to balance the sweetness)
Step-by-Step Instructions
Step 1: Preheat & Prep Pan
Set your oven to 350°F (175°C). Line an 8×8-inch square baking dish with parchment paper — trust me, this makes flipping and slicing so much easier. Lightly grease the paper and sides of the pan if needed. I always do this when I want clean edges and stress-free serving. Place a rack in the middle of your oven, and let’s get ready to bake that goodness!
Step 2: Mix Dry Ingredients
In a large bowl, whisk together the flour, sugar, baking powder, baking soda, salt, and lemon zest. Breaking up any lumps ensures an even rise and fluffy texture. I’ve learned this step makes all the difference — without enough mixing, some bites can end up dull, so I take my time here.
Step 3: Mix Wet Ingredients
In a separate bowl, beat the eggs until slightly frothy. Add the lemon juice, oil, and vanilla if using. I like to sift the eggs in this way because it distributes everything evenly and helps keep the batter light. Once combined, you should have a bright, citrusy smell that makes your kitchen feel cheerful.
Step 4: Combine
Pour the wet mixture into the dry ingredients and gently fold with a spatula until just combined. Be careful not to overmix — that’s how muffins get tough! The batter should be thick but spreadable, like a brownie mix. It’s okay if there are a few tiny lumps; they’ll dissolve during baking.
Step 5: Prepare Filling
For this recipe, I like to mix a little more lemon zest into the batter for extra zing. If you want, you can also prepare a smoother filling—like cream cheese or ricotta—to swirl in later, but I prefer the straightforward lemon flavor for simplicity and freshness.
Step 6: Layer & Swirl
Spread about half of the batter into the prepared pan. If you want to get fancy, swirl in some extra lemon zest or a few dollops of jam. Then, dollop the remaining batter on top, and using a toothpick or skewer, swirl gently to create a marbled effect. It’s a fun step that makes each bar look pretty and promises a beautiful swirl when you cut into it.
Step 7: Bake
Pop the pan into your preheated oven and bake for 25-30 minutes. You’ll know it’s done when the top is golden, and a toothpick inserted in the center comes out with moist crumbs — not wet batter. Every oven is different, so start checking at 25 minutes. If the edges are caramelized and a little pull-back from the sides, you’re good to go.
Step 8: Cool & Glaze
Let the bars cool in the pan for at least 15 minutes — patience is key! Then, transfer to a wire rack to cool completely. If you like, whisk together the powdered sugar and lemon juice, then drizzle over the cooled bars to add a glossy, tangy finish. This step elevates the presentation and flavor — total game changer.
Step 9: Slice & Serve
Use a sharp knife to cut into squares. I prefer a gentle sawing motion rather than pressing down hard — keeps the bars nice and tidy. Serve at room temperature or chilled — it’s all delicious. A little extra lemon zest on top makes every piece look inviting. I love pairing these with a cold glass of milk or a hot cup of tea. They’re perfect for sharing or savoring all by yourself with a good book.
What to Serve It With
Thinking about what to serve these with? Honestly, they’re so versatile they fit just about any occasion. For breakfast, I love pairing them with a strong black coffee or a glass of fresh orange juice. They’re wonderful with a side of yogurt or topped with a dollop of whipped cream for a fancy brunch. As a dessert, you can dress them up with a whipped mascarpone or a drizzle of honey. They also make for a cozy snack during lazy afternoons, especially if you heat them up a little — the scent alone will draw everyone into the kitchen.
My family loves to keep a batch for weekend treats, and since they hold up well in a container for a few days, it’s almost like having homemade lemony sunshine on hand. The tangy flavor works great as a palate cleanser after spicy meals, and the zucchini makes them surprisingly moist and satisfying without feeling heavy. I often sneak in extra lemon zest just before serving for that extra zing that brightens any day!
Top Tips for Perfecting Your Zucchini Lemon Bliss Bars
The magic of this recipe is in the little details. For starters, squeezing out excess moisture from the zucchini is crucial — I just wrap the grated zucchini in a clean dish towel and press to get rid of any excess water. Otherwise, the bars could end up too soggy or dense. I’ve tested this with various zucchinis, and softer ones yield a more tender crumb, but always drain well.
When mixing your wet ingredients, be sure to crack your eggs into a separate bowl first — it avoids surprises and makes sure you don’t accidentally introduce shell bits into your batter. I’ve learned that fold-in techniques matter: gentle, slow strokes prevent knocking out the air and keep the batter light. If you want a more dramatic swirl, reserve a few tablespoons of batter to dollop on top and swirl with a skewer before baking.
For flavor tweaks, feel free to add a pinch of cardamom or a splash of vanilla bean extract — the citrus and spice combo is divine. If you’re aiming for a sweeter treat, sprinkle some chopped almonds or pistachios on top before baking for texture. And about the glaze: I sometimes add a teaspoon of grated ginger or a splash of bourbon for an adult twist. Just trust your taste buds and don’t be afraid to experiment!
The trick with baking is also the oven’s quirks — I recommend placing your pan on an elevated rack in the middle and checking don’t just rely on time. Overbaking can dry out the bars, so look for that gentle golden glow and a slightly springy touch when pressed lightly in the center. As for storing, I love wrapping them tightly in plastic wrap and keeping in the fridge for up to four days. Want to make them last longer? Freeze slices individually wrapped — they thaw in minutes and taste just as fresh.
Storing and Reheating Tips
These zucchini lemon bliss bars store beautifully. At room temperature, I like to keep them covered with a clean cloth or in a loosely sealed container — they stay fresh for about a day or two. For longer storage, the fridge is my go-to: wrap them securely in plastic wrap or store in an airtight container, and they’ll be good for up to four days. Just a quick tip: always let them come to room temperature before serving for the best flavor and texture.
Freezing is super easy, too. Wrap individual bars in plastic wrap, then place in a resealable freezer bag or container. They keep well for up to two months. To reheat, I recommend warming at 300°F for about 10 minutes or enjoying them cold. When you’re ready to glaze again, gently warm the glaze to loosen it up before drizzling. This keeps the shine and texture just right!
Adding the glaze just before serving keeps the tops glossy and fresh. If you froze the bars, let them thaw at room temperature for about 20 minutes before decorating or serving. The moisture stays locked in when stored properly, ensuring each bite remains soft and flavorful. Believe me, once you master these tips, you’ll always have a little stash of sunshine waiting in your fridge or freezer.
Frequently Asked Questions
Final Thoughts
This zucchini lemon bliss bars are truly a hidden gem in my recipe collection. They’re light yet satisfying, bright and flavorful, and so adaptable. Over the years, I’ve shared these with friends, brought them to potlucks, and even sneaked a batch into school lunches — always with a satisfied smile when someone asks for the recipe. The unexpected combo of zucchini and lemon somehow feels like a little secret — a way to indulge without the guilt, the weight, or the fuss. I encourage you to try playing with the flavors, adding your favorite nuts, or experimenting with toppings. The beauty of this recipe is how forgiving and forgiving it is, making every batch feel like a little personal masterpiece. So go ahead, give it a shot, and let your kitchen fill with the warm, nostalgic air of homemade goodness. I can’t wait to hear how yours turns out — happy baking!
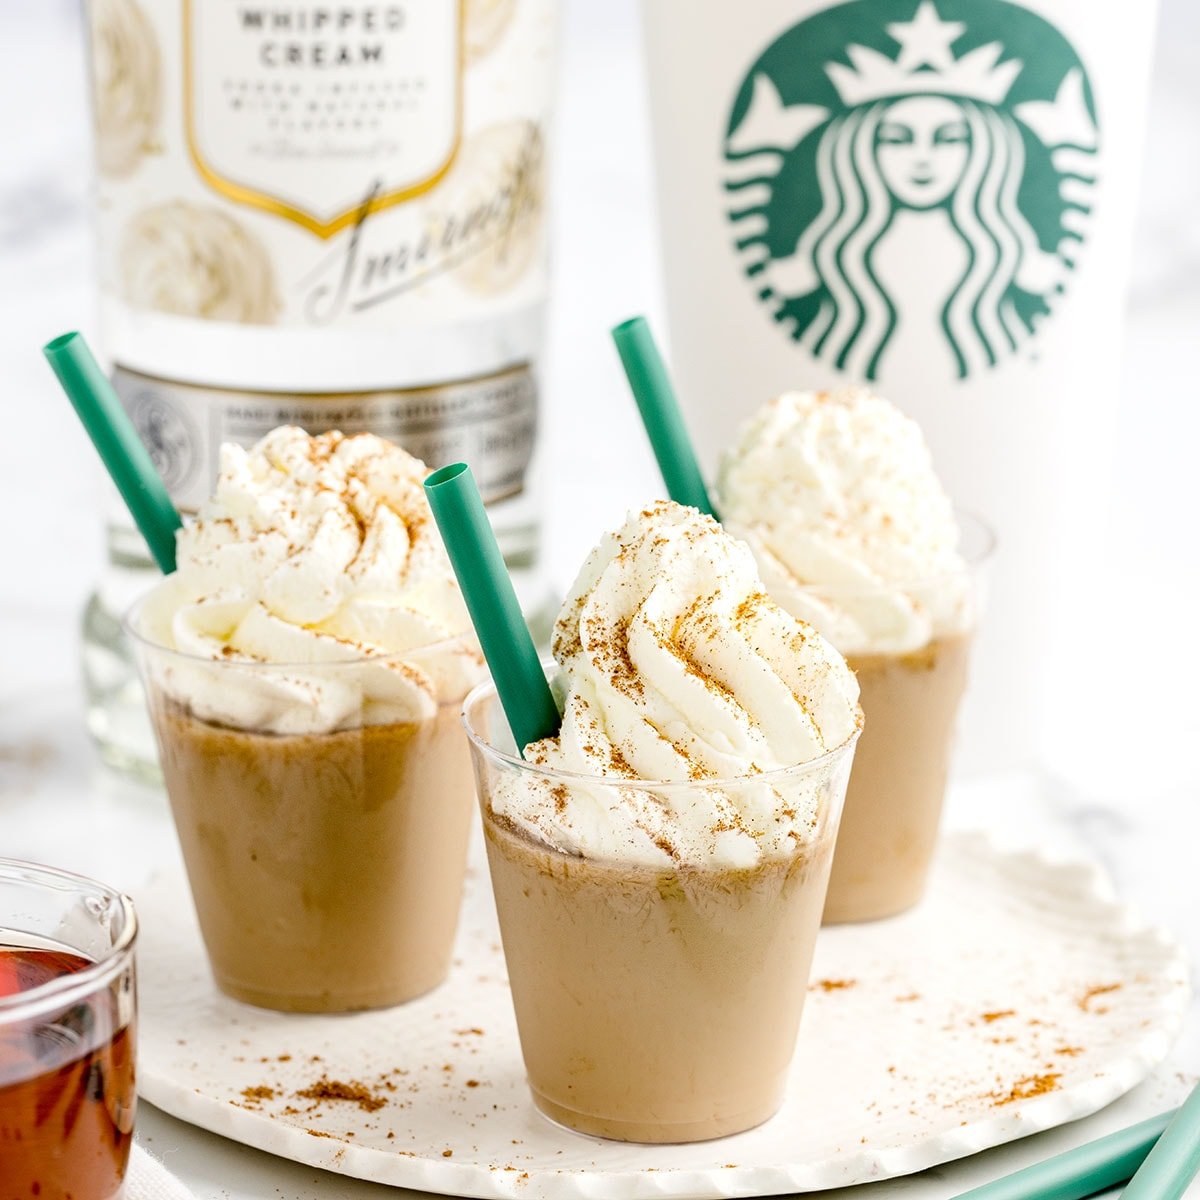
Pumpkin Spice Latte
Ingredients
Method
- In a small saucepan, heat the milk over medium heat until steaming.
- Add pumpkin puree, pumpkin pie spices, sugar, and vanilla extract to the milk. Whisk until well combined and heated through.
- Remove from heat and stir in the brewed coffee and whipped cream flavored vodka.
- Pour the latte into mugs and top with whipped cream and a sprinkle of cinnamon if desired.