Easy Protein Sweet Treats You’ll Love
There’s something about the smell of baking zucchini that immediately transports me back to lazy summer afternoons at grandma’s house. The garden zucchini shining bright in the morning sun, the faint hum of bees, and grandma’s gentle voice telling me not to forget the secret ingredient: a splash of love in every scoop. I always do this when I want something sweet but don’t feel like fussing with complicated frosting or layers—this zucchini swirl cake is my go-to. It’s incredibly soft, moist, and bursting with flavor, with that perfect swirl of filling that makes every bite feel like a warm hug. Plus, it’s so easy to throw together; my kids ask for this all the time, especially since we discovered how just a hint of lemon zest makes it extra special. Honestly, I tested this with almond milk once, and it made it even creamier—trust me, don’t skip the splash of vanilla either! Whether you’re craving a quick snack or a dessert to impress friends, this cake’s got your back. And the best part? You probably already have everything you need in your pantry. Now, grab your zucchini—you’re gonna want to try this!
What is Zucchini Swirl Cake?
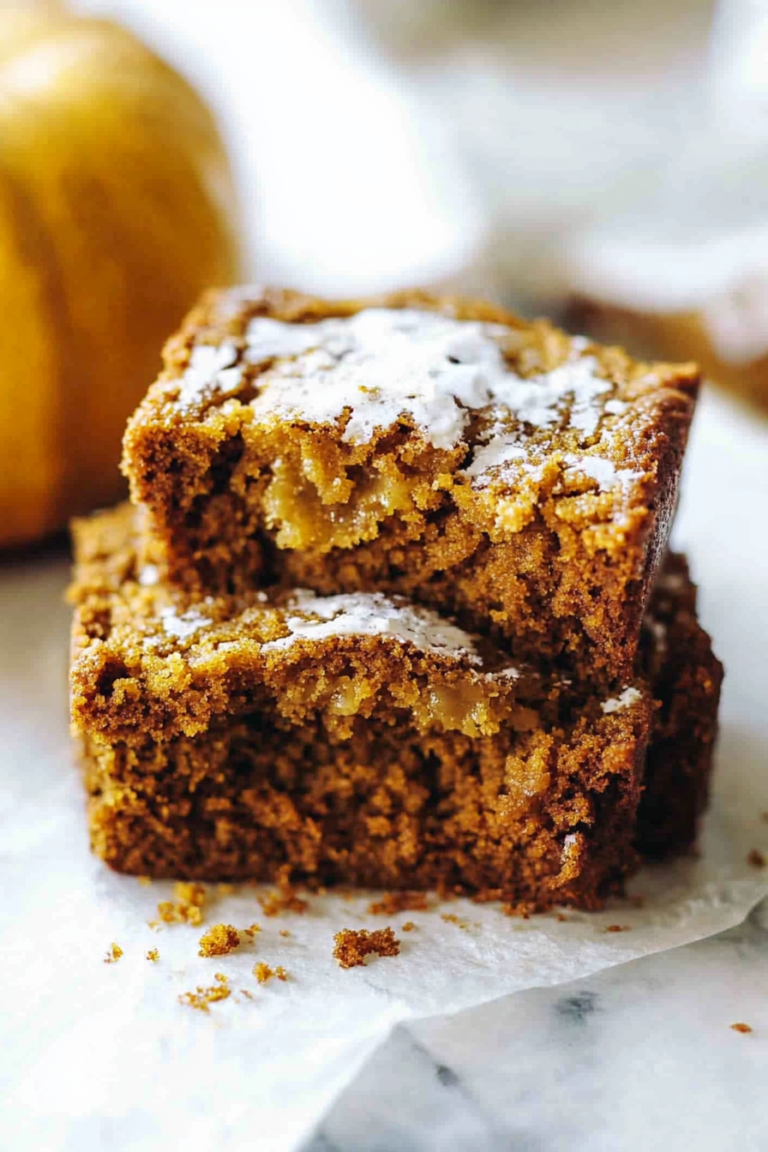
Think of zucchini swirl cake as a delightful hybrid—part zucchini bread, part rich cake, with a beautiful ribbon of filling running through its fluffy center. It’s essentially a cozy cake that celebrates summer vegetables in a way that tastes indulgent, not healthful. The name might sound fancy, but it’s really just a simple weekend bake that’s become a family favorite. I like to call it “lazy gardener’s delight” because it’s a clever way to use up those surplus zucchinis growing like crazy in my garden, especially when they start to get a little too big for their own good. The idea is to grate fresh zucchini into the batter for moisture and tenderness, then fold in a sweet, tangy filling—think cream cheese, lemon zest, or even a smidge of cinnamon. Once baked, the swirl forms this lovely marbled effect that’s seriously Instagram-worthy but even better in real life—moist, fluffy, and packed with flavor. This cake is so adaptable; you can tweak the filling and toppings to suit your mood or whatever’s lurking in your fridge. It’s cozy enough for breakfast but fancy enough for a weekend brunch or even a casual dinner party. And I promise, once you make it once, it’ll become a staple in your recipe box.
Why you’ll love this recipe?
What I love most about this zucchini swirl cake is how versatile and forgiving it is—plus, the flavor is just out of this world. The zucchini keeps the cake incredibly moist, so every slice is soft and almost melts in your mouth. It’s like eating a sweet, fluffy cloud with a little surprise swirl that keeps your eyes (and taste buds) delighted. The best part? It’s super simple to make. I’ve made this countless times, and I swear, I can throw it together even on my busiest days, thanks to the straightforward steps. And because it mostly relies on pantry staples—flour, sugar, zucchini, a touch of flavoring—you don’t need to run any errands just to enjoy a cozy slice. Budget-wise, it’s a win too, especially when zucchinis are practically giving themselves away at the market and if you have eggs and flour lying around, you’re halfway there. I also love how adaptable it is: you can switch up the filling, add nuts or berries, or even swap the sugar for honey or maple syrup if you’re feeling a bit healthier. Kids love it because it’s sweet but not overly sugary; my friends often ask for the recipe when I bring a batch to brunch. Honestly, it’s made me look like a star baker, but really, it’s just a matter of mixing and layering—trust me on this one, it’s foolproof.
How do I make Zucchini Swirl Cake?
Quick Overview
This zucchini swirl cake comes together in about an hour, from prep to plate. The secret is grating the zucchini finely so it melds seamlessly into the batter—no big chunks, just moistness and flavor. You start by mixing your dry ingredients, then whisking together wet ingredients, including a splash of vanilla and a hint of lemon zest for brightness. Once the batter’s ready, you layer it with a tangy, sweet filling—cream cheese, lemon, maybe some cinnamon or nutmeg if you’re feeling cozy. The top gets a quick swirl to create a marbled look, then it’s baked until golden and a toothpick comes out clean. After cooling just enough (don’t wait too long or it’ll stick—trust me!), you’ll glaze it lightly and slice into those perfect, tempting pieces. This recipe keeps everything moist and tender, with just enough sweetness—a real crowd-pleaser for breakfast, teatime, or dessert.
Ingredients
For the Main Batter:
- 1 ½ cups all-purpose flour (or whole wheat for extra nutrition)
- 1 teaspoon baking powder
- ½ teaspoon baking soda
- ½ teaspoon salt
- ¾ cup sugar (or coconut sugar for deeper flavor)
- ½ cup vegetable oil (or melted butter)
- 3 large eggs
- 1 teaspoon vanilla extract
- Zest of 1 lemon
- 1 cup grated zucchini (squeezed dry if very watery)
For the Filling:
- 4 oz cream cheese (softened)
- ¼ cup sugar (or honey if you prefer it less sweet)
- Zest of ½ lemon
- Optional: a pinch of cinnamon or nutmeg
For the Glaze:
- ½ cup powdered sugar
- 1-2 teaspoons lemon juice
- Extra lemon zest for garnish
Step-by-Step Instructions
Step 1: Preheat & Prep Pan
First, turn your oven to 350°F (175°C). Grease a 9-inch springform pan or line it with parchment paper—I prefer parchment because it’s less fuss and the cake releases beautifully. Set it aside while you prepare the batter.
Step 2: Mix Dry Ingredients
In a large bowl, whisk together your flour, baking powder, baking soda, and salt. This ensures everything is evenly distributed and helps avoid clumps. I always do this before adding wet ingredients—thermostatic baking 101, you know.
Step 3: Mix Wet Ingredients
In a separate bowl, beat the eggs with sugar until they’re light and slightly fluffy—about 2 minutes. Add in the oil, vanilla, lemon zest, and a splash of almond or regular milk if you want it extra creamy. Mix until smooth. I tested this with almond milk, and honestly, it made the batter even softer and richer—give it a try if you’re dairy-free!
Step 4: Combine
Pour the wet into the dry, folding gently to combine. Don’t overmix—just until everything looks moist. That’s when the magic happens: overmixing can make the cake dense, and nobody wants that. Fold in the grated zucchini last, making sure it’s evenly distributed but not overloaded. The batter should be thick but pourable.
Step 5: Prepare Filling
In a small bowl, beat the softened cream cheese with sugar and lemon zest. You want it smooth and spreadable. If you like a tangier filling, add a little more lemon or even a splash of orange juice. I like to keep it simple but feel free to add a dash of cinnamon or a sprinkle of chopped nuts if you’re feeling fancy.
Step 6: Layer & Swirl
Pour about half of the batter into your prepared pan and spread evenly. Drop dollops of the cream cheese filling on top in little spoonfuls, then cover with the remaining batter. Using a knife or skewer, gently swirl through the layers—don’t overdo it, just enough to create a marbled effect. This is where your artistic side comes out!
Step 7: Bake
Pop the cake into the oven and bake for 40-45 minutes. Test doneness by inserting a toothpick into the center; it should come out clean or with just a few moist crumbs. If the top starts to brown too quickly, tent it with foil. Everyone’s oven is different, so keep an eye on it towards the end.
Step 8: Cool & Glaze
Let the cake cool in the pan for about 15 minutes, then transfer to a wire rack. Drizzle with your lemon glaze once it’s just warm—this adds a lovely zing and extra sweetness. The glaze should be thick but pourable; if it’s too runny, add a bit more powdered sugar. Let it sit a few minutes to set before slicing.
Step 9: Slice & Serve
This cake is best served slightly warm or at room temperature. Use a serrated knife for clean slices, and keep a glass of cold milk or a cup of tea nearby—trust me, this disappears quickly in my house! For presentation, sprinkle with extra lemon zest or chopped nuts if you like. It’s perfect cut into squares or triangles, and leftovers keep wonderfully in an airtight container.
What to Serve It With
Honestly, this cake is versatile enough to enjoy anytime. For breakfast, I love it with a strong black coffee—think of it as a slightly sweet, veggie-packed start to your day. On brunch tables, pair it with fresh berries and a drizzle of honey or a dollop of whipped cream. I’ve even served slices warm with vanilla ice cream for a cozy dessert—kids go wild for that. It’s also incredible as an afternoon snack with a cup of herbal tea or a cold glass of milk if you’re feeling nostalgic. My family loves it after dinner paired with a glass of milky tea or even a splash of champagne for a fancy twist. The subtle vegetable flavor combined with the sweet, tangy filling makes it a crowd-pleaser that never fails to get rave reviews. Plus, it’s an excellent way to sneak some greens into your kid’s diet without a fuss.
Top Tips for Perfecting Your Zucchini Swirl Cake
After making this dish dozens of times, I’ve picked up a few tricks to make every slice perfect. First off, make sure to squeeze as much water as possible from the zucchini—it prevents the batter from becoming too wet and the cake from sinking in the middle. I always use a clean kitchen towel or cheesecloth for this; it’s a small step but makes a big difference. When mixing the batter, fold gently and don’t overmix—that’s how you get a tender crumb instead of a dense brick. The swirl pattern is all about technique: I like to layer the batter with dollops of filling and then swirl gently with a skewer, moving in figure-eight motions. For visual punch, sprinkle a little extra lemon zest or chopped nuts on top before baking. Want to swap ingredients? I’ve tested honey instead of sugar—works beautifully, just reduce the liquid slightly. If you want to make it gluten-free, swap the flour for almond or rice flour, but know it’ll be a little more fragile, so be gentle when slicing. For baking, I always adjust oven racks to center and keep an eye on it after 35 minutes—every oven is different. If the top browns too quickly, tent with foil. The glaze is my secret weapon—it adds a zing that balances the mild zucchini flavor, so don’t skip it. Honestly, the more times I bake this, the more I tweak it to my taste, and each time, it turns out just a little better. That’s the beauty of a recipe you love—you learn what makes it yours.
Storing and Reheating Tips
Because I often bake more than we can eat in a sitting, I’ve gotten pretty good at storing this cake without losing its magic. If you plan to eat it the same day, just keep it covered with a tea towel or a cake dome—no need for plastic wraps, which can sometimes make the crust soggy. It stays fresh at room temperature for about 1-2 days, especially if it’s not too warm outside. For longer storage, pop it into an airtight container in the fridge—up to 4 days. Just give it a few minutes to come to room temp or microwave it for about 15 seconds if you want it warm and cozy again. You can also freeze slices individually—wrap each slice tightly in plastic wrap and store in a freezer bag for up to 3 months. To reheat, unwrap and warm in the microwave for about 20 seconds. The flavor might be even better the next day, once the filling firms up a bit, so don’t hesitate to bake it ahead for weekend brunch or a family gathering. If you’re freezing the whole cake, wait to add the glaze until just before serving to keep that fresh, glossy look. Just make sure everything is cooled down completely before freezing to avoid condensation build-up. Trust me, this cake tastes just as good when reheated, and it’s so handy to have a slice ready-made!
Frequently Asked Questions
Final Thoughts
Honestly, this zucchini swirl cake is one of those recipes I keep coming back to because it’s just so darn satisfying. It’s tender, moist, and packed with a flavor that’s neither too sweet nor too vegetable-forward. Over the years, I’ve experimented with different fillings, toppings, and even flour swaps, and every variation has turned out wonderfully. I love how it showcases zucchini in a way that’s inviting for everyone, even the pickiest eaters—my kids ask for seconds every time! Plus, it’s a great way to use up those oversized zucchinis from the garden or the grocery store deal that’s just too good to pass up. Whether you’re baking for a weekday treat, a weekend brunch, or a potluck, this slice of cozy goodness will win hearts instantly. I hope you enjoy making and eating this as much as I do. Remember, cooking is all about adding your spin—so don’t hesitate to tweak ingredients or make it your own. Happy baking, friends! And please, come back and tell me how yours turned out—I love hearing about your creative twists and proud moments!
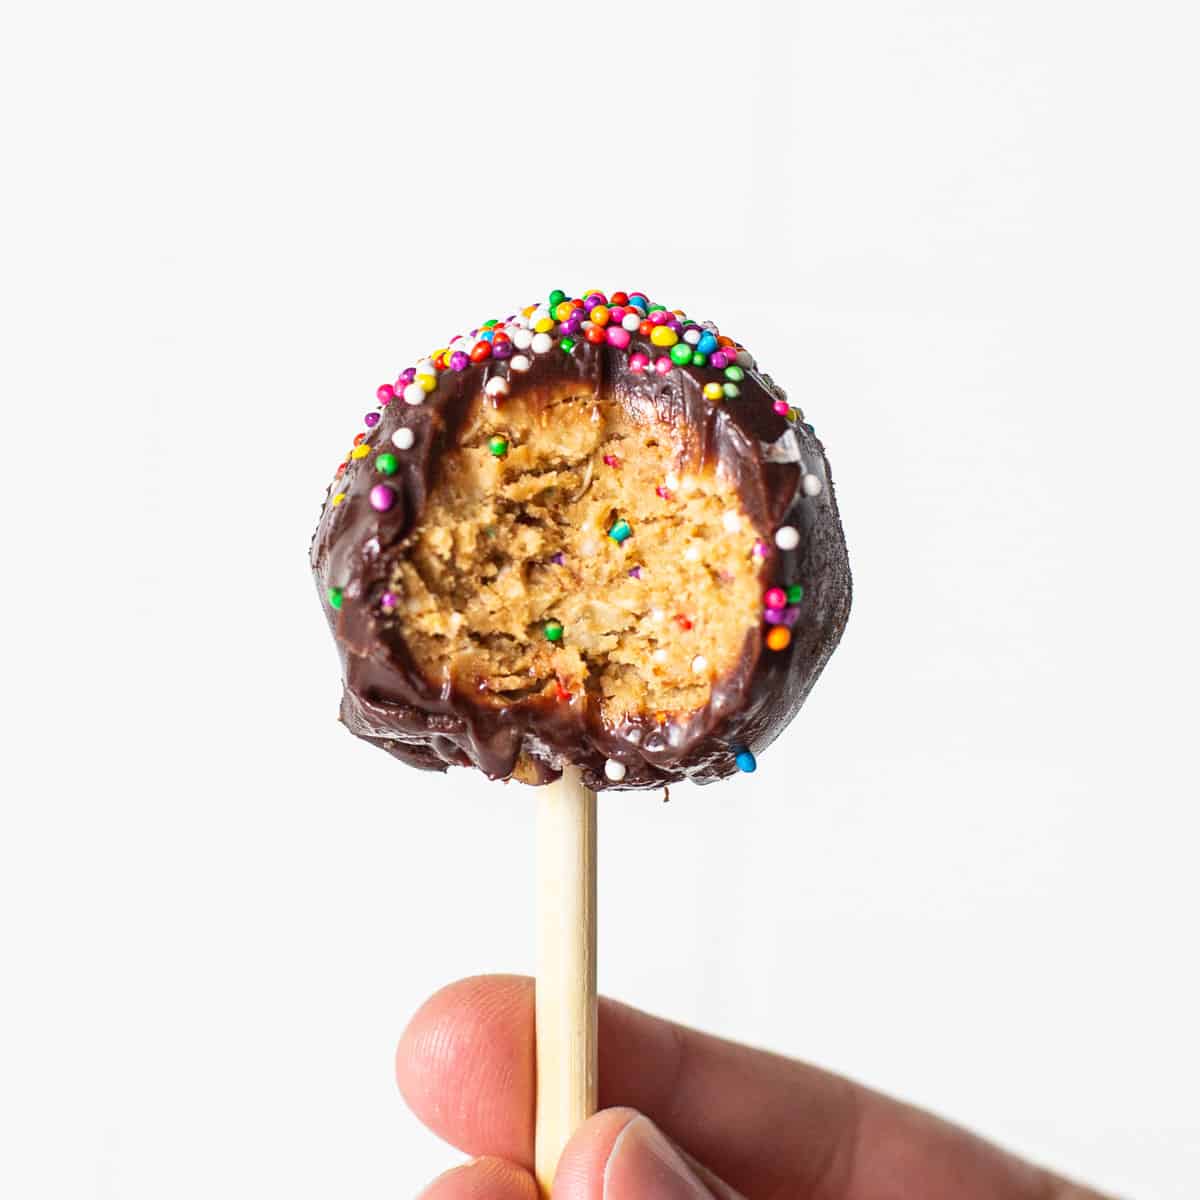
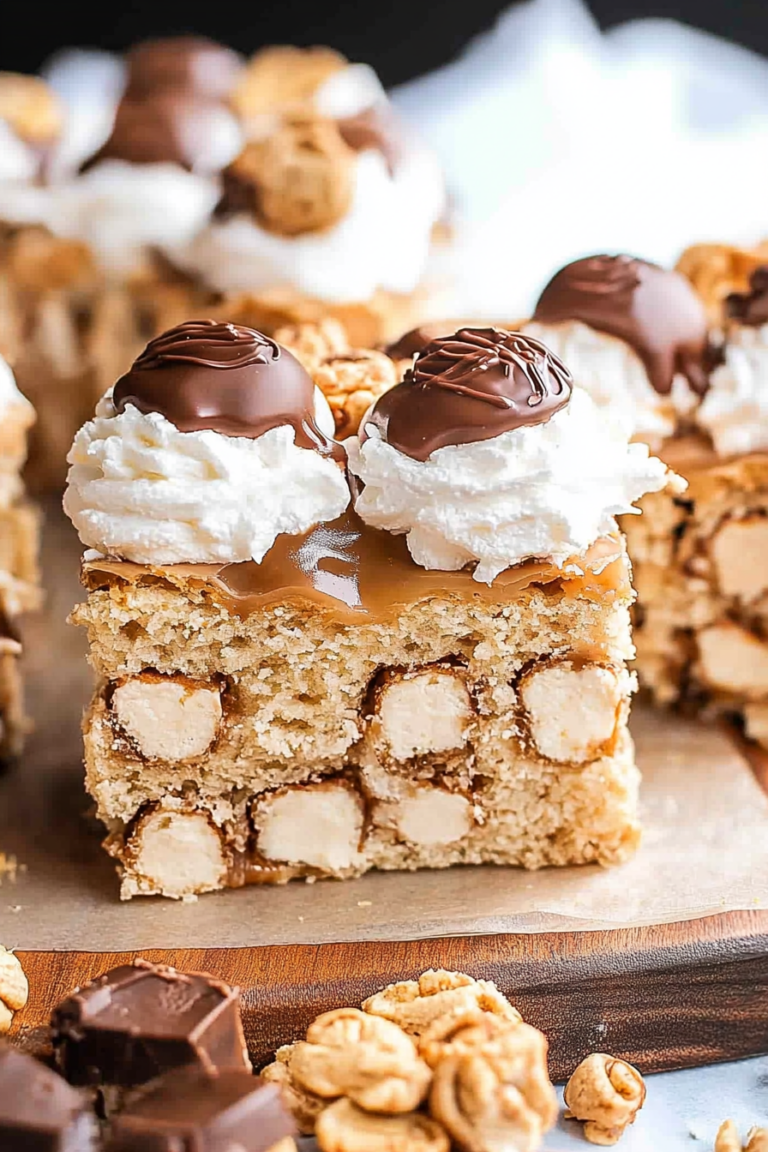
protein cake pops
Ingredients
Method
- Add the ingredients for the balls into a medium bowl.
- Use a wooden utensil to mix until combined. The dough should be malleable; if not, add more water by the teaspoon until proper consistency is achieved.
- Use a 1-tablespoon cookie scoop and roll balls between your palms. Place the balls on a parchment-lined plate. Transfer to the freezer to firm up.
- Melt the chocolate chips in a microwave-safe bowl in 30-second intervals, stirring each time until smooth.
- Warm the heavy cream in microwave for 30-50 seconds until just warm.
- Pour the warm cream into the melted chocolate, stirring until glossy and combined.
- Line a baking sheet with parchment paper and place a metal rack on top.
- Remove the balls from the freezer. Dip each into the melted chocolate using a fork, coating completely.
- Tap off excess chocolate, then slide the ball onto the rack. Decorate with sprinkles and salt. Repeat for all balls.
- Return the sheet to the freezer for at least 30 minutes to set.
- Insert a lollipop stick into each ball and serve immediately or store in freezer.