Easy Shrimp Quesadillas for a Quick Dinner
There’s nothing quite like the smell of something baking in the oven on a chilly weekend morning—am I right? I remember childhood mornings spent lingering in pajamas, the smell of fresh coffee blending with warm baked goods, and the excited breakfast chatter from my family. This zucchini coffee cake is one of those recipes that instantly transports me back—to my grandma’s kitchen and cozy Sunday mornings. It’s surprisingly simple to put together, yet it tastes like you’ve spent all day perfecting it. I always do this when I want to make something special that’s also a little bit sneaky—because honestly, the kids love the hidden zucchini, and you get to enjoy a slice with your coffee guilt-free. Plus, it’s endlessly adaptable—add blueberries, chocolate chips, or even a sprinkle of cinnamon—whatever makes your heart happy. And if you’re like me, always on the lookout for a do-it-all treat that satisfies your sweet tooth without demanding hours in the kitchen, this one’s a total lifesaver on busy nights or lazy weekends. Trust me, once you try it, it’ll become a go-to recipe for those cozy mornings or anytime you need a little comfort in a slice.
What is Zucchini Coffee Cake?
Think of zucchini coffee cake as a tender, moist cake layered with a sweet cinnamon streusel—kind of like a breakfast cake that’s perfect to serve with your morning coffee, but also just right for an afternoon snack or even dessert. The “coffee cake” part is all about that crumbly topping that makes every bite feel like a special treat. It’s essentially a cake with a little secret: sneaking in zucchini, which keeps it super moist without stealing the spotlight from the flavors you love. The name might make you think of a fancy bakery creation, but I swear, this one’s a home kitchen hero—easy to throw together, with ingredients that are usually in my pantry. The zucchini keeps everything moist and tender, and when you add that cinnamon-sugar topping, it turns into something totally addictive. It’s one of those recipes that has become a family tradition—my kids ask for this all the time, and I love how versatile it is. Whether I bake it in a loaf pan or a round cake, it always disappears in minutes at my house. Trust me, once you get hooked, it’s hard to stop at just one slice!
Why you’ll love this recipe?
What I love most about this zucchini coffee cake is how it hits all the marks—flavor, ease, and comfort. First off, the flavor. It’s got that warm cinnamon aroma wafting through the kitchen, complemented by the subtle sweetness of the cake itself. The zucchini adds a lovely moistness that makes every bite feel soft and almost pudding-like in the center, without feeling dense or heavy. It’s like a slice of cozy morning comfort, perfect with a cup of coffee or tea. And speaking of ease, I’ve made this recipe a hundred times, and I’ve learned a few tricks to keep it simple: no fancy equipment needed, just a mixing bowl and a spoon, and you’re set. Plus, the ingredients are budget-friendly, often things I already have in the fridge or pantry—like zucchinis from the garden or a jar of cinnamon. This recipe’s versatility is another reason I keep it in my back pocket. You can add blueberries for a fruity twist, swap in chocolate chips if you’re feeling decadent, or sprinkle extra nuts for crunch. It’s perfect as a breakfast treat, a brunch centerpiece, or a late-night indulgence. And honestly, what I love most is how forgiving it is—something I’ve learned from countless kitchen experiments—so even if you’re not a “baker,” you’ll do just fine. Every time I bake this, I feel a little bit like I’m sharing a secret—something cozy and nourishing, with just the right balance of sweetness and spice. It’s a little slice of heaven, really.
How do I make Zucchini Coffee Cake?
Quick Overview
This zucchini coffee cake is all about simplicity. You start by preparing a basic batter, mixing dry ingredients in one bowl and wet in another. Then, you gently fold everything together—being careful not to overmix—to keep that tender crumb. I like to grate the zucchini finely and squeeze out as much moisture as possible, so the cake doesn’t turn soggy. A quick swirl of cinnamon sugar makes the top shimmer with that classic coffee cake texture, while the zucchini keeps the inside moist and tender. Once baked until golden and a cake tester comes out clean, you let it cool a bit before drizzling with glaze or dusting with powdered sugar. It’s seriously foolproof—and I promise, the whole process takes under an hour from start to finish.
Ingredients
For the Main Batter:
– 2 cups grated zucchini (about 2 small zucchinis, finely grated)
– 1 ½ cups all-purpose flour (or a gluten-free blend if you prefer)
– 1 cup granulated sugar
– ½ teaspoon baking powder
– ½ teaspoon baking soda
– ½ teaspoon cinnamon
– ¼ teaspoon salt
– ½ cup vegetable oil (or melted butter for richness)
– 3 large eggs
– 1 teaspoon vanilla extract
For the Filling:
– ¼ cup brown sugar
– 2 teaspoons ground cinnamon
– 2 tablespoons unsalted butter, melted (optional—adds extra flavor)
For the Glaze:
– 1 cup powdered sugar
– 2-3 teaspoons milk or lemon juice (add more if needed for consistency)
– A splash of vanilla or lemon extract for flavor (optional)
Step-by-Step Instructions
Step 1: Preheat & Prep Pan
Set your oven to 350°F (175°C). Grease a 9-inch round cake pan or a loaf pan with butter or non-stick spray. Line it with parchment paper if you want easy removal. I always do this—trust me, it makes everything much easier later. You want that pan ready so your cake doesn’t stick, especially because this recipe is quite moisture-rich from the zucchini.
Step 2: Mix Dry Ingredients
In a large bowl, whisk together the flour, sugar, baking powder, baking soda, cinnamon, and salt. I like to do this step first so the ingredients are evenly distributed—no clumps of baking soda showing up in your batter. It’s the foundation for a smooth cake, and it only takes a minute.
Step 3: Mix Wet Ingredients
In a separate bowl, beat the eggs, then stir in the oil and vanilla. Add the grated zucchini—make sure to drain out excess moisture by squeezing it in a clean kitchen towel first. This step is key because extra moisture can sink your cake—no one wants a soggy crumb! Whisk everything until combined—you should have a smooth, slightly glossy mixture.
Step 4: Combine
Gently fold the wet ingredients into the dry, just until combined. Resist the urge to overmix—stirring too much can develop gluten and make the cake dense. The batter will be a little thick but still pourable. If it feels too stiff, just add a tablespoon of milk or water.
Step 5: Prepare Filling
In a small bowl, mix together the brown sugar and cinnamon. Melt the butter if using, then stir it in. You want a crumbly, fragrant mixture that’s easy to sprinkle and swirl into the batter.
Step 6: Layer & Swirl
Pour half the batter into your prepared pan. Sprinkle half the cinnamon-sugar mixture on top, then add the remaining batter. Finish with the rest of the cinnamon-sugar, and use a knife or toothpick to swirl it gently through the batter—creating pretty marbling. This trick turns every slice into a visual treat, plus it distributes the cinnamon flavor evenly.
Step 7: Bake
Bake for 35-40 minutes, or until a toothpick inserted in the center comes out clean. Keep an eye after 30 minutes—ovens vary! If the top is browning too fast, tent it loosely with foil. Let it cool in the pan for about 10 minutes before transferring to a wire rack.
Step 8: Cool & Glaze
Allow the cake to cool completely—this helps the structure set. Meanwhile, mix your glaze ingredients until smooth. Drizzle it over the cake while it’s still slightly warm so it soaks in just enough. If you prefer a more matte look, dust with powdered sugar instead.
Step 9: Slice & Serve
Use a sharp serrated knife to cut through the cake, wiping it clean between slices. Serve at room temperature with a steaming cup of coffee or tea, or even a splash of milk for the kids. Seeing that tender, flavorful crumb with the cinnamon swirl makes every effort totally worth it.
What to Serve It With
Honestly, I love this cake on its own, but pairing it with certain drinks or sides really makes it shine. For breakfast, a robust cup of brewed coffee or a latte with a swirl of foam pairs beautifully. The warm cinnamon and hint of zucchini are just enough to start your day cozy and satisfied. If you’re serving it as brunch, add a dollop of whipped cream or a handful of fresh berries on the side—nothing fancy, just colorful and fresh. For an afternoon snack, I like to serve slices with a glass of cold milk or a cup of chamomile tea. And if you’re feeling fancy for dessert, try a drizzle of caramel or a scoop of vanilla ice cream on top—that’s a real treat. My family loves it alongside a big pot of homemade chai latte or even with a light fruit salad. It’s one of those dishes that’s equally at home in a lazy weekend brunch or a quick weekday breakfast—perfect for any occasion where you want that perfect balance of comfort and flavor.
Top Tips for Perfecting Your Zucchini Coffee Cake
After making this countless times, I’ve picked up a few tricks that make all the difference. First, grate the zucchini finely and squeeze out as much excess water as possible. Moisture can turn your cake soggy, and nobody wants that pudding-like texture. I’ve tested this with different zucchinis from my garden, and the smaller, firmer ones work best—less water, more flavor. If you want it extra moist, I sometimes add a splash of almond milk—I swear it makes it even creamier without compromising structure.
When mixing the batter, resist the urge to overstir. It’s tempting to keep mixing until everything is perfectly smooth, but that can develop gluten and make your cake dense. Instead, fold gently until just combined. The swirl of cinnamon sugar is key for that classic coffee cake look and flavor. I’ve experimented with different swirling techniques—using a skewer, a knife, even two chopsticks—and trust me, the prettier the swirl, the tastier your presentation. For ingredient swaps, I love swapping in honey instead of sugar or using coconut oil for a different flavor profile—I’ve even tested with whole wheat flour, and it works surprisingly well, just a tad denser.
As for baking, every oven is different. I always check at 35 minutes—start testing then, and if it’s not done, keep going. The toothpick test is your best friend—if it comes out clean, you’re golden. For the glaze, I like it slightly runny—thick enough to drizzle but not so much that it pools. When applying, I do it while the cake is still warm so it soaks in just right. And finally, don’t forget the patience! Let the cake cool completely before slicing. It helps it set, and you get those perfect, clean slices every time. This recipe is a forgiving one, a little flexible, and endlessly cozy—perfect for making ahead or sharing with loved ones.
Storing and Reheating Tips
This cake is great for leftovers—if you’re lucky enough to have any! Store it at room temperature, covered loosely with foil or a clean towel, for up to two days. After that, it’s best to transfer to an airtight container and pop it into the refrigerator, where it will stay fresh for up to four days. I recommend wrapping slices individually in plastic wrap or storing them in a sealed container—this helps keep the moisture in and prevents other fridge odors from seeping in.
Want to enjoy it a little later? You can reheat slices in the microwave for 15-20 seconds—just enough to warm it without drying out. Or, for a crispier top, pop a slice in a toaster oven at 350°F for 5 minutes—so good! If you prefer it chilled for a different texture, serve it straight from the fridge—the flavors are still just as lovely. For freezing, wrap individual slices tightly in plastic wrap, then foil, and store for up to 3 months. When you’re ready to enjoy, let it thaw overnight in the fridge or reheat briefly in the microwave. The glaze can be added right before serving if you want that fresh, shiny finish. Honestly, this cake is pretty resilient, and with a little care, it tastes just as fantastic days later as it does fresh out of the oven.
Frequently Asked Questions
Final Thoughts
There’s something heartwarming about making a cake that feels like a little hug—this zucchini coffee cake definitely fits that bill. It’s moist, flavorful, and forgiving, thanks to the zucchini and gentle mixing. Over the years, it’s become my “go-to” when I want to surprise family or need a quick treat for friends. Every time I bake it, I’m reminded of lazy Sunday mornings, the buzz of the oven, and the warmth of shared flavors. And honestly, it’s one of those recipes that’s hard to mess up—so don’t be shy to experiment with add-ins like nuts or fruit. I encourage you to try it out, personalize it, and make it your own. Happy baking! And I’d love to hear how yours turns out—drop a comment or share a photo! After all, food tastes best when shared, right?

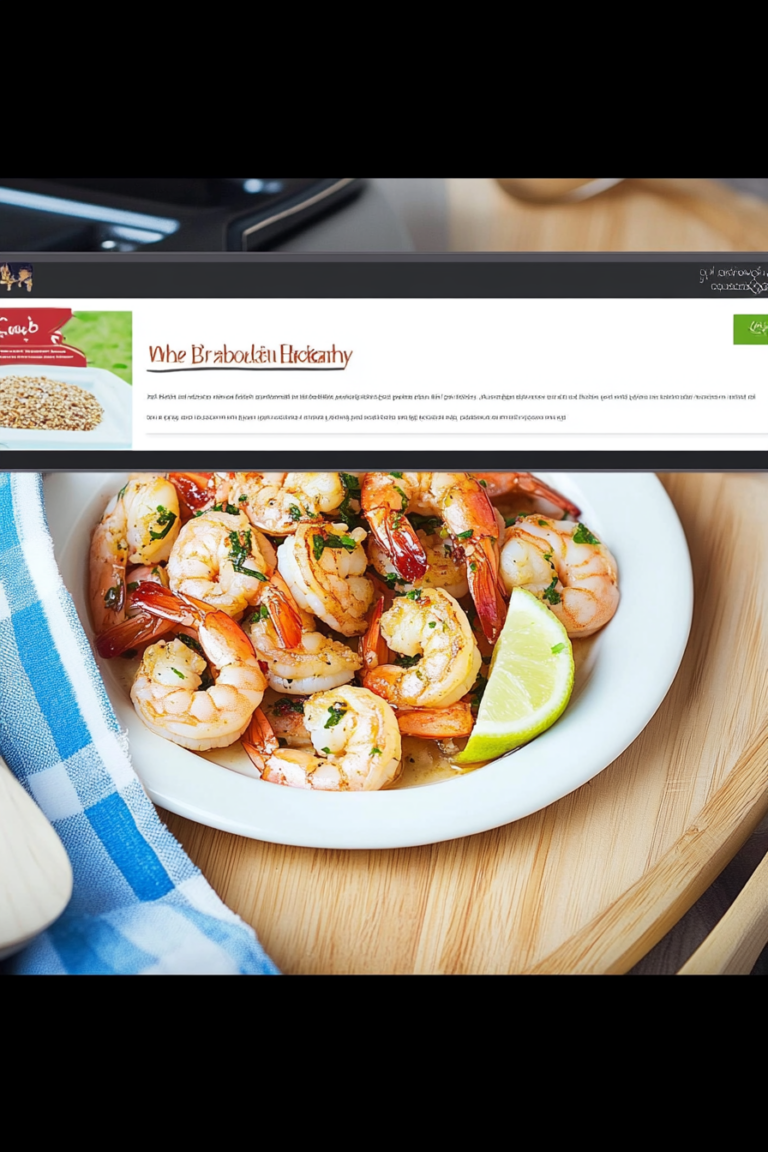
quesadillas
Ingredients
Method
- Combine the salsa ingredients in a small bowl. When ready to use, drain in a colander so the quesadilla doesn’t get soggy.
- Heat a large skillet over medium heat, saute the onion, garlic, and jalapeno in oil until soft, about 2 minutes. Add the tomatoes and 1/4 teaspoon salt and cook until thickened, 2 to 3 minutes.
- Add the shrimp and cilantro and cook over medium-high heat for 1 to 2 minutes, until the shrimp turns pink and is cooked through. Set aside in a bowl.
- Clean the skillet. Respray and return to medium-high heat.
- Lay a tortilla flat, and spread a quarter of the shrimp mixture onto one half. Top with 1/4 cup cheese. Cook the half-loaded tortilla for 2 minutes. Top with 1/4 of the drained salsa.
- Fold the bare tortilla half over the filling with a spatula, and press lightly to seal.
- Carefully flip and cook until golden and crispy, about 3 minutes on each side.
- Slice into wedges and serve. Repeat with remaining.