Luscious Chocolate Raspberry Cheesecake Delight
Honestly, I feel like I’ve been making this zucchini swirl cake longer than I care to admit. It’s one of those recipes that started out as a quick experiment in my tiny kitchen, and now it’s become a staple at family gatherings, weekend brunches, and even those late-night cravings. The smell alone when it’s baking—sweet, warm, with just a hint of zucchini—can bring everyone running into the kitchen. My kids ask for this all the time, and I swear, I’ve tested it with every variation you can think of: swapping sugar for honey, almond milk for regular milk, even adding a hint of cinnamon just for fun. This cake’s incredible flavor, ease of making, and that gorgeous swirl in the middle—trust me, it’s like a cozy hug on a plate. If you’re craving something sweet but want to sneak in those veggies, this is the one. Ready to see how I do it? Let’s talk about what makes this zucchini swirl cake so special.
What is Zucchini Swirl Cake?
Think of it as the lovechild of a cozy breakfast muffin and a decadent dessert. This zucchini swirl cake is essentially a moist, tender batter filled with a luscious cream cheese and cinnamon mixture that’s marbled right into the center. It’s called a “swirl” because you don’t just spread the filling across the top—oh no—you gently layer it into the batter and swirl it with a knife, revealing beautiful ribbons of creamy goodness as it bakes. The name might sound fancy, but really, it’s just a clever way to elevate a simple zucchini cake with a rich, gooey center. It’s kind of like a surprise inside every slice—think of a soft, fluffy cake with pockets of sweet, tangy cheese and cinnamon. It’s a bread, a cake, and a filled treat all rolled into one, perfect to serve with a cup of coffee or tea. And the best part? The zucchini makes it super moist and adds just a whisper of earthiness that balances all that sweet richness.
Why you’ll love this recipe?
What I love most about this zucchini swirl cake is how it combines all my favorite things—moistness, flavor, and a touch of elegance—without making me feel like I’ve spent hours in the kitchen. The ingredients are simple, mostly things I always have on hand, like flour, sugar, and zucchini. And the beauty? It’s totally flexible. You know I’m a sucker for baking that’s forgiving; I’ve tested this with ripe peaches instead of zucchini (hello, summer!), and it still comes out stunning. This one’s a lifesaver on busy nights when I just want something homemade but don’t want to fuss. The swirl in the middle is what makes it so fun to serve—each slice reveals that gorgeous ribbon of cinnamon-cheese filling, looking all fancy but being so straightforward. Plus, it’s budget-friendly! The zucchini is practically free if you grow your own or find it on sale, and everyone, I mean everyone, asks for seconds when I bring this to the table. Trust me on this one: the aroma alone will draw your family into the kitchen faster than anything.
How do I make Zucchini Swirl Cake?
Quick Overview
This cake is a breeze to whip up — blend your dry ingredients in one bowl, mix wet ingredients in another, then fold everything together. The filling is just cream cheese, sugar, and cinnamon whipped into a smooth paste. After pouring half the batter into your prepared pan, spread the filling on top, add the rest of the batter, and then use a toothpick or knife to create those beautiful swirls. Pop it in the oven, wait about 45 minutes, and wait (not so patiently!) until it’s golden and fragrant. Honestly, the hardest part is waiting for it to cool enough so I don’t burn my tongue while tasting the warm edges. What makes this method special is the swirl — it’s what turns an ordinary zucchini loaf into a stunning, layered cake that makes everyone feel like I got a professional baker’s flair. Plus, it’s forgiving—overmixing won’t ruin it, and you can tweak the sweetness or filling to match what you have in your kitchen.
Ingredients
For the Main Batter:
– 2 cups all-purpose flour (I always use unbleached for a richer flavor)
– 1 cup granulated sugar
– 1/2 teaspoon baking soda
– 1/2 teaspoon baking powder
– 1/4 teaspoon salt
– 1 teaspoon ground cinnamon (because everything’s better with a little spice!)
– 1/2 cup vegetable oil or melted butter for richer flavor
– 3 large eggs
– 1 teaspoon vanilla extract
– 1 cup grated zucchini (squeezed of excess moisture — I learned this the hard way!)
For the Filling:
– 8 oz cream cheese (softened, enough to spread easily)
– 1/3 cup sugar (or more if you like it extra sweet)
– 1 teaspoon ground cinnamon
– 1 teaspoon vanilla extract (for that warm, comforting aroma)
For the Glaze:
– 1/2 cup powdered sugar
– 1-2 teaspoons milk (or lemon juice for a zing)
– Optional: a sprinkle of cinnamon or lemon zest for extra flavor
Step-by-Step Instructions
Step 1: Preheat & Prep Pan
Set your oven to 350°F (180°C). Grease a 9-inch round cake pan and line it with parchment paper if you want easy removal. I always do this because sticky cake is no fun. When you’re prepping, make sure your zucchini is grated and squeezed dry—this keeps the cake from turning into a soggy mess.
Step 2: Mix Dry Ingredients
In a large bowl, whisk together the flour, sugar, baking soda, baking powder, salt, and cinnamon. This step is important because evenly dispersing the leaveners will give you that light, fluffy texture we’re after. I’ve made the mistake of forgetting to sift baking soda into the flour—trust me, lumps are not your friend here.
Step 3: Mix Wet Ingredients
In a separate bowl, beat the eggs, then add the oil, vanilla, and grated zucchini. I like to incorporate the zucchini at this stage because it helps it blend smoothly without clumping. I tested this with almond milk once—sounds crazy but it actually made the cake even creamier. Just go with what you like or have in the fridge!
Step 4: Combine
Add the wet mix to the dry ingredients, folding gently until just combined. Don’t overmix! Overmixing can toughen your gluten and make the cake dense instead of tender. Hand stirring is perfect here. You want a smooth batter with a few lumps—just like pancake batter.
Step 5: Prepare Filling
In a small bowl, beat the softened cream cheese with sugar, cinnamon, and vanilla until silky smooth. I love to do this ahead of time—it’s the fragrant core that turns this cake into a special treat. Feel free to add a touch of lemon zest or chopped nuts for variation.
Step 6: Layer & Swirl
Pour half of the batter into your prepared pan. Spread the cream cheese mixture evenly over the top, then pour the remaining batter over it. Using a knife or skewer, gently swirl through the batter—think of making marbled ice cream. You want those pretty ribbons—don’t fuss too much or you’ll just end up blending everything together.
Step 7: Bake
Pop it into your preheated oven and bake for about 40-45 minutes. Check for doneness by inserting a toothpick in the center—if it comes out clean, you’re good. I sometimes cover the top with foil halfway through if it’s browning too quickly, especially if yours runs hot like mine does. Every oven handles heat differently, so keep an eye on it after 35 minutes.
Step 8: Cool & Glaze
Let the cake cool in the pan for about 15 minutes, then transfer it to a wire rack. Drizzle the glaze while the cake is still warm so it soaks in beautifully. I like a thinner glaze—I whisk powdered sugar with just enough milk or lemon juice to make a drippable consistency. The glaze adds that shiny finish and a sweet tang that balances the richness underneath.
Step 9: Slice & Serve
Wait until it’s completely cooled—if you try to slice it hot, it’ll be a crumbly mess. Use a sharp serrated knife for clean cuts. Serve with a dollop of whipped cream or a dusting of powdered sugar if you’re feeling fancy. Honestly, I can’t resist a warm slice on a lazy Sunday morning with coffee. It’s just divine.
What to Serve It With
This cake is so versatile, I practically consider it a meal. For breakfast, pair it with a strong black coffee or a hot mug of chai. When I do brunch, I love serving slices with fresh berries and a dash of whipped cream—looks pretty and tastes heavenly. As an afternoon snack, I’ll warm a piece and add a little butter—that’s my guilty pleasure. For dessert, I cut thick slices, maybe add a scoop of vanilla ice cream, or a drizzle of caramel sauce. It’s sweet enough on its own, but that extra touch of richness makes it feel like a special treat. And on cozy nights, my family just pulls out forks and dives in, no fuss, no plating—because sometimes, the best moments are the simplest ones, right? This cake’s been a staple in my house because it checks all the boxes: delicious, pretty, and surprisingly easy to come together.
Top Tips for Perfecting Your Zucchini Swirl Cake
Over the years, I’ve picked up a few tricks that make all the difference. First, don’t skip squeezing out the moisture from your zucchini. I learned the hard way—moisture is the enemy of tender cakes. I use a clean kitchen towel or cheesecloth to wring out every last drop after grating. Moist zucchini makes the batter wetter, but too much liquid will make it dense and heavy. Also, when mixing the wet ingredients, I always ensure the eggs are at room temperature—this helps everything blend smoothly and gives the cake a better rise.
As for the swirl, I recommend using a skewer or the point of a butter knife—start from the center and gently drag outward, creating a figure-eight pattern or zigzag. It’s all about visual fun but don’t overdo it—less is more. For ingredient swaps, I’ve tried swapping half the flour with almond meal—gives it a nutty flavor—and honestly, it’s delicious. Just keep the ratio around 1:1 for best results. When baking, watch out for hot spots! I rotate the pan halfway through to get an even bake. The glaze is super customizable—try adding lemon zest or a splash of maple syrup. I’ve found that a thicker glaze looks pretty but a thinner one drips beautifully and soaks into the cake—experiment to see what matches your vibe. Every batch I make teaches me something new, and I am still, after all this time, discovering tiny tweaks that make it even better. The key is to trust your senses: smell that sweet cinnamon, watch for the golden color, and when you press lightly on the top, it should bounce back slightly. That’s when I know it’s ready.
Storing and Reheating Tips
This cake is best enjoyed fresh but can hold up for a few days if stored properly. I always cover it tightly with plastic wrap or keep it in an airtight container to keep it moist. Room temp is fine for up to two days, but if it’s super warm where you are, it’s safer in the fridge—just wrap it well so it doesn’t dry out. I’ve learned that refrigerating can sometimes cause the cake to dry out if not wrapped tightly, so I recommend bringing it to room temperature before serving for that fresh-baked feeling.
If you want to stash it in the freezer, wrap it tightly in foil or plastic, then place it in a zip-top bag. It can last up to three months this way. Thaw in the fridge overnight or on the counter for a couple of hours. Quick tip: I reheat slices in the microwave for about 20 seconds—just enough to warm the flavors without turning it rubbery. Glaze can be added after reheating if you want the shiny finish, but honestly, it’s just perfect as-is if you’re doing a quick snack. For best freshness, I think it’s easiest to enjoy within the first 2-3 days, but it still tastes good after that, especially if you toast a piece lightly before eating.
Frequently Asked Questions
Final Thoughts
If you’re on the hunt for a dessert that’s deeply satisfying but not overly complicated, this zucchini swirl cake might just become your new best friend. It’s moist, flavorful, and has that lovely marbled swirl that makes every slice look like a masterpiece—without any fancy equipment or hard-to-find ingredients. I love how it sneaks in a vegetable (hello, sneaky greens!), yet still feels indulgent enough to satisfy any sweet tooth.
Whether you’re baking for family, friends, or just yourself on a lazy Sunday, I promise this cake delivers every time. It’s one of those recipes you can tweak, experiment with, and make your own—adding nuts, swapping flavors, or even turning it into muffins. I’d love to hear how yours turns out—drop a comment or share your pic! Happy baking, and remember: sometimes, the simplest recipes are the most memorable. Enjoy every bite!
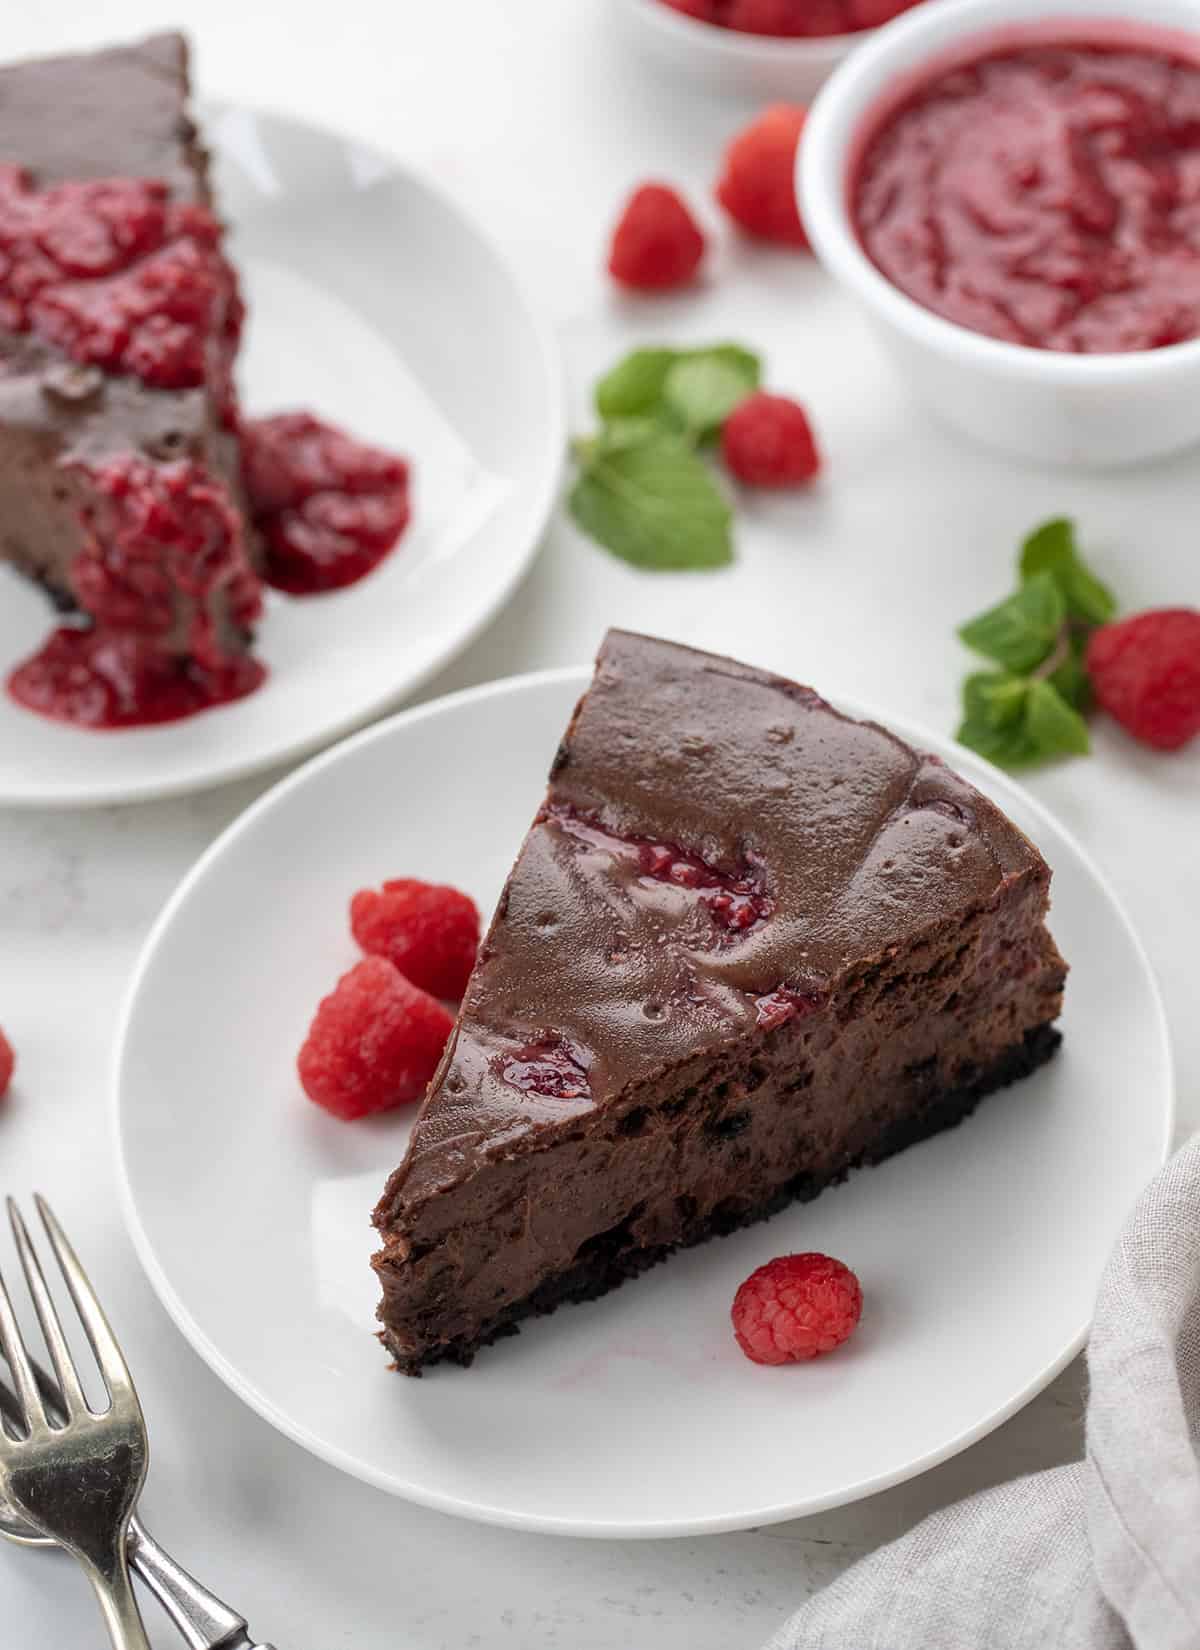
chocolate cheesecake
Ingredients
Method
- Preheat the oven to 325°F. Mix crushed digestive biscuits with melted butter and press into the bottom of a springform pan to form the crust.
- In a microwave-safe bowl, melt the chocolate chips with 0.75 cup of heavy cream, stirring until smooth. Set aside to cool.
- In a large bowl, beat the cream cheese and sugar until smooth. Add eggs one at a time, then vanilla and cocoa powder, mixing well.
- Fold in the melted chocolate mixture. Pour the filling over the prepared crust. Bake for 105 minutes or until set.
- Allow to cool completely, then refrigerate for at least 4 hours before serving. Top with chocolate ganache.