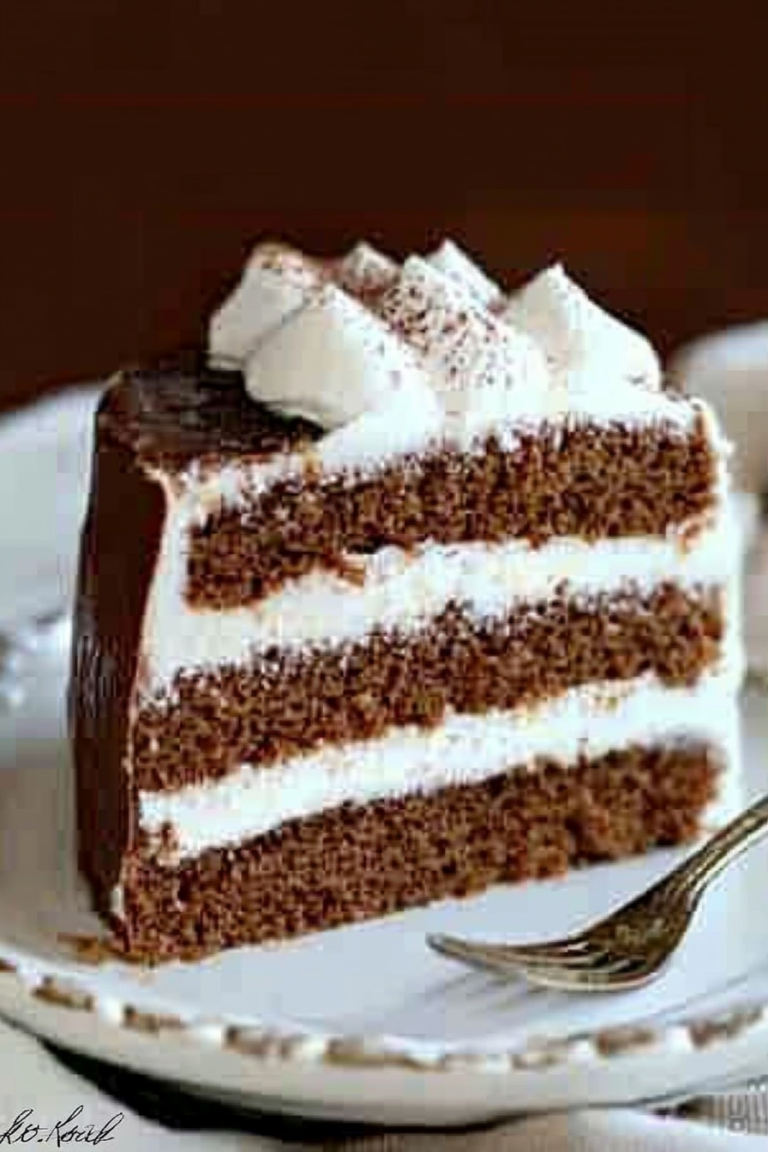
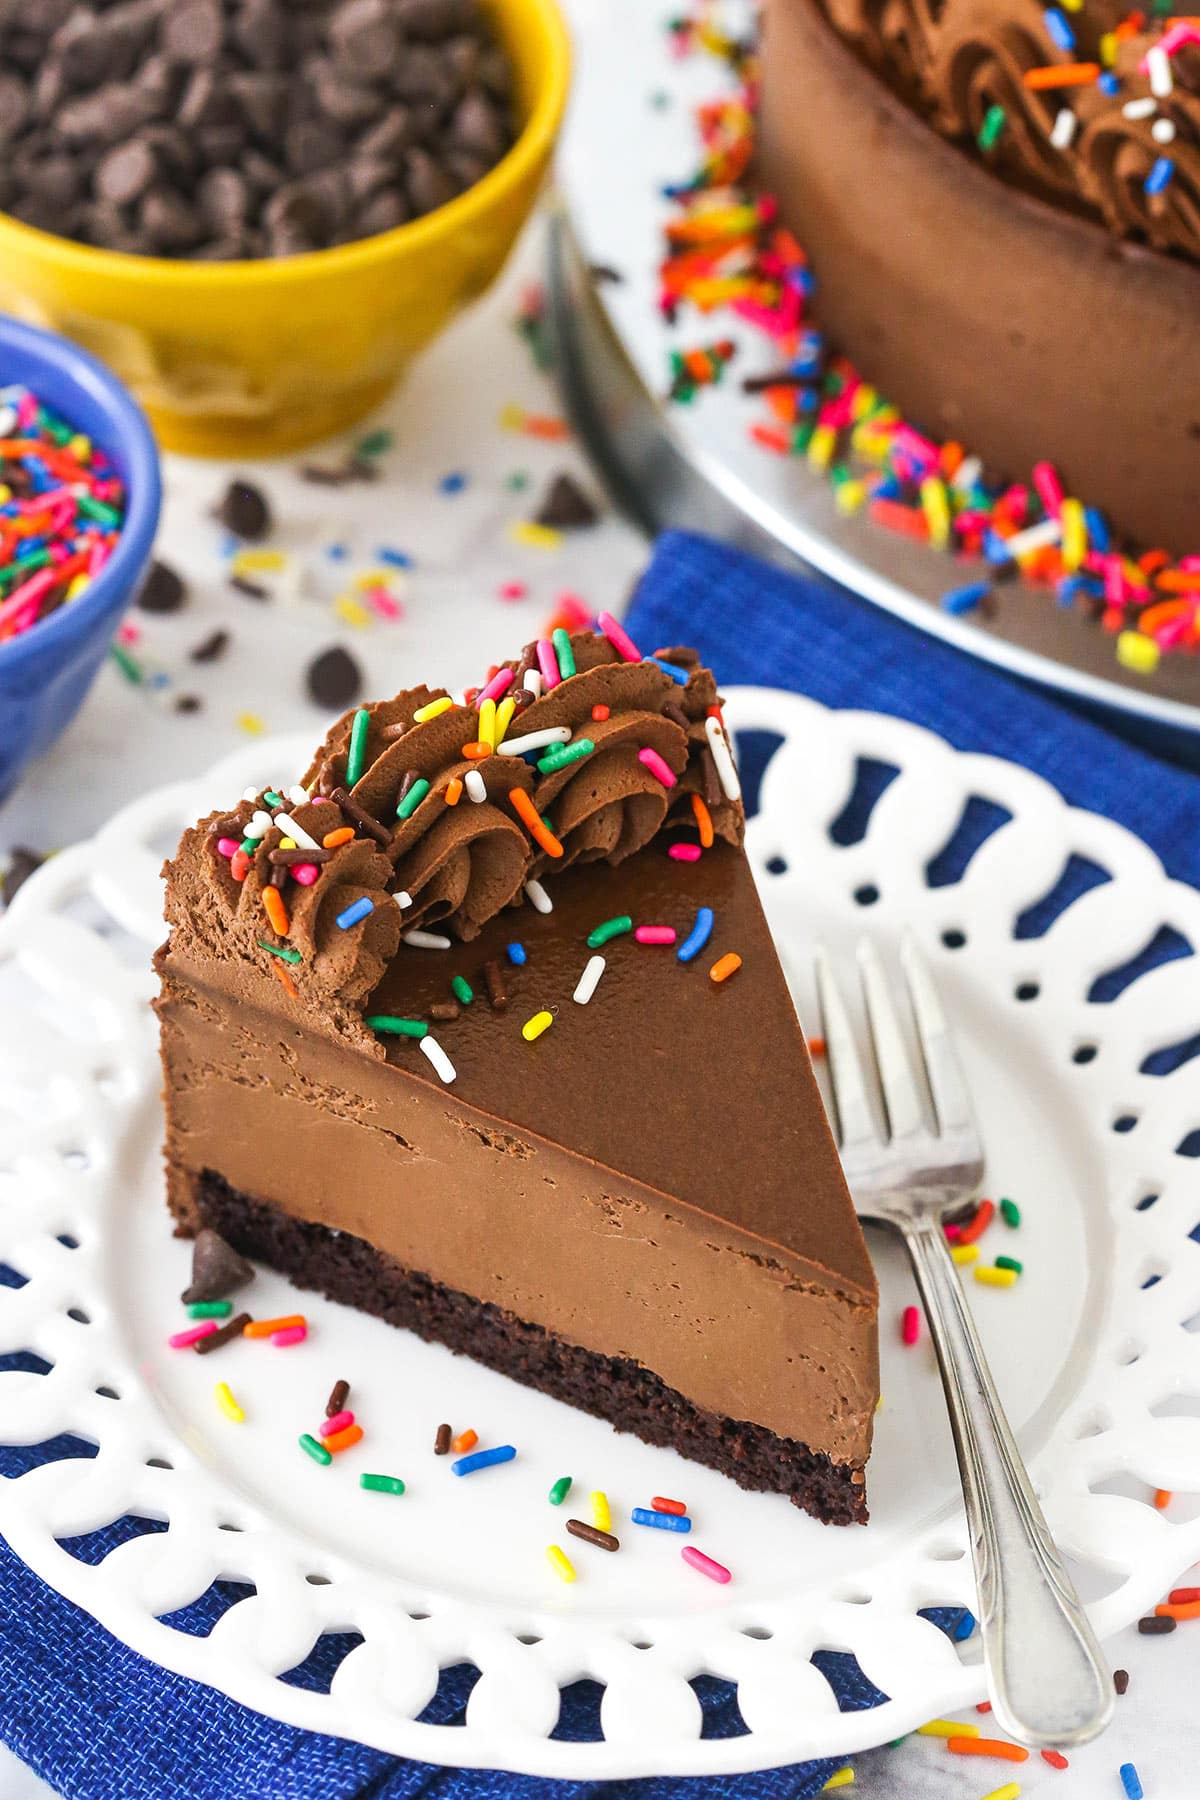
Rich Chocolate Cheesecake with Cake Base
I still remember the first time I tasted this zucchini coffee cake at my grandma’s house. She always had a way of turning simple ingredients into something magically comforting. You know that smell — warm cinnamon, buttery batter, a hint of nutty zucchini — it’s the kind of scent that instantly makes you feel at home. Since then, it’s become a staple at my house too, especially on those mornings when I want something special but don’t want to fuss too much. This zucchini coffee cake is one of those recipes that seem fancy but is surprisingly easy to make — and my kids ask for it all the time. It’s perfect when you’re craving something sweet at 10 pm but don’t want to bake a whole cake, or when you want to wow guests without spending hours in the kitchen. Once you make it, I promise, it’ll become a regular. Trust me on this one — it’s a true family favorite that never fails to bring smiles around the table.
What is Zucchini Coffee Cake?
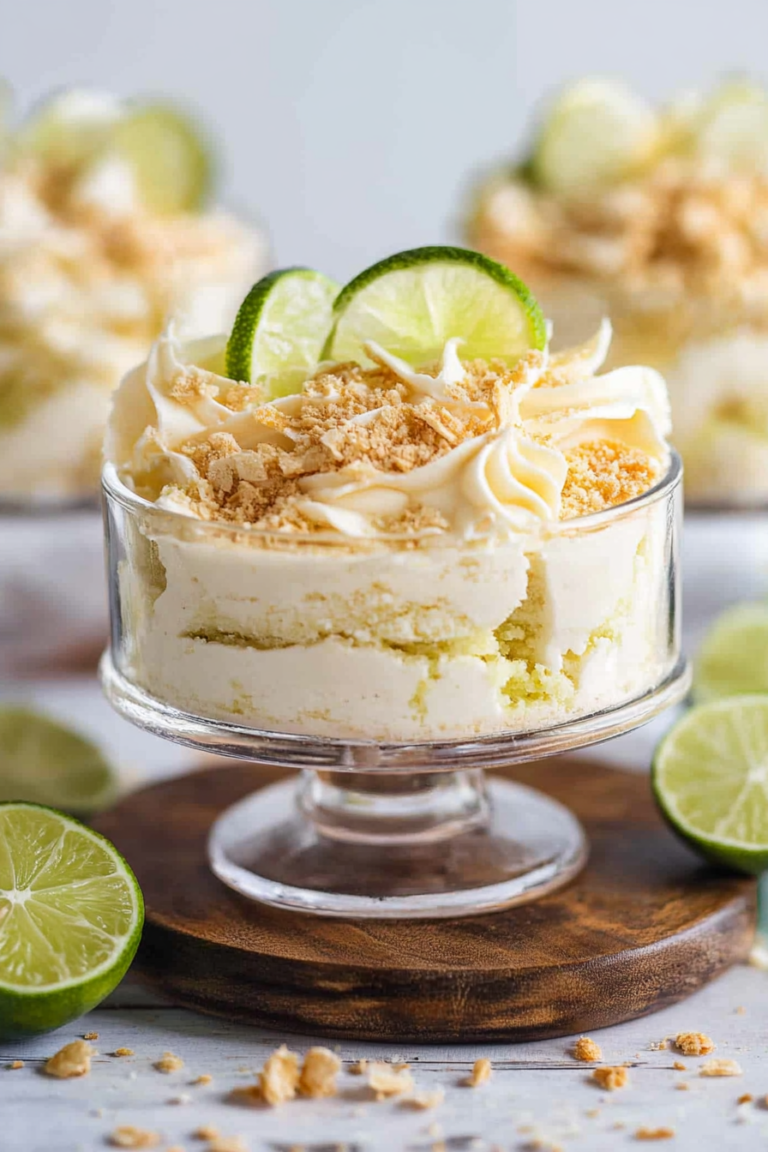
Think of zucchini coffee cake as a warm, tender loaf or cake that’s packed with moist, grated zucchini and finished with a sweet, crumbly topping. It’s essentially a breakfast or snack cake, kind of like that beloved banana bread but with a sneaky vegetable twist. The name “coffee cake” actually comes from how perfect it is alongside a cup of coffee or tea — but honestly, I find myself craving it all day long. This cake is kind of like a hug in dessert form, with a buttery batter infused with cinnamon and vanilla that makes every bite irresistible. What’s so great is how it stays moist and flavorful thanks to the zucchini, which keeps it from drying out even days later (if it lasts that long!). It’s a wonderful way to get a veggie serving in, all while satisfying your sweet tooth.
Why you’ll love this recipe?
What I love most about this zucchini coffee cake is how versatile and forgiving it is. The flavor profile is just perfect — the sweetness from brown sugar combined with spicy hints of cinnamon gives it that cozy vibe, while the zucchini adds a subtle, almost savory note that keeps things balanced. This isn’t one of those overly sweet, cloying desserts, but rather a cake with personality — the kind that pairs nicely with your morning coffee or afternoon tea.
It’s dead simple to pull together, even on a busy weekday. I’ve made it so many times I’ve memorized the steps — no fancy equipment needed, just a bowl, a whisk, and a little patience while it bakes. Plus, it’s budget-friendly because most of the ingredients are pantry staples or things I always have on hand. The best part? The flexibility! You can add nuts, blueberries, or even swap out the sugar for a touch of honey if you want to switch things up. I’ve tested this with almond milk, and honestly, it made it even creamier — so don’t hesitate to experiment. Whether it’s for a quick breakfast, a cozy snack, or a casual dessert, this cake always gets rave reviews at my house. My kids ask for this one on repeat, and I’ve even baked it for dinner guests — it’s that good.
How do I make Zucchini Coffee Cake?
Quick Overview
This zucchini coffee cake comes together with a simple batter, a flavorful filling, and a crumbly topping. The trick is to grate the zucchini, squeeze out excess moisture, then fold it into the batter for extra moistness. Layering the filling with swirls of batter creates a beautiful marble effect, and the streusel topping adds crunch. Once baked, it’s soft, moist, and perfectly balanced between sweet and spiced. Everything is mixed by hand or with a mixer, baked in a single pan, and served warm or at room temperature — it’s honestly foolproof.
Ingredients
For the Main Batter:
- 2 cups all-purpose flour (or gluten-free blend, see tips)
- 1 cup packed brown sugar (for that caramel-like sweetness)
- 1 teaspoon baking soda
- 1 teaspoon baking powder
- 1 teaspoon ground cinnamon
- ½ teaspoon salt
- ½ cup unsalted butter, melted (or coconut oil for dairy-free)
- 1 cup grated zucchini (scrape out excess moisture)
- 2 large eggs
- 1 teaspoon vanilla extract
- ¾ cup milk (dairy or plant-based, I like almond milk here)
For the Filling:
- ½ cup brown sugar
- 1 teaspoon cinnamon
- ½ cup chopped nuts or blueberries (optional but adds nice texture and flavor)
For the Glaze (optional but lovely):
- ½ cup powdered sugar
- 1-2 teaspoons milk or lemon juice
- A dash of vanilla or lemon zest for extra flavor
Step-by-Step Instructions
Step 1: Preheat & Prep Pan
Set your oven to 350°F (180°C). Grease a 9-inch square pan or round cake pan with butter or non-stick spray. I always line mine with parchment paper for easy removal. This way, you’ll avoid any stuck spots, especially around the edges. Once preheated, you’re ready to start mixing — simple as that!
Step 2: Mix Dry Ingredients
In a large bowl, whisk together the flour, baking soda, baking powder, cinnamon, and salt. This step ensures all the dry ingredients are evenly distributed. I learned early on that thorough mixing here prevents clumps and guarantees every bite has just the right cinnamon-spice punch.
Step 3: Mix Wet Ingredients
In another bowl, whisk the eggs, melted butter, vanilla, and milk until smooth. I like to make sure the eggs are fully blended to keep the batter uniform. A handy tip is to warm the milk a little if your eggs are cold — it helps everything combine more seamlessly. I always test the temperature because if it’s too hot, it might scramble the eggs, so just warm, don’t boil!
Step 4: Combine
Pour the wet ingredients into the dry and fold gently — no overmixing! You want a moist, slightly lumpy batter, which is exactly what makes the cake tender and not dense. Overmixing can lead to tough spots, and nobody wants that. Just stir until the flour disappears, and you’re good to go.
Step 5: Prepare Filling
Combine the brown sugar, cinnamon, and nuts or berries if you’re using them. This creates a little surprise swirled inside the cake, and honestly, it’s what makes this coffee cake so special. I like to keep the filling on the drier side so it doesn’t make the batter too wet or soggy.
Step 6: Layer & Swirl
Spread half the batter into your pan, then sprinkle the filling evenly over it. Pour the remaining batter on top, then use a skewer or butter knife to swirl and create beautiful patterns. Patience here results in those lovely marbled streaks — trust me, it’s worth taking a minute to do it gently. It looks pretty as a picture and gives every slice a delightful swirl of flavor.
Step 7: Bake
Pop your cake into the oven for about 35-40 minutes. Check for doneness by inserting a toothpick into the center — it should come out clean. Every oven bakes just a tad differently, so start checking around the 35-minute mark. If it’s browning too quickly on top but still raw inside, tent it loosely with foil and bake a few more minutes.
Step 8: Cool & Glaze
Let the cake cool in the pan for about 15 minutes before transferring it to a wire rack. If you’re glazing, whisk together powdered sugar, milk, and vanilla — add more milk or sugar until it’s just pourable. Drizzle or spread it over the slightly warm cake for the best finish. If you prefer it plain, just dust with a little powdered sugar instead.
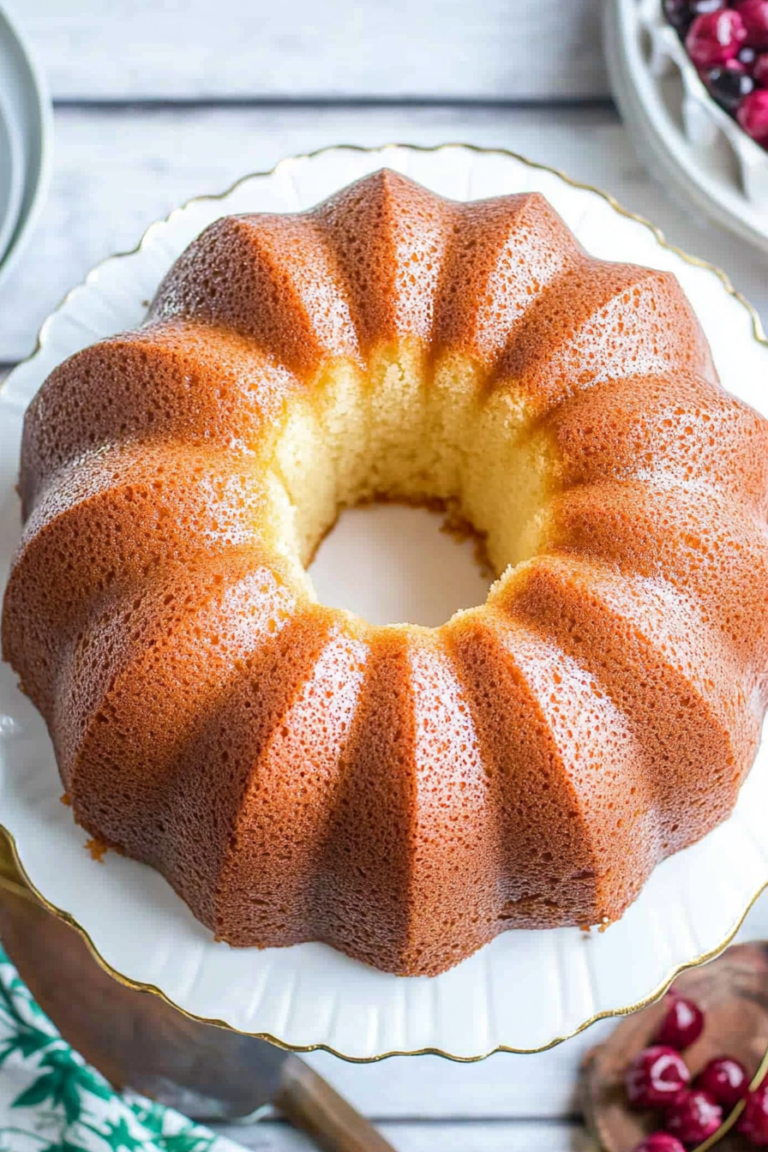
Step 9: Slice & Serve
This cake is best served warm or at room temperature. I like to cut it into squares or wedges and serve with a cup of coffee or tea. Sometimes I sprinkle a few extra nuts on top for crunch. It’s wonderful both plain and topped with a dollop of whipped cream or even a scoop of vanilla ice cream — just depends on the mood.
What to Serve It With
For breakfast, I love pairing a warm slice with a robust cup of coffee or a milky latte. It’s how I start my mornings; the subtle sweetness and cinnamon aroma energize me for the day ahead. If I’m serving it for brunch, I like to plate it with fresh fruit — strawberries, blueberries, or a side of Greek yogurt — and add a drizzle of honey or maple syrup. It’s pretty enough to make brunch feel special but simple enough not to stress over.
As a dessert, it’s a cozy, less fussy option compared to heavy cakes or pies. A dollop of whipped cream or a scoop of vanilla ice cream take it over the top, especially on chilly nights. My family loves having a slice after dinner, always asking for seconds. And my kids? They think it’s like a treasure hunt — every swirl holds a little surprise of cinnamon and sweetness. During the week, I keep it casual: just a quick warm-up and a mug of tea. It’s also fantastic as a snack — perfect to grab during busy afternoons or when friends drop by unexpectedly. Trust me, this cake has become a part of our family calendar — it’s the comfort food I never knew I needed.
Top Tips for Perfecting Your Zucchini Coffee Cake
Over the years, I’ve learned a few tricks that make this cake turn out perfectly every time. First, when grating the zucchini, I always toss it in a clean kitchen towel and squeeze out as much moisture as possible. The wetter the zucchini, the more likely your batter will be soggy or dense. I tested this with both a box grater and a microplane — I find the box grater gives a nice, chunky texture, but you can really go for whatever you prefer. Just don’t skip the squeezing part — moisture is your enemy here. Also, I’ve played around with the sugar levels — if you like it less sweet, cut back on the brown sugar by about ⅓. It still tastes fantastic, trust me.
For mixing, I genuinely think careful folding makes all the difference. Overmixing is the enemy of tender cakes. When swirling the batter and filling, take your time to create those beautiful marbled patterns. It’s all about patience and a gentle touch. If you want a crunchier topping, add a handful of chopped nuts or oats to the streusel — I tested this and loved the added texture.
Now, a little secret — I sometimes sprinkle a pinch of nutmeg or ginger into the batter for a warming spice kick. And if I’m feeling extra indulgent, I drizzle caramel sauce or honey over the glaze before serving. These little tweaks make this already fabulous recipe even better. Remember, baking is like a dance — once you get the rhythm right, every batch turns out great. I’ve also swapped out all-purpose flour for gluten-free blends, and while the texture shifts slightly, it’s still lovely. The key is to pay attention to the batter’s consistency and adjust your baking time accordingly.
Storing and Reheating Tips
This cake stays moist and delicious for days if stored properly. After it cools completely, I usually wrap it tightly in foil or keep it in an airtight container at room temperature for up to two days. It’s best to enjoy it fresh, but if you need to store longer, pop it in the fridge for up to five days. Just bring it to room temperature or warm slices in the microwave — trust me, the aroma alone makes the wait worthwhile.
If you want to keep it for longer, it freezes beautifully: wrap slices in plastic wrap, then place in a freezer bag. It’ll stay good for up to a month. To reheat, you can microwave microwave a slice wrapped in a paper towel for about 20-30 seconds or warm the whole cake in a low oven for 10-15 minutes. I avoid refrigerating uncovered — condensation can make the crust soggy. Regarding the glaze, I recommend adding it just before serving to keep that glossy finish and fresh flavor.
Frequently Asked Questions
Final Thoughts
This zucchini coffee cake is more than just a recipe — it’s a little slice of comfort I keep coming back to. The ease of making it, combined with the unbeatable aroma while baking, makes it a go-to in my kitchen. I love how versatile it is — perfect for breakfast, brunch, or a sneaky late-night treat. It’s honestly become part of my family tradition; I’ve passed it down through generations and added my own twists along the way. If you try it, I’d love to hear how yours turns out! Don’t forget to share your variations, because baking is all about making it your own. Happy baking, my friends — I know this will become a beloved part of your recipe collection just like it has been for mine!
chocolate cheesecake
Ingredients
Method
- Preheat the oven to 350°F. Grease a 9-inch springform pan and line the bottom with parchment paper.
- In a bowl, combine flour, sugar, cocoa powder, baking soda, baking powder, and salt. Mix well.
- In another bowl, whisk together milk, vegetable oil, vanilla, egg white, and hot water.
- Add dry ingredients to wet ingredients and mix until smooth.
- Pour batter into the prepared pan and bake for 12-15 minutes, until a toothpick comes out clean.
- Remove cake from oven, let cool, then prepare the cheesecake filling.
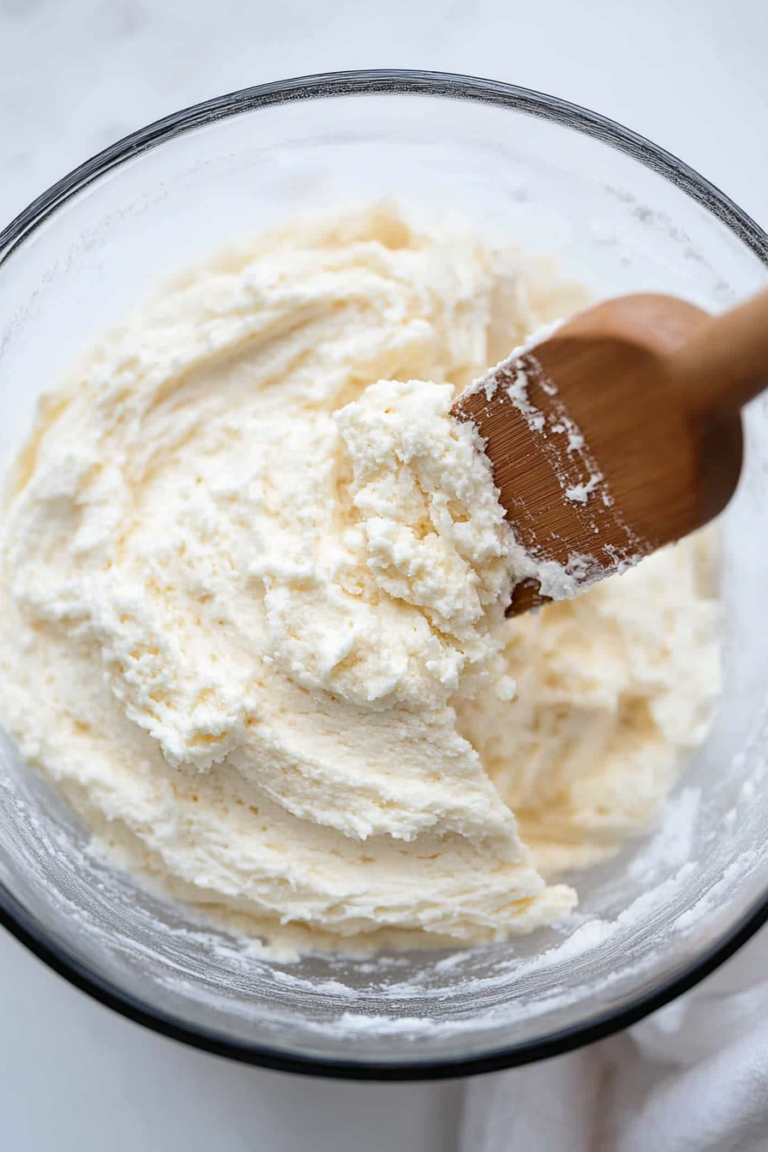
- In a large bowl, beat cream cheese, sugar, and cocoa powder until smooth.
- Add sour cream and vanilla, blending well.
- Mix melted chocolate into the cream cheese mixture.
- Beat eggs one at a time, then fold in cooled cake layer.
- Bake the assembled cheesecake in a water bath at 300°F for 1 hour and 15 minutes.
- Turn off oven, leave cheesecake inside for 30 minutes, then cool and refrigerate overnight.
- Once cooled, whip heavy cream with cocoa powder, powdered sugar, and vanilla. Pipe onto the cheesecake and garnish with sprinkles if desired.