Golden Pie Recipe A Simple Sweet Treat
There’s something truly magical about baking with zucchini—fresh, watery, and perfectly mild, it’s like nature’s way of giving us a secret sauce for moist baked goods. I remember when I first tried this zucchini cake, thinking it might be a sneaky way to get my kids to eat more veggies without a fight. But what I didn’t expect was how incredible it would taste—soft, tender, with just a hint of sweetness and a delicate crumb that melts in your mouth. Honestly, it’s become a household favorite, especially on mornings when I crave something comforting but don’t want to fuss too much. It’s a lot like a classic carrot cake but way easier—no grating, just a quick shred of zucchini, and it’s ready to go. I always do this when I need a simple, satisfying treat that’s perfect with a cup of coffee or tea, especially on lazy weekend mornings. Plus, the lemon glaze drizzled over the warm cake? Game changer. It’s the kind of dessert you’ll feel good about—full of flavor and honestly, pretty hard to stop eating!
What is Moist Zucchini Cake with Creamy Lemon Glaze?
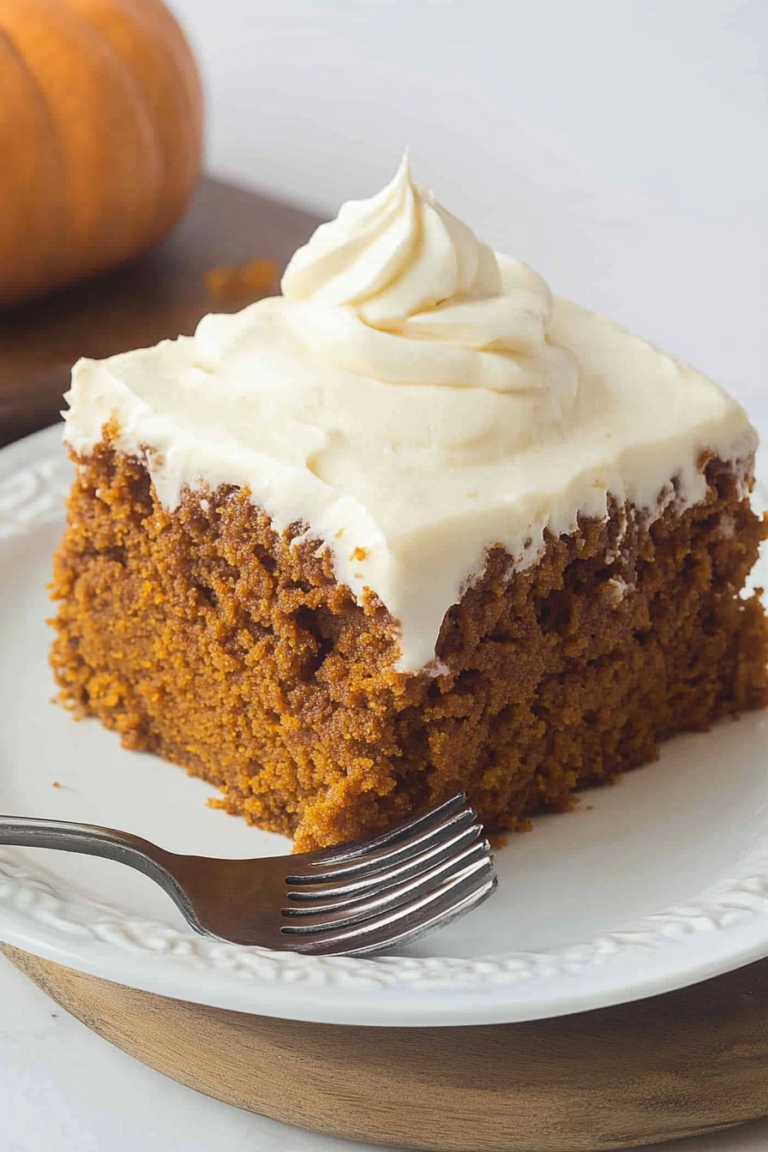
This moist zucchini cake is essentially a tender, fluffy crumb packed with shredded zucchini—think of it as a sneaky veggie sweet cake that’s just as delightful for breakfast as it is for dessert. Its name comes from the key ingredient, zucchini, which keeps the cake irresistibly moist and adds a subtle vegetable sweetness that balances the sweetness of the batter. It’s inspired by classic spice cakes but dialed down a bit to let that fresh zucchini shine through. The frosting? A silky, tangy lemon glaze that’s sweet, zesty, and just the right finishing touch. Think of it as a cross between a light coffee cake and a quick bread, but elevated with a bright, citrus twist. It’s super approachable, perfect for bakers of all levels, and honestly, it’s one of those recipes you can toss together in a hurry—no fancy equipment required. I love how versatile it is—serve it for brunch, a casual afternoon snack, or even as an impromptu dessert after dinner.
Why you’ll love this recipe?
What I love most about this zucchini cake is how it wears so many hats—it’s moist, tender, and bursting with flavor, but also remarkably simple to throw together. The batter comes together in just one bowl, which means less mess and more time enjoying the smell of baking bread filling your house. The zucchini itself keeps the cake so moist that it actually gets better the next day—trust me on this one, leftover slices are perfect with a little butter or fresh cream. Plus, it’s budget-friendly; most of us have zucchini and pantry staples lying around, and this recipe really makes those humble ingredients shine. The addition of lemon glaze offers just enough zing to brighten up every bite, making it suitable for a variety of occasions. This one’s a lifesaver on busy nights when I want something homemade but don’t have hours to fuss. My kids ask for this all the time—sometimes I double the recipe, and it disappears in minutes!
How do I make Zucchini cake with lemon glaze?
Quick Overview
This cake is as straightforward as it gets: grate zucchini, mix it into a simple batter, pour into a pan, and bake. The real magic happens when you add the fresh lemon glaze on top while the cake is just a little warm—so it soaks in beautifully. It’s baked at a moderate temperature, ensuring the inside is perfectly tender without any dry edges. This method keeps everything fuss-free, and the result? An impressive, fresh-tasting cake that’s almost impossible to resist. The prepping time is minimal, making it ideal for a weeknight treat or a weekend brunch. Once baked, I always let it cool just enough so that the glaze doesn’t melt completely—then drizzle and indulge. Honestly, I’ve made this dozens of times, and it never fails to delight everyone around my table.
Ingredients
For the Main Batter:
– 2 cups grated zucchini (about 2 medium zucchinis, shredded and excess moisture squeezed out)
– 1 1/2 cups all-purpose flour (or almond flour for a gluten-free version)
– 1 teaspoon baking powder
– 1/2 teaspoon baking soda
– 1/2 teaspoon salt
– 1 teaspoon ground cinnamon (optional but adds warmth)
– 1/2 teaspoon nutmeg (optional)
– 1/2 cup granulated sugar
– 1/2 cup brown sugar (light or dark—your call!)
– 1/2 cup vegetable oil or melted butter
– 3 large eggs
– 1 teaspoon vanilla extract
For the Filling (optional but adds a little extra oomph):
– 1/2 cup chopped walnuts or pecans
– 1/2 cup shredded coconut (for texture and flavor)
For the Glaze:
– 1 cup powdered sugar
– Juice of 1 large lemon
– 1 teaspoon lemon zest
– 1-2 teaspoons milk or cream (to thin out if needed)
– A tiny pinch of salt (to balance the sweetness)
Step-by-Step Instructions
Step 1: Preheat & Prep Pan
Set your oven to 350°F (175°C). Grease a 9-inch round cake pan or line it with parchment paper—trust me, non-stick spray works wonders here. If you’re making muffins, line your muffin tin with paper liners. I always do this first so I don’t forget later—nothing worse than trying to unstick a warm cake. While the oven warms, give your zucchini a good rinse, then grate it using a box grater or a food processor with a shredder attachment. After shredding, squeeze out all that excess moisture—I do this by wrapping it in a clean kitchen towel and giving it a good squeeze. You want it to be moist but not watery—this step is key for super tender cake.
Step 2: Mix Dry Ingredients
In a large bowl, whisk together the flour, baking powder, baking soda, salt, cinnamon, and nutmeg. I always do this first—ensures everything is evenly distributed. It’s especially important with spices; you don’t want clumps! Set aside.
Step 3: Mix Wet Ingredients
In another bowl, beat the eggs, then stir in the sugars, oil, and vanilla. I actually like to use a whisk here because it adds a bit of air, making the batter extra light. Once blended, mix in the grated zucchini—try not to overmix this part or your cake might turn out dense instead of fluffy. Make sure everything is well combined but don’t beat out all the air.
Step 4: Combine
Now, pour the wet ingredients into your dry bowl. Using a spatula or wooden spoon, gently fold everything together until just combined—overmixing can make the cake tough. It’s okay if there are a few tiny lumps; they’ll bake out. If you’re adding nuts or coconut, fold those in now.
Step 5: Prepare Filling
If you’re going for the extra crunch, toss your chopped nuts or shredded coconut with a little flour before adding to prevent sinking. Spread the batter into your prepared pan, smoothing the top with a spatula.
Step 6: Layer & Swirl
This isn’t necessary unless you want to add swirls of fruit preserve or chocolate. I usually just bake without layers, but if you’re feeling fancy, dollop some jam or chocolate chips and swirl with a skewer before baking. It’s all about personal touch!
Step 7: Bake
Pop it into the oven and bake for about 40-45 minutes, or until a toothpick inserted in the center comes out clean. The top should be golden and slightly springy. My oven sometimes runs hot, so I start checking at 38 minutes—trust your smell and the toothpick test. Once done, let it cool in the pan for about 15 minutes before transferring to a wire rack to cool completely. This prevents it from crumbling.
Step 8: Cool & Glaze
While the cake cools, mix up your lemon glaze—just whisk powdered sugar, lemon juice, and zest until smooth. If it’s too thick, add a drop of milk; if too runny, add more powdered sugar. Drizzle the glaze over the slightly warm cake—it will soak in nicely. Let the glaze set for a few minutes before slicing.
Step 9: Slice & Serve
Use a sharp serrated knife for clean cuts—patience is key! Serve slices with a dollop of whipped cream or a small side of fresh fruit, and enjoy the bright, zesty contrast with the sweet, moist cake. Honestly, I love it best when it’s slightly warmed and the glaze is still shiny.
What to Serve It With
This zucchini cake is so versatile that it adapts to practically any occasion. For breakfast, pair it with a steaming cup of coffee or a glass of cold milk. The gentle sweetness makes it perfect for a lazy weekend morning—or even weekday brunch when you need a pick-me-up. If I’m hosting a brunch, I like to serve slices of this cake alongside fresh berries, an assortment of cheeses, and maybe some herbal tea. The lemon glaze adds a bright touch that complements light brunch fare beautifully.
As a dessert, it’s a lovely light option—no heavy frosting to weigh you down. Drizzle with extra lemon glaze or serve with a scoop of vanilla ice cream. I’ve also experimented with topping it with a dollop of Greek yogurt and fresh mint for a more sophisticated spin. When I want something casual, I cut thick slices, serve with a hot cup of tea, and let everyone dig in. My kids love this as an after-school treat, and I love how it’s both satisfying and wholesome. It’s one of those recipes that makes you feel good, knowing you’re feeding your family something homemade, fresh, and just downright delicious.
Top Tips for Perfecting Your Moist Zucchini Cake with Creamy Lemon Glaze
After making this recipe so many times, I’ve picked up some little tricks to make it even better. First, squeezing out the moisture from the zucchini is crucial—if it’s too watery, the cake risks turning dense or soggy. I actually keep a little bowl nearby to drain excess juice after squeezing, and I pat the shredded zucchini dry before mixing. Trust me, this small step makes a huge difference.
Secondly, don’t overmix your batter once you combine the dry and wet ingredients. It’s tempting to keep stirring until smooth, but overmixing develops gluten and leads to a tougher texture. Gently folding everything together is best. If you want a more textured cake, fold in nuts or dried fruit but avoid mixing too much.
When it comes to the glaze, I like to keep it slightly thick but pourable—if it’s too runny, it runs off and pools at the bottom of the cake; too thick, and it won’t spread nicely. Adding just a splash of milk or cream helps perfect the consistency. For an extra zing, sprinkle on some more lemon zest or even a tiny pinch of sea salt to balance sweetness.
As for baking, I always check around the 38-minute mark—every oven is a little different. A toothpick that comes out with a few moist crumbs is perfect. If you’re making muffins, reduce the baking time by about 10 minutes. The mini versions are adorable and perfect for portion control!
Finally, I learned that the cake tastes even better the next day—more flavors meld, and the moisture really settles in. Store it covered at room temperature if you plan to eat it within a day or two, or refrigerate for longer freshness. Just be sure to bring it back to room temp before slicing for the best texture.
Storing and Reheating Tips
This cake keeps well, which is great because I often bake a batch on Sunday and enjoy slices through the week. If you’re planning to store it, here’s what I do:
- Room Temperature: Wrap leftover slices snugly in plastic wrap or keep them in an airtight container. They’re good for about 24-36 hours—after that, the moisture begins to dissipate, and it might get a little dry.
- Refrigerator: Place slices in an airtight container or cover with foil. They’ll last 3-4 days, and I find that warming a slice for about 15 seconds in the microwave brings back that soft, fresh-baked feel.
- Freezer: For longer storage, wrap slices tightly in plastic wrap and then foil or pop them into a freezer-safe bag. They can stay frozen for up to 3 months. When you’re ready to eat, thaw at room temp or warm gently in the microwave. Just wait to add the glaze—wait until the cake is fully thawed and slightly warm so the glaze sticks nicely.
If you’re stacking slices, keep layers separated with parchment paper to prevent sticking. And remember, it’s best to add the glaze after reheating—nothing beats that fresh, tangy zing on a warm slice.
Frequently Asked Questions
Final Thoughts
If you haven’t tried zucchini in baked goods yet, this moist zucchini cake with lemon glaze might just be the recipe to convert you. It’s a little bit wholesome, a lot delicious, and makes for a great way to sneak some greens into the day without anyone realizing. The aroma alone—warm, citrusy, and inviting—will make your house feel like a bakery. I’ve tested this countless times, tweaking ingredients and baking times, and I can honestly say it’s become one of my all-time favorites. Whether you’re baking for friends, family, or just a cozy night in, I promise this will bring smiles around the table. Plus, it’s so flexible—you can easily swap ingredients to suit what you have in the pantry. Get ready for some serious compliments and a few “Can I have another slice?” remarks. Happy baking, and I can’t wait to hear how yours turns out!

sweet potato pie
Ingredients
Method
- Preheat the oven to 425°F.
- In a large bowl, add sweet potatoes, evaporated milk, granulated sugar, eggs, pumpkin pie spice and salt. Beat together on low with a mixer until combined.
- Pour mixture into pie shells.
- Bake for 15 minutes. Reduce heat to 350°F and bake for another 45 minutes.
- Cool completely before serving.