Creamy Spinach Artichoke Delight How To Make
There’s something about turning simple, everyday ingredients into a little slice of happiness that gets me every time. I still remember the first time I made this zucchini chocolate swirl cake — it was a rainy Sunday afternoon, and I had a few zucchinis hiding in the fridge from our garden, just begging to be used up. I was skeptical at first, thinking, “Zucchini in cake? Really?” But one bite changed my mind completely. The moistness, the rich chocolate swirl—oh, I could hardly believe it was healthy enough for my kids to ask for seconds! It’s honestly a recipe I come back to whenever I want something sweet but don’t want to feel guilty afterward. This cake’s incredible flavor, combined with its easy prep, makes it a real lifesaver on busy nights or whenever company drops by unannounced. Trust me, once you try it, you’ll be hooked — and the smell alone when it’s baking is enough to bring everyone to the kitchen. I promise, it’s way better than that mashed zucchini bread my grandma used to make, and way more fun too!
What is Zucchini Chocolate Swirl Cake?
This is essentially a moist, tender cake with a vibrant chocolate swirl running through it, made with grated zucchini gently folded into the batter. Think of it as a secret ingredient—kind of like how moms use applesauce to keep cakes tender, but zucchini adds a lovely subtle moisture and a pop of green that makes it utterly charming. It’s a loaf cake, but with that gorgeous marbled effect created by swirling dark, rich chocolate into the lighter zucchini batter. The name might sound fancy, but I promise it’s simple enough for a weeknight treat. It’s an easy bake that’s great for breakfast, dessert, or even a snack—the kind of cake that tastes indulgent but feels virtuous at the same time. My kids love it because it’s chocolaty without being overly sweet, and I love how it transforms what would otherwise be leftover zucchini into something almost magical. Think of it as a cozy, nourishing hug in cake form!
Why you’ll love this recipe?
What I love most about this zucchini chocolate swirl cake is how beautifully it balances flavor and texture. The zucchini keeps it incredibly moist, so every bite melts in your mouth, almost like you’re biting into a velvet cloud. The chocolate swirl? It’s just enough to satisfy that craving for rich, decadent chocolate without overpowering the subtle, fresh flavor of the zucchini. Plus, this recipe is so forgiving—you don’t need fancy ingredients or complicated techniques. I always do this when I want something quick and comforting, and it never disappoints. Budget-wise, it’s a winner too—most ingredients are pantry staples, and you probably won’t need to run to the store. And the versatility is amazing; you can serve it warm with a dusting of powdered sugar, or chilled with a dollop of whipped cream. Honestly, I’ve tested this with different kinds of chocolate (dark, milk, even a sprinkle of white chips) and it’s always a hit. It’s a no-fuss, crowd-pleasing, cozy baking moment that I keep coming back to—and I bet you will too.
How do I make Zucchini Chocolate Swirl Cake?
Quick Overview
This cake has three main steps: making the batter, preparing the chocolate swirl, and layering it all together before baking. The best part? It’s honestly faster than making a batch of cookies, and the batter comes together in just a handful of minutes. The key is grating the zucchini really well, squeezing out excess moisture, and gently folding everything together without overmixing. Once that’s done, you swirl in melted chocolate or cocoa mixture, pop it in the oven, and wait for that irresistible smell to fill your kitchen. The baked result? Perfectly moist, beautifully marbled, and topped with a slight glossy finish from the melted chocolate. This is one of those recipes you’ll keep handy for unexpected guests or when you want a sweet treat without overthinking the process. Plus, the ingredients are simple, common staples—no special trips needed. Trust me, once you try this, it’ll become your go-to for last-minute desserts or cozy weekend baking.
Ingredients
For the Main Batter:
– 2 cups grated zucchini (about 2 medium zucchinis, freshly grated and excess moisture squeezed out)
– 2 cups all-purpose flour
– 1 ½ teaspoons baking powder
– ½ teaspoon baking soda
– ½ teaspoon salt
– 1 teaspoon vanilla extract
– 1 cup granulated sugar
– ½ cup vegetable oil (can substitute with melted coconut oil for a subtler flavor)
– 3 large eggs
– ½ cup buttermilk (or almond milk for dairy-free option)
For the Filling:
– ½ cup good quality dark chocolate chips or chopped dark chocolate (melted gently in the microwave)
– 2 tablespoons cocoa powder (unsweetened)
– 2 tablespoons warm milk or cream (to loosen the cocoa if needed)
For the Glaze (optional but pretty):
– ¼ cup melted chocolate or chocolate ganache
– 1 teaspoon coconut oil (for a shiny finish)
– A sprinkling of sea salt or flaky sea salt for contrast
Step-by-Step Instructions
Step 1: Preheat & Prep Pan
Set your oven to 350°F (175°C). Grease your loaf pan or line it with parchment paper—trust me, this cake is sticky until it cools, so don’t skip the prep. I like using a 9×5-inch loaf pan because it’s just right for slicing, but a round cake pan works too. Make sure your oven rack is in the middle, and keep all your ingredients within arm’s reach—it’s all about making it easy to stay focused!
Step 2: Mix Dry Ingredients
In a medium bowl, whisk together the flour, baking powder, baking soda, salt, and cocoa powder if you’re using it in the batter (though I like adding cocoa later for a richer swirl). Properly mixing these ensures the leavening is evenly distributed, which means a nice rise and no lumps in your batter. Small tips? Sift the flour if it’s lumpy—this makes your cake super airy and smooth.
Step 3: Mix Wet Ingredients
In a large mixing bowl, beat the eggs, sugar, vanilla, and oil using a hand whisk or electric mixer. When everything is combined and it looks a little frothy, add the buttermilk and stir gently until smooth. I always test my eggs to make sure they’re fresh; it helps with the rise. The batter will be somewhat loose but shouldn’t be runny—think wet cake batter, not pancake batter.
Step 4: Combine
Gradually add the dry ingredients into the wet mixture, folding gently with a spatula to avoid overmixing. Overmixing can lead to a dense cake, so just fold until no streaks remain. This is the step where your batter gets really velvety and luscious—don’t rush it!
Step 5: Prepare Filling
Melt your dark chocolate carefully in 20-30 second bursts in the microwave, stirring after each. Mix in the cocoa powder and warm milk or cream, stirring until smooth. If you want a thicker swirl, add a tad more cocoa; if you want it looser, add a splash more milk. Personal favorite: I sometimes toss in a pinch of cinnamon or chili powder for a spicy kick.
Step 6: Layer & Swirl
Pour half of your batter into the prepared pan. Drizzle the melted chocolate mixture over it, then top with the remaining batter. Use a skewer or toothpick to gently swirl the chocolate into the batter—don’t overdo it, or you’ll lose the marbled effect. Just a few gentle zigzags will do the trick. This is where the magic begins to happen—the swirl pattern is so satisfying to see develop in the oven!
Step 7: Bake
Pop it in the oven and bake for 40-45 minutes. Check doneness with a toothpick inserted in the center—if it comes out clean or with just a few moist crumbs, you’re good. Every oven is different, so start checking around 38 minutes. The top should look glossy and slightly cracked, and your house will smell like a chocolate dream. Once baked, let it cool in the pan for at least 15 minutes—you want it warm but not hot when you glaze.
Step 8: Cool & Glaze
Transfer the cake to a wire rack and let it cool completely before adding the glaze. A glossy chocolate drizzle or a sprinkle of flaky salt on top makes it irresistible. If you’re in a hurry, pop it in the fridge for 20 minutes, and the glaze will set perfectly. I love adding a little sea salt—it’s like the cake gets a little gourmet upgrade.
Step 9: Slice & Serve
Use a serrated knife to cut through cleanly—wait until it’s just barely warm or fully cooled, depending on your mood. Serve slices topped with a dusting of powdered sugar or a dollop of whipped cream. This cake stores well in an airtight container for a couple of days, but honestly, it’s so good I doubt it’ll last that long!
What to Serve It With
This cake is pretty versatile, so I like to play a little with serving styles based on the occasion. For a cozy breakfast, serve it slightly warmed with a steaming cup of coffee or tea. It’s also perfect for brunch—try it with a dollop of Greek yogurt and fresh berries for a colorful, refreshing contrast. If you’re craving a decadent dessert, accompany your slice with vanilla ice cream or whipped cream—trust me, the cold and warm combo is heavenly. And for a more casual snack, I love packing a slice for picnics or afternoon tea with friends. My family always asks for this on weekends, and it’s a hit every single time. I’ve even made mini muffins with this batter (just adjust the baking time to about 15-20 minutes)—they’re perfect for grab-and-go mornings or quick snacks. It’s what I call a true comfort-food classic that fits into any part of your day.
Top Tips for Perfecting Your Zucchini Chocolate Swirl Cake
Having made this cake dozens of times, I’ve learned a few tricks to make it even better each round. First, grated zucchini can be watery—be sure to squeeze out as much moisture as possible with a clean dish towel; otherwise, your cake might turn out dense or soggy. When mixing your batter, don’t overmix once the dry ingredients are added—this is key for that light, tender crumb. To swirl the chocolate, I keep my melted chocolate slightly thick but drizzle it over the batter instead of spreading—this helps create beautiful marbling without blending everything together into one muddy color. If you want an extra flavor boost, toss in a handful of chopped nuts or dried fruit into the batter or the swirl. And don’t forget: oven temperatures vary, so start checking your cake at 38 minutes—every oven is a little different! Baking in the middle rack prevents hot spots. I’ve also tested different chocolate types, and honestly, dark chocolate chips give it that deep, rich flavor I crave, but milk chocolate works just as well if you want a milder sweetness. For the glaze, playing with the consistency—thicker for drizzle or thinner for a smooth finish—allows you to customize the look. My biggest lesson? Always let the cake cool completely before glazing, or the chocolate might melt too much and lose that beautiful glossy finish. Little tweaks like these are what make baking so fun and rewarding.
Storing and Reheating Tips
This cake keeps beautifully, which makes it perfect for baking ahead of time. At room temperature, wrapped with a clean kitchen towel or stored in an airtight container, it’ll stay fresh for about 2 days. Keep it out of direct sunlight or humid spots, and it’ll retain its moist allure. Refrigeration extends its life up to 4 days—just make sure to wrap it tightly so it doesn’t dry out or absorb other fridge smells. If you want to enjoy it later, the fridge actually helps the flavors meld and intensify. Want to freeze it? Wrap the whole cake tightly in plastic wrap, then foil, and freeze for up to 3 months. When ready to eat, thaw overnight in the fridge or on the counter, then rewarm gently in the oven or microwave. I’ve found that a quick warm-up in the microwave for about 20-30 seconds keeps the cake moist and fluffy. If you like it with the glaze, add it after reheating—this keeps the shine fresh and the flavor vibrant. For the best texture, avoid reheating more than once—every time it thaws and reheats, you risk losing some of that tender crumb. And honestly? It still tastes just as good cold, so don’t hesitate to enjoy a chilled slice straight from the fridge if that’s your vibe. This cake is wonderfully forgiving and flexible—perfect for making ahead and enjoying for days.
Frequently Asked Questions
Final Thoughts
This zucchini chocolate swirl cake is one of those recipes that feels like a warm secret shared between friends. It’s humble, but don’t let that fool you—every time I bake it, I’m reminded how simple ingredients can create something unexpectedly special. The pleasure of sneaking a little veggie into a treat that everyone loves is such a win, especially when it tastes this good. Whether you’re baking for family, friends, or just yourself after a long day, this cake always hits the spot. I encourage you to personalize it—try different chocolates, add nuts, or layer in some fruit. And don’t worry if it doesn’t turn out perfect on the first try; baking is as much about love and practice as it is about precision. So go ahead, get your zucchini grated, your chocolate melting, and bake with joy. I can’t wait to hear how yours turns out—happy baking, my friend!

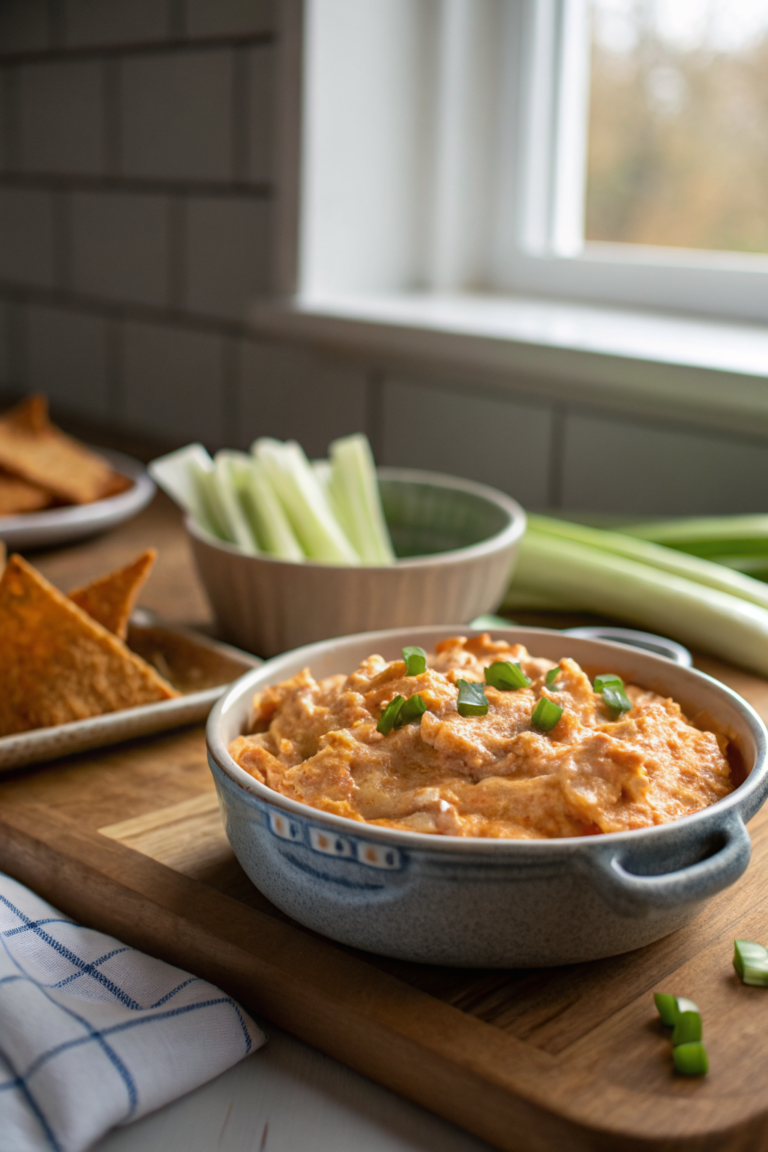
spinach artichoke dip
Ingredients
Method
- Preheat oven to 350°F. Spray a small baking dish with non-stick spray.
- In a mixing bowl, stir together cream cheese, sour cream, mayonnaise, garlic, Parmesan, mozzarella, and pepper.
- Add in chopped artichokes and drained spinach; mix well.
- Spread the mixture evenly into the prepared baking dish. Bake for about 20 minutes until heated through and bubbly.
- Serve warm with chips, crackers, or toasted baguette slices.