Speedy Chicken & Dumplings Recipe
There’s something about baking something sweet with a little vegetable sneak-in that just feels like a small victory—like I’m cheating the system in the best way possible. I remember my grandma making banana bread when I was a kid, filling the house with that cozy smell of cinnamon and bananas melting into buttery perfection. Over the years, I’ve tested all sorts of versions, but this zucchini banana spice cake is my current favorite. It’s incredibly moist, bursting with warm spices, and honestly, nobody ever suspects that zucchini is hiding in there. It’s the kind of treat that disappears in minutes at my house, and I love that it’s semi-healthy-ish — my kids ask for seconds and don’t even realize they’re eating veggies! That’s what I call a win. This one’s a lifesaver on busy nights when I want something satisfying but don’t want to spend forever in the kitchen. Plus, it’s foolproof and adaptable—trust me, once you try it, it’ll be part of your regular rotation. That aroma alone will have your whole family coming to the kitchen—even if they’re pretending not to hear you baking!’
What is a Zucchini Banana Cake?
Think of this as a mashup between your favorite banana bread and a cozy, spiced cake. It’s essentially a moist, tender cake loaded with ripe bananas, grated zucchini, and a warm blend of cinnamon and nutmeg. The zucchini acts like a secret ingredient, adding moisture and volume without overpowering the flavor—it’s subtle, honestly, but it makes the cake so irresistible and tender. The name might sound fancy or intimidating, but I promise it’s super simple to throw together. It’s kind of like that classic, comforting cake your grandma used to bake, but with a little twist and some sneaky greens. The texture is soft and almost melt-in-your-mouth, perfect with a cup of coffee or tea. It’s also versatile enough to serve as breakfast alongside yogurt or as a sweet dessert after dinner. It’s a humble cake, but one that’s been a steadfast favorite in my kitchen, especially when I need a bit of cozy in a busy week. The best part? It’s an easy “mix-and-bake” kind of recipe, with just enough spice to warm you from the inside out.
Why you’ll love this recipe?
Honestly, what I love most about this zucchini banana spice cake is how it makes me feel—like I’m nurturing my family with something wholesome and still indulgent. The flavor? Oh, it’s honestly incredible. The ripe bananas give it that sweet, comforting aroma, while the cinnamon and nutmeg add that spicy kick that screams fall or cozy Sunday afternoons. But then, there’s that secret zucchini—no one notices until I tell them! This keeps the cake super moist and tender, even days after baking. Plus, it’s *so* easy to make. I’ve tested this with no fancy gadgets—just a mixing bowl, a grater, and a spoon—and it comes together in under an hour. Budget-wise, it’s a win too—I almost always have these ingredients on hand because bananas and zucchinis are staples in my house. And because the batter is so forgiving, you can customize it with chopped nuts, chocolate chips, or dried fruit for different variations. Honestly, if you’re looking for a less guilt-ridden sweet that feels like a warm hug, this cake is your new best friend. Plus, the smell alone will have everyone asking for a slice.
How do you make a Zucchini Banana Spice Cake?
Quick Overview
This cake is all about the simple things done well. First, you grate the zucchini and mash the bananas—nothing fancy, just a quick prep. Then, you mix the dry ingredients, whisk together the wet ones, and fold them together gently—no overmixing, or you’ll end up with a dense cake. Pour the batter into a prepared pan, swirl in your favorite fillings if you like, and bake until golden. It’s honestly a fuss-free process that rewards patience (don’t rush the baking or you’ll end up underdone). Once it’s baked, let it cool a bit before glazing or serving plain. The whole process takes about an hour, and the end result is a fragrant, moist cake that’s perfect for almost any occasion. What makes this method special is how forgiving it is—if you forget to add a pinch of this or that, it still turns out great. Plus, I’ve found the flavor only deepens after a day or two—so make it ahead if you can. Trust me on this—it’s baking magic in a loaf pan!
Ingredients
For the Main Batter:
- 2 medium ripe bananas, mashed — the sweeter, the better; I always keep an extra banana for a more intense banana flavor.
- 1 cup grated zucchini — I prefer to grate it finely so it blends seamlessly into the batter. I’ve tested with frozen zucchini chunks, but fresh is definitely better.
- 1 1/2 cups all-purpose flour — I swear by unbleached for a richer flavor, but plain works fine too.
- 1 teaspoon baking powder
- 1/2 teaspoon baking soda
- 1 teaspoon ground cinnamon
- 1/2 teaspoon ground nutmeg
- 1/4 teaspoon salt
- 1/2 cup brown sugar or coconut sugar — for a healthier touch; I’ve even used honey when I’m out of sugar and it worked well.
- 1/3 cup olive oil or melted coconut oil — I tested both, and coconut oil adds a lovely aroma.
- 2 large eggs — or flax eggs for a vegan version.
For the Filling (optional but delicious):
- 1/2 cup chopped walnuts or pecans
- 1/4 cup dried cranberries or raisins
- Chopped dark chocolate for an extra treat
For the Glaze (optional but pretty):
- 1/2 cup powdered sugar
- 2 teaspoons fresh lemon juice or milk (milk alternatives work fine)
- A pinch of cinnamon or vanilla extract for extra flavor
Step-by-Step Instructions
Step 1: Preheat & Prep Pan
Preheat your oven to 350°F (175°C). Grease your loaf pan or cake pan with butter or non-stick spray, and lightly dust it with flour. I find lining it with parchment paper makes removal easier, so I sometimes do that too. This step prevents sticking and helps your cake come out perfectly shaped. Remember, if you’re going for a layered look, prep the pans accordingly—nothing fancy, just a little butter and flour.
Step 2: Mix Dry Ingredients
In a large bowl, whisk together the flour, baking powder, baking soda, cinnamon, nutmeg, and salt. This ensures everything gets evenly distributed, and you won’t end up with patches of more spice or salt. I do this first so the dry ingredients are ready to go once I mix the wet. That way, I keep the batter from overmixing and ending up tough.
Step 3: Mix Wet Ingredients
In another bowl, mash the bananas really well—no lumps! Then, grate your zucchini, squeeze out a bit of excess moisture (trust me, this is key to a moist but not soggy cake), and mix it with the bananas. Add the oil, eggs, and sugar, whisking until smooth. I love doing this in a separate bowl because it helps keep everything light and airy, plus I can see the consistency better. The smell of cinnamon and bananas together is just happiness in a bowl.
Step 4: Combine
Gently fold the wet mixture into the dry ingredients. Be careful not to overmix—just stir until combined. Overmixing here can make the cake dense, and nobody wants that. It’s okay if a few lumps remain—that’s what keeps it tender. If you’re adding the nuts, dried fruit, or chocolate chips, fold them in now, spreading them evenly without overworking the batter.
Step 5: Prepare Filling
If you’re using any filling or mix-ins, sprinkle or dollop them into the batter, then swirl with a skewer or butter knife for a marbled effect. I love creating swirls of cranberries and chocolate—it looks pretty and gives bursts of flavor with every bite.
Step 6: Layer & Swirl
Pour the batter into your prepared pan. If you’re adding extra fillings, layer or sprinkle them on top before baking. Swirl gently with a toothpick or skewer to create a marbled look—this step makes the cake extra special and pretty when sliced.
Step 7: Bake
Bake for 45-55 minutes, or until a toothpick inserted in the center comes out clean. Every oven is different, so start checking around the 45-minute mark. The house will fill with that irresistible spicy banana aroma—be patient and resist opening the oven door too early, or you risk deflating your cake.
Step 8: Cool & Glaze
Let the cake cool in the pan for about 15 minutes, then transfer it to a wire rack to cool completely. If you want to add the glaze, mix powdered sugar with lemon juice or milk until smooth. Drizzle over the cooled cake and let that set for about 10 minutes before slicing. The glaze adds a pretty, shiny finish and just that extra hint of sweet tartness.
Step 9: Slice & Serve
Use a sharp serrated knife for clean slices. Serve warm or at room temperature—either way, it’s delightful. I love enjoying a thick slice with a splash of tea or coffee. This cake is perfect for brunch, a casual dessert, or even a quick breakfast treat on busy mornings. I promise, once you try it, you’ll keep coming back for more.
What to Serve It With
This cake is quite versatile, so practically anything works. For breakfast, I love serving it toasted with a smear of almond butter and a drizzle of honey—so comforting! It pairs beautifully with a hot cup of coffee or a chai latte for a slow weekend morning. When I serve it for brunch, I like to add fresh berries and a dollop of whipped cream or yogurt—it’s almost like a cozy little cake parfait.
As a dessert, I love heating slices slightly and serving with vanilla ice cream or a spoonful of Greek yogurt topped with honey. The spice and sweetness are just *that* good. And for a casual snack, just a simple slice with a glass of milk is pure comfort. My family loves this because it’s familiar yet a little unexpected—kind of like giving a classic a cozy makeover. It’s one of those recipes that feels special, but is really just a handful of ingredients thrown together with love. It’s become a staple in our house for packed picnics, quick afternoons, and lazy Sundays. I think you’ll find it’s the kind of thing they’ll ask for again and again, and honestly, I’m not mad about it!
Top Tips for Perfecting Your Zucchini Banana Spice Cake
Over the years, I’ve experimented with this cake more times than I can count. Here are some insider tips that I swear by:
- Zucchini Prep: Always squeeze out excess moisture after grating—this keeps your cake from turning into a soggy mess. I like to pat it dry with a paper towel or give it a good squeeze in a clean dishcloth. Fresh zucchini gives the best flavor, but frozen works if you thaw and squeeze well.
- Mixing Advice: Resist the temptation to overmix once you combine the wet and dry ingredients. This is how you get a tender, fluffy crumb. Mix just until incorporated—think of it as gentle folding rather than stirring.
- Swirl Customization: When swirling fillings, be playful! Use a toothpick or skewer to create patterns—nothing fancy, just enough to give each slice a pretty marbled look. If you want more of a layered effect, gently spoon the fillings in layers before swirling.
- Ingredient Swaps: For a dairy-free version, swap out eggs for flax eggs or applesauce, and use plant-based oils. If you want it sweeter, add a splash of vanilla or a handful of chopped dried fruits.
- Baking Tips: Every oven is different. If your cake is browning too quickly, loosely tent it with foil. Check doneness with a toothpick—if it comes out moist, give it a few more minutes. I always let my cake cool slightly before glazing so the glaze doesn’t melt immediately.
- Glaze Variations: For a richer flavor, add a dash of cinnamon or vanilla to the glaze. You can also sprinkle chopped nuts or toasted coconut on top before serving. Keep the glaze a bit thick for that pretty drippy look or loosen it slightly if you prefer a more subtle finish.
Honestly, every time I bake this, I learn a little more—sometimes it’s just tweaking the amount of zucchini, other times just the baking time. But the joy is in the process—and that first sweet bite that whispers, “This was worth it.” The adaptability makes it fun to experiment with, and I encourage you to make it your own. Once you’ve got the basics, the rest is just a playful adventure.
Storing and Reheating Tips
After you’ve indulged in a slice or two, you’re probably wondering about how to keep this cake fresh for longer. Here are my tried-and-true tips:
- Room Temperature: Wrap leftovers tightly with plastic wrap or store in an airtight container. It’ll stay moist for about 2-3 days, especially if kept in a cool, dry place. I find that the flavors deepen after a day or so—trust me on this!
- Refrigerator Storage: Keep it in an airtight container or wrap it well. It lasts about a week in the fridge. If you want to enjoy it later, just pop a slice in the microwave for 10-15 seconds, and it’ll taste freshly baked.
- Freezer Instructions: Wrap slices individually in plastic wrap, then foil. It’ll keep for up to 3 months. To defrost, simply leave it on the counter for a few hours or microwave on a gentle setting. Thawing preserves the moisture and flavor.
- Glaze Timing: If you froze the cake, wait until it’s completely thawed before adding the glaze—otherwise, it’ll melt or slide off. If storing unglazed, add the glaze right before serving for that fresh, shiny look.
In my kitchen, I like to make this cake a day ahead because it really benefits from sitting—a little like a good chili or stew, flavors deepen overnight. Plus, it’s so much easier when I don’t have to rush to bake and dust at the same time. Whether you’re baking for a special occasion or just because the craving struck, these tips will help keep your cake tasting just as delicious as the day it was baked.
Frequently Asked Questions
Final Thoughts
This zucchini banana spice cake has become one of those recipes I turn to when I want something comforting but also feel good about serving my family. It’s simple enough for busy weeknights, but special enough to make any weekend feel like a cozy celebration. The flavors—banana, cinnamon, a hint of nutmeg—are just the right balance of sweet and spicy, and the moisture from the zucchini keeps every bite tender and rich. Plus, you get to sneak in some greens without anyone noticing! I love experimenting with the add-ins, making it my own each time, and sharing it with friends and family. Trust me, once you bake this once, it’ll become a regular for you too. If you try it, please come back and tell me how yours turned out—I’d love to hear! Happy baking, and enjoy every warm, cinnamon-scented bite!

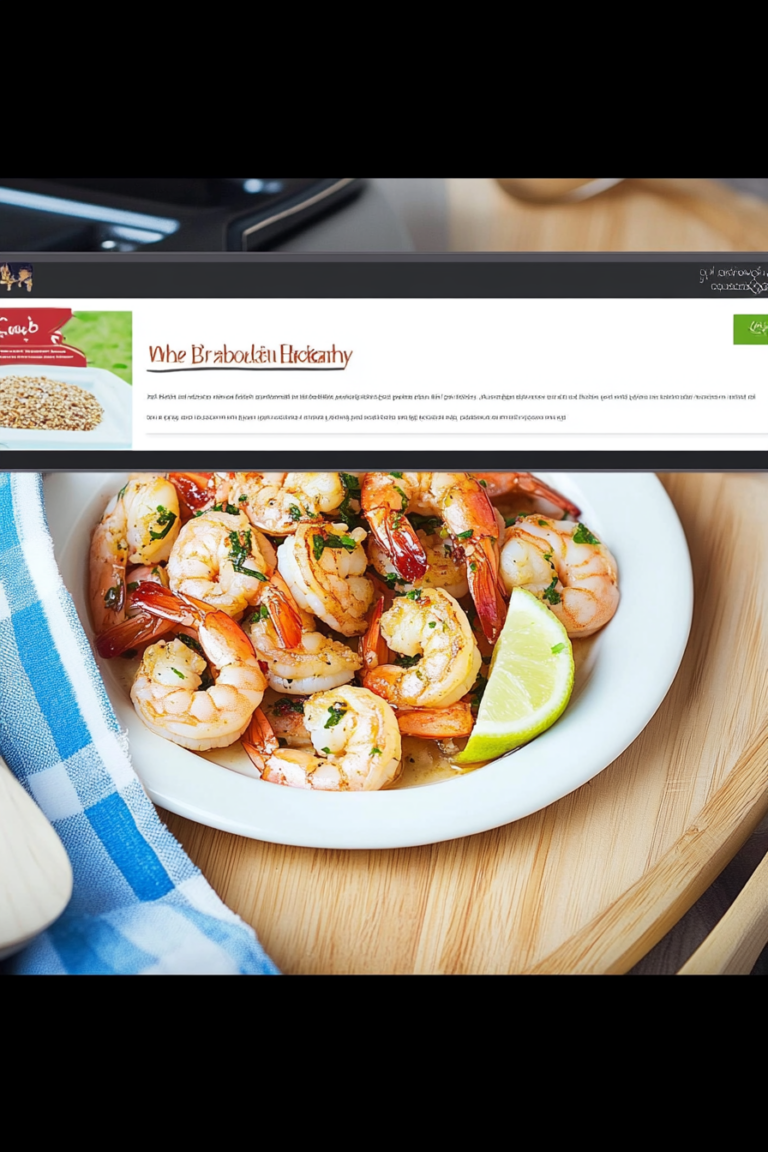
chicken and dumplings
Ingredients
Method
- Melt butter in a 4 quart pot over medium heat. Cook onion, celery, and carrot for two minutes, stirring often. Add the garlic, cook one minute. Add the potato, salt, pepper, and Italian seasoning and cook for another minute.
- Stir flour into vegetables and cook one minute then stir in chicken stock. Stir to remove anything stuck to the bottom of the pan. Cover and bring to a boil.
- Meanwhile, make the dumplings by stirring all ingredients for the dumplings in a medium-sized bowl. Mixture will be thick. Set aside.
- Cook until soup is boiling and then cook until potatoes are fork tender, about 4-5 minutes.
- Add the chicken and peas to the pot and stir.
- Drop dumplings into the pot using two spoons. This recipe makes about 6 dumplings, unless you want them smaller or larger.
- Cover the pot and cook until the dumplings are cooked, 8-11 minutes. Serve hot.