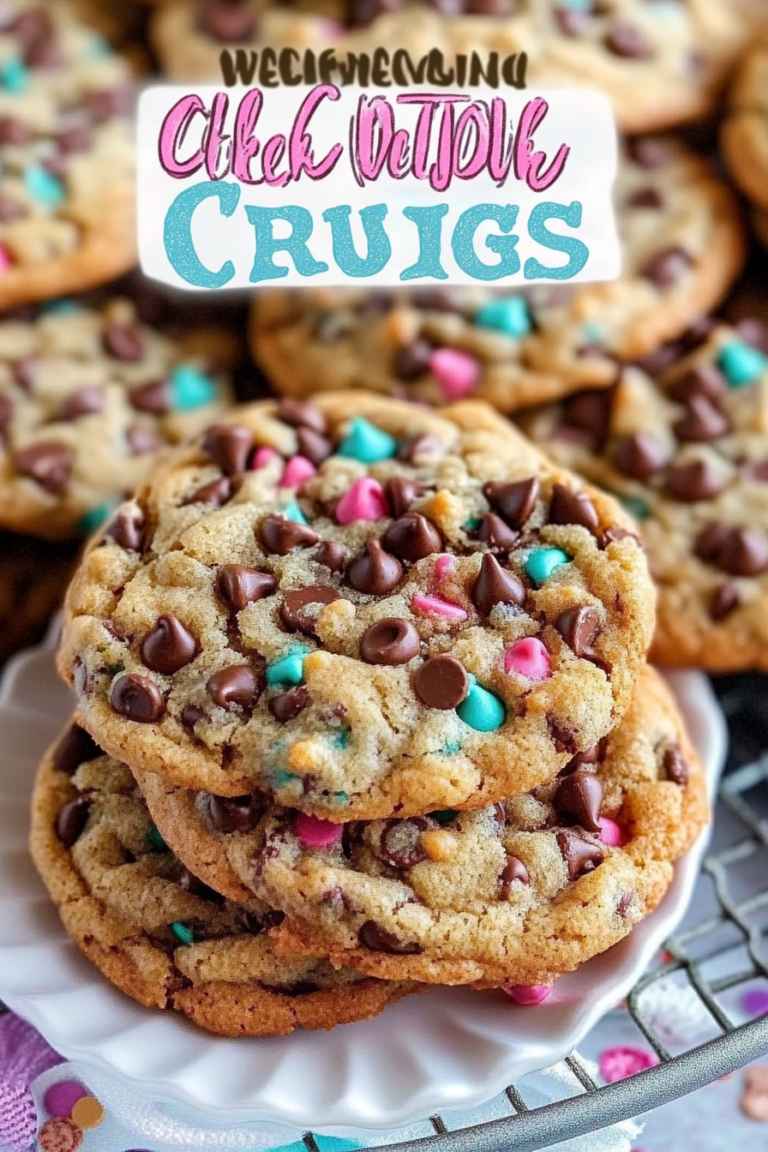
Rich Peanut Butter Chocolate Cookies Recipe
If you ever have a bunch of zucchinis lying around and you’re wondering what to do with them, let me tell you—this zucchini swirl cake is a lifesaver on busy nights. I remember the first time I tried making it; I was skeptical at first, thinking it’d turn out bland or too mushy. But oh my gosh, the smell alone—slightly sweet, fresh zucchini, warm cinnamon—had everyone in my house hovering in the kitchen. My kids ask for this all the time now, and honestly, I don’t mind because it’s such a cozy, comforting dessert that feels like a warm hug. Plus, it’s so easy to whip up; I always double the batch because, trust me, it disappears in minutes. Even better, I tested this with almond milk once, and it made the texture even creamier! If you’re looking for a dessert that’s packed with flavor without a ton of fuss, I promise, this one’s a keeper. Let’s get into all the yummy details—your kitchen is going to love this.
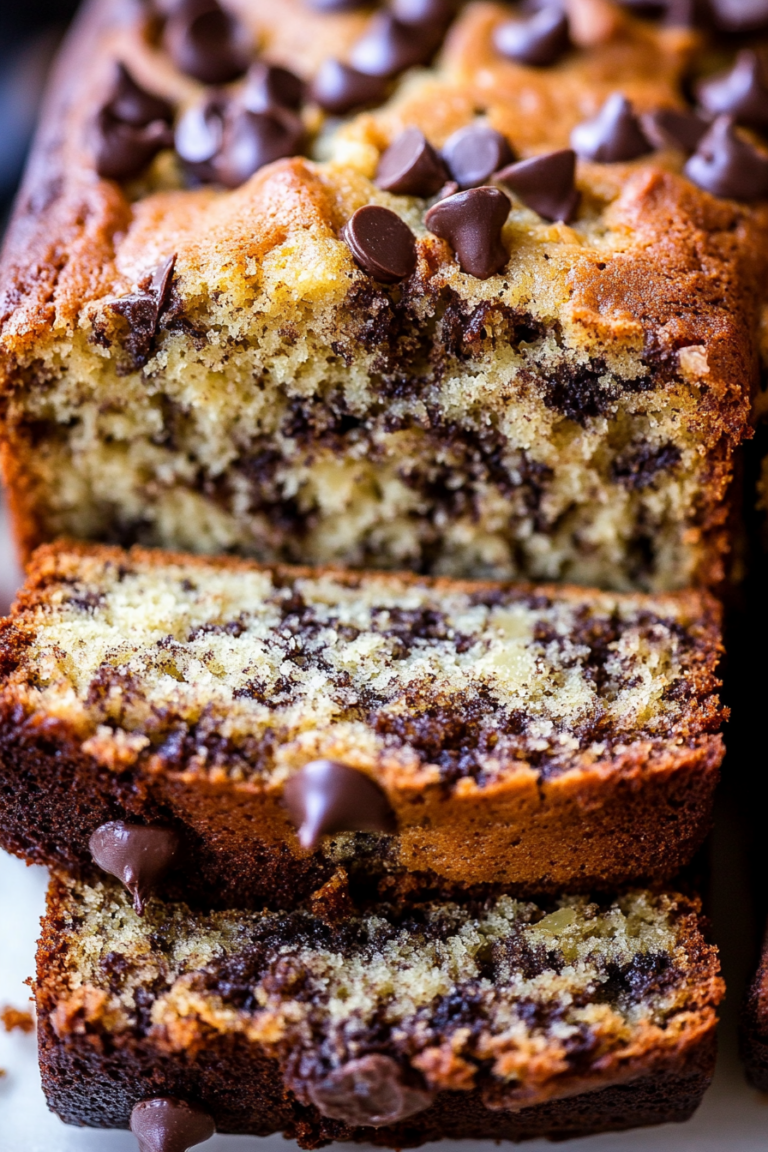
What is Zucchini Swirl Cake?
Think of zucchini swirl cake as a slightly more grown-up, subtly sweet version of a quick bread—think banana bread with a twist. It’s essentially a moist, tender cake dotted with grated zucchini, which adds moisture and a hint of freshness. The “swirl” part comes from a cinnamon-spiced cream cheese or butter mixture that you gently swirl into the batter before baking. The name might sound fancy, but it’s honestly just a fun, pretty way to make a cake look like it’s got a marbled effect—kind of like those beautiful coffee swirls in a latte. What makes this recipe so special is how the zucchini keeps the cake super moist without making it heavy. It’s perfect for breakfast, brunch, or a cozy afternoon treat. My family loves it with a big drizzle of glaze on top, but honestly, it’s just so tasty on its own, you won’t even need it.
Why you’ll love this recipe?
Okay, I’ve made this zucchini swirl cake countless times, and every single time, it’s a hit. What I love most about this is how effortlessly it combines nutrition and comfort—yes, zucchini in cake, and it’s incredible! The flavor profile is gently sweet with warm cinnamon and vanilla, balanced perfectly with that tangy cream cheese swirl. It smells like fall mornings but works year-round—nothing beats the aroma that fills my kitchen while it bakes. And the best part? It’s so simple you can throw it together in under 20 minutes, which is perfect when you’re craving something sweet but don’t want to spend hours fussing over ingredients. Honestly, it’s budget-friendly, too—just a few pantry staples, some zucchini from your garden or farmers market, and you’re all set. This cake is versatile—it’s just as great for breakfast with coffee as it is for dessert after dinner. My favorite thing is that you can customize the swirl with nuts or berries, depending on what you have on hand. Trust me—once you try this, it’ll become a staple.
How do I make Zucchini Swirl Cake?
Quick Overview
This cake comes together quickly because you whisk dry ingredients separately, mix wet ingredients together, then fold everything in. The secret to the swirl is a cinnamon-spiced cream cheese or butter mixture that you layer and swirl through the batter before baking. Baking it at just the right temperature ensures a perfectly moist crumb with a beautifully marbled top. The whole process is straightforward, forgiving, and honestly, kind of fun—the swirl part makes it feel a little fancy, even when you’re just in your cozy pajamas. The result is a cake that’s tender, moist, and bursting with flavor, with just enough sweetness to satisfy a craving without feeling overly decadent. Plus, the smell of cinnamon and vanilla wafting through the kitchen makes this a real comfort food.
Ingredients
For the Main Batter:
– 2 cups all-purpose flour (I like to use unbleached for a little extra flavor)
– 1 1/2 teaspoons baking powder
– 1/2 teaspoon baking soda
– 1/2 teaspoon salt
– 1 teaspoon ground cinnamon
– 1/2 teaspoon ground nutmeg (optional, but it adds warmth!)
– 1/2 cup sugar
– 1/2 cup light brown sugar
– 1/3 cup vegetable oil or melted butter
– 2 large eggs (or flax eggs for vegan version)
– 1 teaspoon vanilla extract
– 1 cup grated zucchini (squeeze out excess moisture; I’ve learned this trick after a few soggy failures!)
– 1/2 cup milk (dairy or almond milk — I’ve tested both and love the creaminess almond milk adds)
For the Filling:
– 4 ounces cream cheese, softened (or vegan cream cheese)
– 1/4 cup powdered sugar (or maple syrup if you want a healthier twist)
– 1 teaspoon cinnamon
– 2 tablespoons melted butter or margarine
*(Feel free to add chopped nuts or berries here!)*
For the Glaze:
– 1 cup powdered sugar
– 2-3 tablespoons milk or lemon juice
– Optional: vanilla extract or a splash of almond flavoring
Step-by-Step Instructions
Step 1: Preheat & Prep Pan
Set your oven to 350°F (175°C). Grease a 9-inch round cake pan or line it with parchment paper. I always do this because sticky batter can be tricky to clean. A quick spray with non-stick spray and a dusting of flour or a piece of parchment makes the whole process easier and less stressful when you’re ready to serve!
Step 2: Mix Dry Ingredients
In a large bowl, whisk together the flour, baking powder, baking soda, salt, cinnamon, and nutmeg. Keep this handy; you’ll add the wet ingredients next. Mixing dry ingredients separately ensures your baking powder and soda distribute evenly, which gives your cake a nice rise. Plus, it keeps things from becoming dense or lumpy later on.
Step 3: Mix Wet Ingredients
In a smaller bowl, whisk the eggs, sugar, and brown sugar until slightly frothy. Then add the oil, vanilla, and milk. I like to warm the milk a little if I have time—it makes the batter silkier—plus, it helps everything incorporate smoothly. Stir in the grated zucchini last, squeezing out some of the excess moisture—trust me, soggy batter is a no-go for moistness!
Step 4: Combine
Pour the wet mixture into the dry ingredients and gently fold them together with a spatula. Don’t overmix—just until everything’s combined. Overmixing can cause a tough crumb, and we want this cake to be tender and fluffy. If there are a few lumps, that’s totally fine.
Step 5: Prepare Filling
In a small bowl, beat the softened cream cheese with powdered sugar and cinnamon until smooth. Mix in the melted butter. The result should be a spreadable, slightly tangy mixture that’ll swirl beautifully through the batter. If you want to jazz it up, chopped nuts or berries are fantastic here—they add texture and extra flavor!
Step 6: Layer & Swirl
Pour half of the batter into the prepared pan. Drop dollops of the cream cheese mixture evenly over it, then add the rest of the batter on top. Using a toothpick or a skewer, gently swirl through the layers to create pretty marbled patterns. Here’s a tip: don’t overdo it; a few gentle zig-zags are perfect—less is more for a beautiful swirl.
Step 7: Bake
Pop it into the oven for about 35-40 minutes. Start checking around the 35-minute mark; a toothpick inserted in the center should come out clean or with just a few moist crumbs. Every oven is different—some run hot, so I’ve learned to adjust baking time accordingly. The top should be golden, and the cake will smell divine.
Step 8: Cool & Glaze
Let the cake cool in the pan for at least 15 minutes before transferring it to a wire rack. If you’re adding glaze, wait until it’s almost completely cool to avoid melting. Mix the powdered sugar with milk and vanilla—you want it thick but pourable. Drizzle generously over the top and let it set for a few minutes.
Step 9: Slice & Serve
Use a sharp knife for clean slices. I like to serve this slightly warm or at room temperature, with a cup of tea or coffee. It’s equally good the next day, especially if covered well. If you’re feeling fancy, dust a little extra cinnamon or add a handful of chopped nuts on top. It’s stunning and thrifty — everyone will think you spent ages baking!
What to Serve It With
Since this cake is so versatile, here’s how I like to enjoy it based on the occasion:
- For breakfast: Pair it with a strong cup of coffee or a glass of almond milk. It’s a more nutritious start than a donut, I swear! My kids love it sliced thick with a smear of peanut butter on the side or a dollop of Greek yogurt.
- For brunch: Presentation-wise, cut it into squares, add a drizzle of honey or maple syrup, and top with a few fresh berries. A side of scrambled eggs or crispy bacon makes it a real brunch winner.
- As dessert: Serve with a scoop of vanilla ice cream or a dollop of whipped cream. The warm cinnamon aroma with a scoop of vanilla? Pure bliss. Classic and cozy, it’s a crowd-pleaser after dinner.
- For casual snacks: Cut into strips, wrap in parchment, and pack for picnics or quick on-the-go bites. Kids love these for school lunch boxes, especially when tucked in with a banana or apple slices.
Honestly, I’ve served this cake in so many ways. It’s become our family’s “go-to” for everything from weekend brunch to a quick treat after a long day. The flavor, the texture—it’s just so homey and satisfying. I always keep a stash in the fridge—slices heat up nicely in the microwave, and they taste even better the next day.
Top Tips for Perfecting Your Zucchini Swirl Cake
Now, I’ve learned a few tricks over the years that make all the difference:
- Zucchini Prep: Always squeeze out excess moisture after grating. I keep a clean kitchen towel or paper towels nearby—this trick prevents sogginess and keeps your cake light and fluffy.
- Mixing Advice: When combining ingredients, fold gently. Overmixing the batter after adding the zucchini or the flour mixture can lead to a dense cake. Keep it light—think of folding as softly as you can.
- Swirl Technique: Using a skewer or toothpick works best for creating those beautiful marbled swirls. Try to do it in a single, gentle motion; less disruption means prettier patterns.
- Ingredient Swaps: Love lemon? Try swapping the cinnamon for lemon zest in the filling for a bright, fresh twist. Or, add chopped walnuts or chocolate chips to the batter for more texture and flavor.
- Baking Tips: Oven temperatures can vary; I always set my timer for 35 minutes but keep an eye on the cake. Look for a golden top and a springy feel when lightly pressed. A toothpick test is your best friend here!
- Glaze Variations: For a more decadent touch, stir in a splash of bourbon or vanilla extract into your glaze. Or, dust the cooled cake with powdered sugar instead of glaze—simplicity is sometimes best.
One thing I’ve learned: the more you bake, the more you get a feel for what your oven and ingredients need. The key is patience and tasting as you go—trust your senses!
Storing and Reheating Tips
This cake is quite forgiving—here’s how I keep it fresh:
- Room Temperature: Wrap slices in plastic wrap or store in an airtight container. It’s good for about 1-2 days—any longer, and it might get a little dry.
- Refrigerator Storage: Keep it in an airtight container for up to 4 days. I find that this preserves moisture without sacrificing flavor. To reheat, microwave a slice for about 15-20 seconds until warm, or enjoy cold—you really can’t go wrong.
- Freezer Instructions: Wrap slices tightly in plastic wrap and store in a zip-top bag for up to 3 months. To thaw, leave in the fridge overnight or microwave briefly. Handling it this way keeps the cake tasting freshly baked.
- Glaze Timing: If you’re making the glaze fresh, add it just before serving. If you want to store the glazed cake, keep it in the fridge; reapply glaze as needed for extra shine and flavor.
One thing I’ve noticed: if you try to reheat a glazed slice, the glaze can become a little melty—so I prefer adding it fresh. But honestly, this cake tastes good at room temp or slightly warm either way, making it super flexible for busy mornings or cozy evenings.
Frequently Asked Questions
Final Thoughts
This zucchini swirl cake isn’t just a recipe; it’s a little tradition in my kitchen. It reminds me that comfort food can be simple, nourishing, and delicious—all at the same time. The balance of moist zucchini, warm spices, and that lovely swirl of cream cheese makes every bite feel special. I’ve shared it with friends, taken it to family gatherings, and even enjoyed a slice with my tea after a long day. Honestly, once you make this once, it’ll become part of your baking repertoire, too. So, gather your zucchinis, preheat that oven, and get ready to fill your home with the most comforting smell—your family will thank you, and I can’t wait to hear how yours turns out. Happy baking!
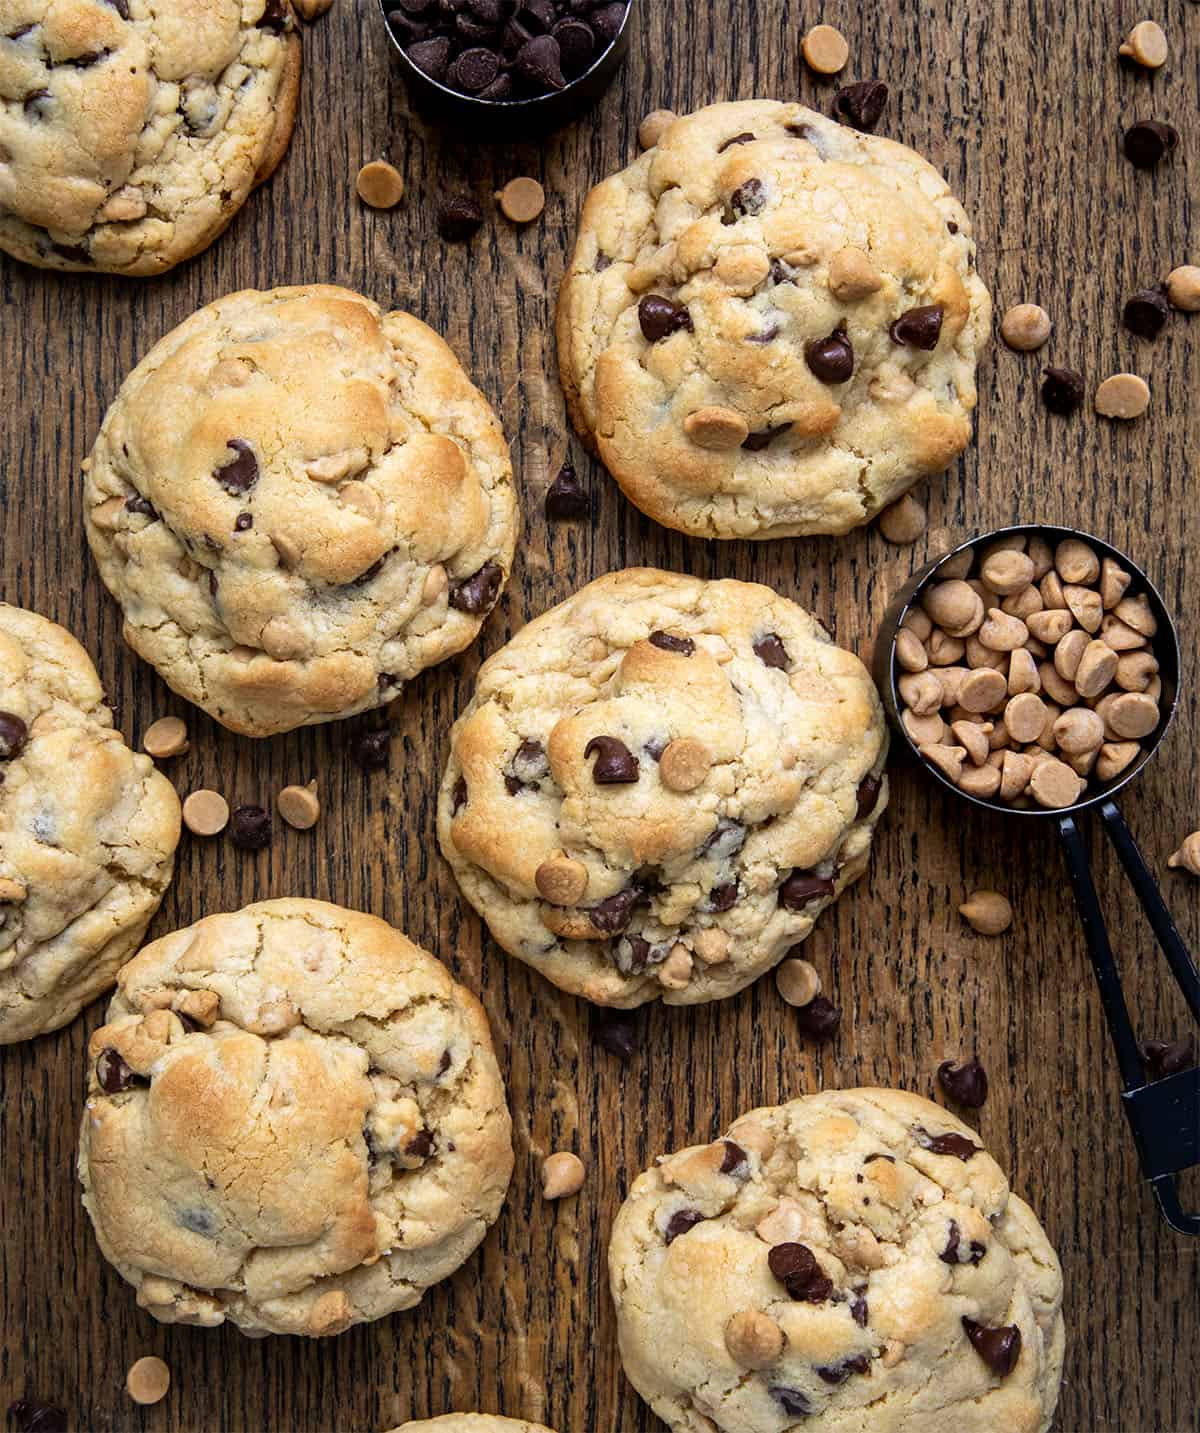
peanut butter cookies
Ingredients
Method
- Preheat your oven to 400°F. Line two baking sheets with parchment paper.
- In a stand mixer, beat cold butter, brown sugar, and granulated sugar until creamy.
- Add the egg and egg yolk, continue mixing until combined.
- Mix in vanilla extract.
- In a bowl, whisk together all-purpose flour, cake flour, salt, baking powder, and baking soda.
- Gradually add dry ingredients to the wet mixture and mix on low speed.
- Add chocolate chips and peanut butter chips, mix just until distributed.
- Shape dough into 8 balls, about 6 ounces each.
- Place dough balls on the prepared baking sheet, spacing evenly.
- Bake for 12-13 minutes or until edges are golden brown.
- Cool cookies on the baking sheet for 10 minutes, then transfer to a wire rack.
- Serve warm or at room temperature.