Easy Zucchini Chocolate Brownies Recipe
There’s something about the smell of warm bread fresh out of the oven that immediately takes me back—nostalgic childhood mornings, my grandma’s kitchen filled with the scent of cocoa and sweet zucchini. I remember arguing with my siblings over the last slice, even though we all knew it was better the next day once the flavors had mellowed. I’ve tested countless zucchini bread recipes over the years, but the one I keep returning to is this chocolate zucchini bread. It’s honestly like sneaking a little bit of dessert for breakfast, and the best part? No one ever guesses there’s zucchini hiding inside. Plus, it’s incredibly easy to make—perfect for when you want a cozy treat but don’t feel like fussing in the kitchen all morning. Trust me, once you try this, it’ll be on your regular rotation. My kids ask for this all the time, and honestly, I don’t mind—it’s the best way to get some veggies in their bellies without a fight!
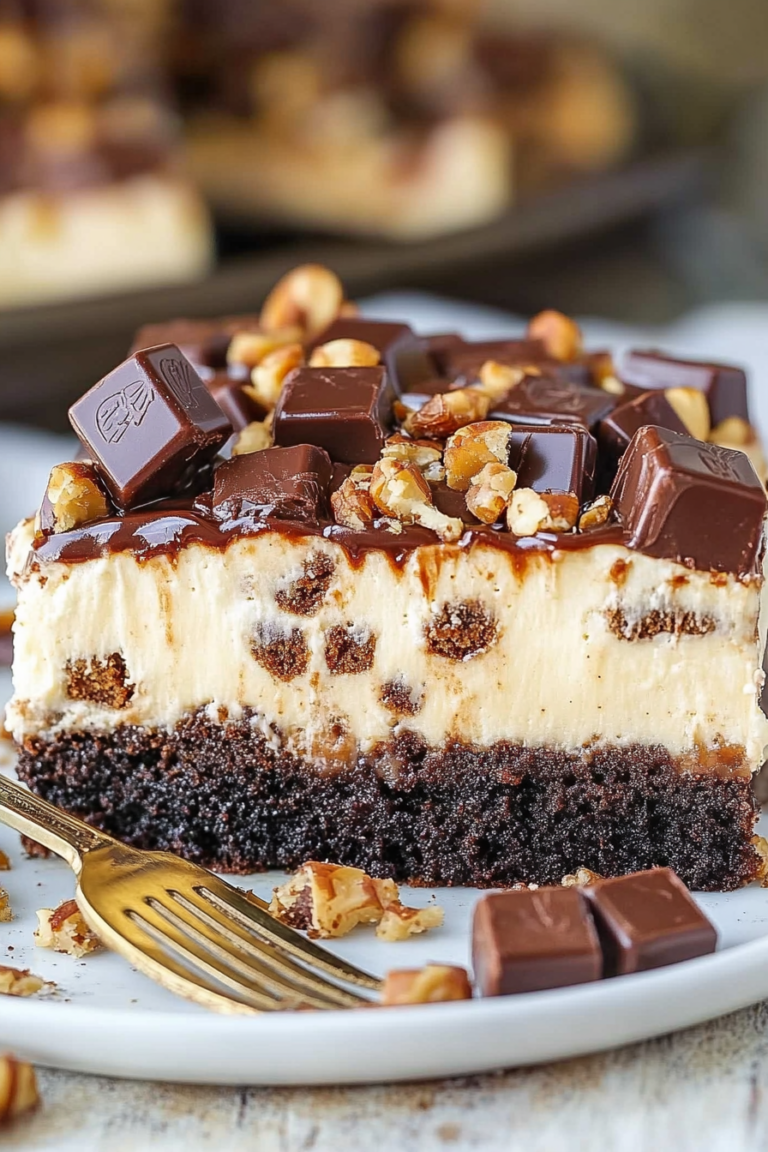
What is chocolate Zucchini bread?
Think of it as the love child of your favorite chocolate cake and wholesome zucchini bread. It’s essentially a moist, tender loaf packed with grated zucchini—yes, zucchini!—and loaded with rich cocoa, making it satisfy that sweet tooth craving while sneaking in some greens. The name might sound fancy or a little unusual, but honestly, it’s just a super simple bread that’s perfect for breakfast, a snack, or even dessert. The magic is in how all those flavors come together: the subtle earthiness of the zucchini, combined with the deep chocolate notes, creates a cozy, satisfying slice. It’s a family favorite in my house because it’s foolproof, versatile, and feels a little indulgent without being loaded with sugar or butter. Plus, it’s a fantastic way to use up any leftover zucchinis from summer garden harvests—no waste, all yum!
Why you’ll love this recipe?
What I love most about this chocolate zucchini bread is how incredibly moist and flavorful it turns out every single time. The zucchini not only keeps the bread tender but also helps it stay super juicy—seriously, my kids have asked for seconds, thirds, and even thirds again! The taste? Oh, it’s rich, chocolaty, with just a hint of earthiness that balances out the sweetness. And the best part? It’s so simple to whip up, even on busy weeknights when I’m already tired. I usually just toss everything in one bowl, give it a good stir, and pop it into the oven. It’s budget-friendly, too—standard pantry ingredients, no fancy stuff needed. This bread is endlessly versatile; I’ve added walnuts for crunch, swapped in coconut sugar, even tested it with almond milk, which made it even creamier. What I love most about this is how it turns humble zucchini into a show-stopping treat. It’s cozy, comforting, and honestly, a little bit magical—like household magic you can eat!
How do I make Zucchini bread?
Quick Overview
This chocolate zucchini bread is a straightforward, no-fuss loaf that’s perfect for bakers of all levels. The process involves grating zucchini, mixing wet and dry ingredients, folding everything together, and then baking it until the house smells divine. The key is not overmixing—just gently combine everything to keep it tender. Once out of the oven, you’ll want to let it cool just enough to slice, then glaze or dust with powdered sugar if you’re feeling fancy. It’s a one-bowl miracle that comes together quickly—perfect for those days when you crave something sweet but don’t want to spend hours in the kitchen!
Ingredients
For the Main Batter:
– 2 medium zucchinis, grated (about 1 cup packed)
– 1 1/2 cups all-purpose flour (or gluten-free blend if needed)
– 1/2 cup cocoa powder (unsweetened, good quality is best)
– 1 teaspoon baking soda
– 1/2 teaspoon baking powder
– 1/2 teaspoon salt
– 1 cup granulated sugar (or Maple Sugar for natural sweetness)
– 1/2 cup vegetable oil (or melted butter for richer flavor)
– 2 large eggs
– 1 teaspoon vanilla extract
For the Filling (Optional):
– 1/2 cup chopped walnuts or chocolate chips for added texture and richness — totally optional but worth it!
For the Glaze:
– 1/2 cup powdered sugar
– 1-2 teaspoons milk or cream
– 1/4 teaspoon vanilla or cocoa powder for extra chocolate punch
– A pinch of salt to balance flavors
Adjust the consistency as needed—add more liquid for drizzling, less for dusting on top.
Step-by-Step Instructions
Step 1: Preheat & Prep Pan
Preheat your oven to 350°F (175°C). Grease a standard 9×5-inch loaf pan with butter or line it with parchment paper. This step might seem simple, but trust me, it’s essential to prevent sticking when you’re eager to dig in.
Step 2: Mix Dry Ingredients
In a large mixing bowl, whisk together the flour, cocoa powder, baking soda, baking powder, and salt. This ensures your leavening agents are evenly distributed, giving you that perfect rise and fluffy crumb. I always do this well because uneven mixing can lead to pockets of unbaked flour or soggy spots.
Step 3: Mix Wet Ingredients
In a separate bowl, beat the eggs, then add the sugar, oil, and vanilla. Whisk until smooth and slightly fluffy—this helps develop a better texture in the final loaf. I tested this with almond milk once (because I ran out of dairy), and it made the bread even more tender—so feel free to experiment!
Step 4: Combine
Pour the wet mixture into the dry ingredients and gently fold together. Avoid overmixing—it’ll keep the bread nice and moist. You want just combined, with a few lumps OK. Overmixing can make the bread tough, and nobody needs that!
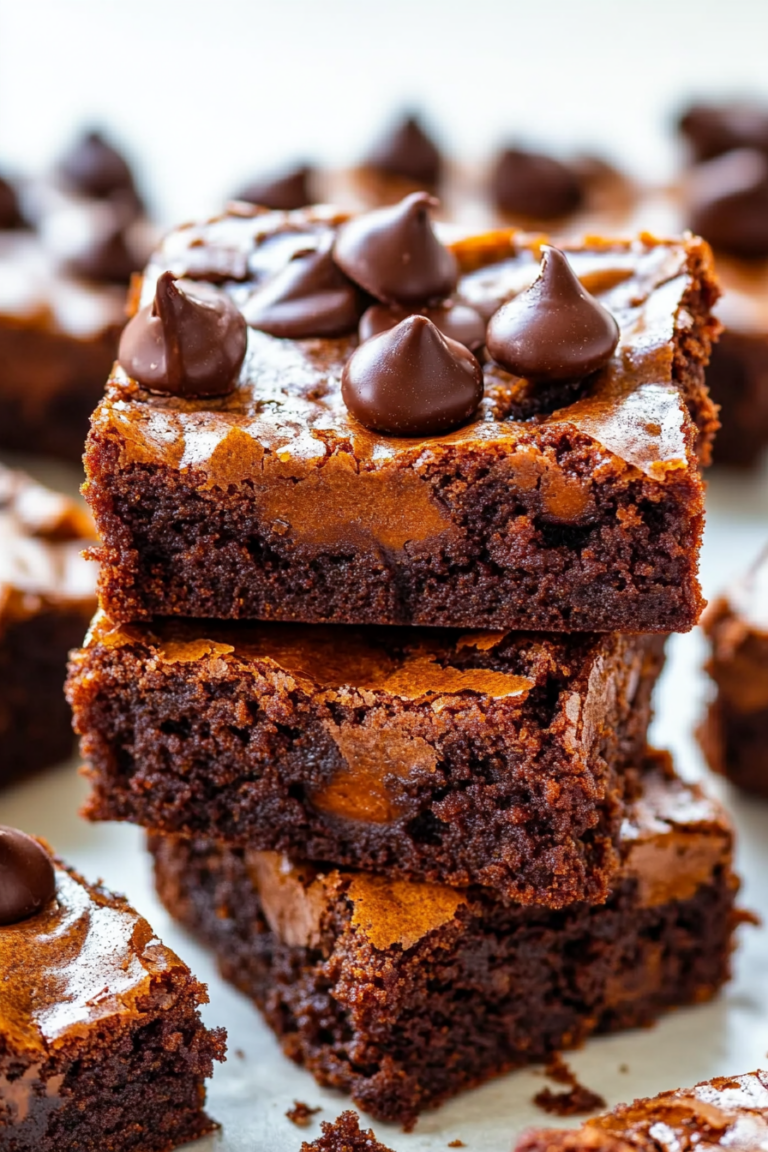
Step 5: Prepare Filling
If you’re using nuts or chocolate chips, fold them into the batter gently now. For a twist, I sometimes sprinkle extra chocolate chips on top before baking for a little gooey surprise.
Step 6: Layer & Swirl
Pour half of the batter into your prepared loaf pan. If you want a marbled look, dollop spoonfuls of filling or extra cocoa on top, then swirl with a butter knife for a beautiful pattern. This step is totally optional, but it makes the loaf look bakery-worthy.
Step 7: Bake
Bake for about 55-65 minutes. The smell alone will make your house feel warm and inviting. You know it’s done when a toothpick inserted in the center comes out clean or with just a few moist crumbs. Ovens vary, so start checking around 55 minutes. If it’s browning too fast on top, tent with foil to prevent burning.
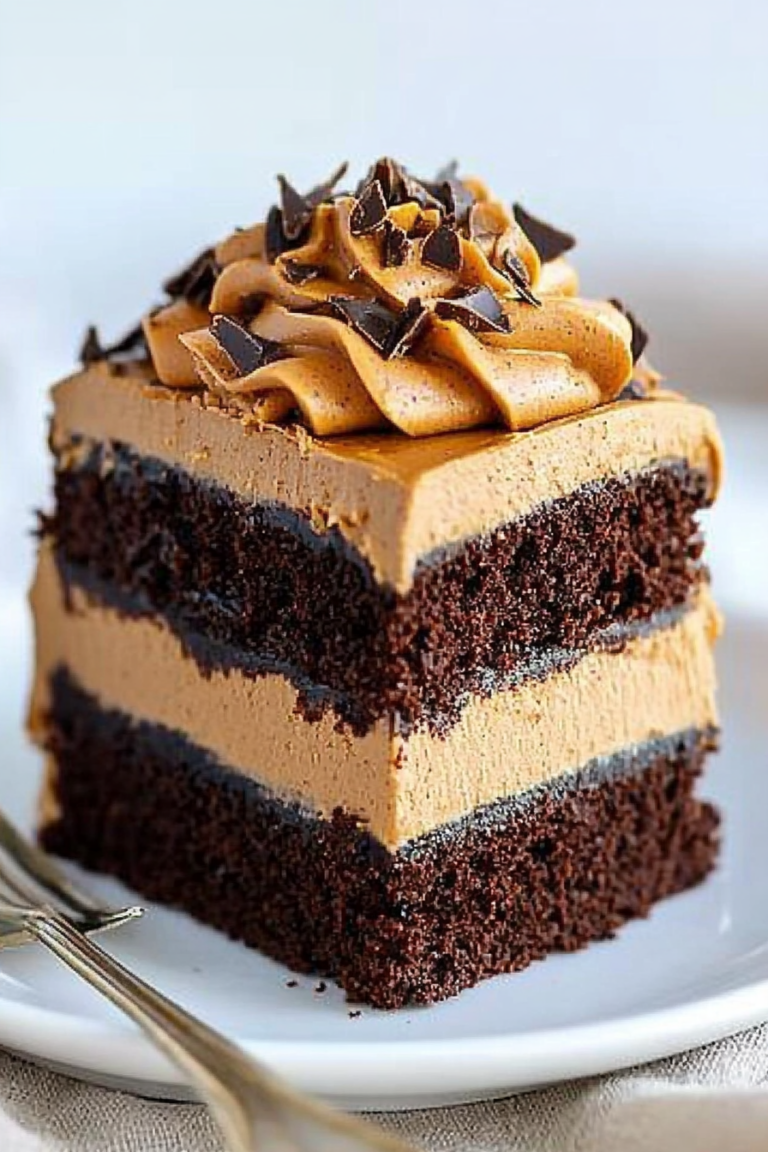
Step 8: Cool & Glaze
Let the bread cool in the pan for 10-15 minutes, then transfer to a wire rack. Once cooled slightly, whisk together your glaze ingredients and drizzle on top. If you prefer a less sweet finish, dust with powdered sugar instead or skip the glaze altogether.
Step 9: Slice & Serve
Slice once it’s fully cooled—warm bread may fall apart. Serve it with a dollop of butter, a cup of coffee, or a scoop of vanilla ice cream if you’re feeling decadent. Honestly, it’s just as good plain, tasting like a slice of chocolate heaven with that hint of zucchini goodness.
What to Serve It With
This bread is so versatile, I’ve served it in all sorts of ways. For breakfast, it’s perfect with a cup of black coffee or a tall glass of milk—my kids love it toasted with a smear of butter. When friends come over for brunch, I like to serve slices alongside some fresh berries and a frothed cappuccino—it makes everyone feel fancy despite how easy it was to put together. As a sweet ending to dinner, it pairs beautifully with vanilla ice cream or a drizzle of caramel. On cozy nights, my family enjoys a warm slice with a glass of milk or hot chocolate—because let’s be honest, a little extra chocolate never hurts. Plus, leftovers make a delicious snack the next day, just toast and spread with almond butter or a little jam. This is one of those recipes that feels indulgent but is actually a wholesome crowd-pleaser. My grandma always said, “Good food brings good company,” and I think this chocolate zucchini bread proves her right, every single time.
Top Tips for Perfecting Your Chocolate Zucchini Bread
Over the years, I’ve picked up a few tricks that really elevate this bread from good to great. First, always squeeze out excess moisture from the grated zucchini—moisture can make your bread soggy, and nobody wants that. I do this by wrapping the zucchini in a clean kitchen towel and giving it a gentle squeeze, then measuring afterward. It’s worth it! Second, when mixing, I try not to overdo it—just fold until combined. Overmixing toughens the gluten and makes the texture less tender. If you want a more decadent loaf, swap the vegetable oil for melted butter—trust me, it adds richness. Want an extra layer of flavor? Add a teaspoon of espresso powder with your cocoa; it intensifies the chocolate. For a chewier or nuttier twist, try folding in shredded coconut or chopped pecans. One thing I learned the hard way: don’t open the oven door too early—wait until at least the 50-minute mark—opening it too soon can cause your loaf to sink in the middle. Also, listen for that lovely smell—once it’s fragrant and a skewer comes out clean, it’s ready! Lastly, if you prefer a fudgier texture, you can add an extra spoon of cocoa or a handful of chocolate chips before baking—because more chocolate is never wrong! Experiment with these little tips, and soon, you’ll have your own signature chocolate zucchini bread.
Storing and Reheating Tips
This bread stays wonderful for days if stored properly. Keep it at room temperature, wrapped tightly with plastic wrap or in an airtight container—it’s best eaten within 2-3 days, but honestly, it disappears much faster at my house! To keep it fresh longer, pop it into the fridge where it’ll stay good for about a week. Just bring slices to room temperature or warm for a few seconds in the microwave before serving. If you want to keep it for longer, wrap the loaf tightly in plastic wrap, then foil, and freeze for up to 3 months. Thaw overnight in the fridge or at room temp, then add a quick warming in the microwave or oven. If you’re one of those glaze lovers, it’s best to add the glaze just before serving—otherwise, it can soften or melt if stored too long. I’ve also tested this with a dusting of powdered sugar the next day—works just as beautifully! Just remember, the more moisture it has, the faster it can spoil—so keep an eye on the freshness, especially if the weather’s warm.
Frequently Asked Questions
Final Thoughts
This chocolate zucchini bread has become a staple in my home because it’s so forgiving, tasty, and comforting. It’s one of those recipes where everyone—and I mean everyone—asks for the recipe, and once you get it just right, it’s hard to go back to plain old banana or zucchini bread. It’s a sneaky way to get some veggies into your kids’ diets without a fuss, and I promise, the rich cocoa flavor wins everyone over. Plus, it’s perfect for unexpected visitors—just whip it up, and suddenly, you’re the best host in town. I hope you give this one a try and make it your own. Add your favorite nuts, switch up the cocoa, or drizzle with caramel for an extra special treat. Happy baking, and I’d love to hear how yours turns out—don’t forget to leave a comment below or share a photo on social media. Enjoy every bite—because this is truly comfort in every slice!
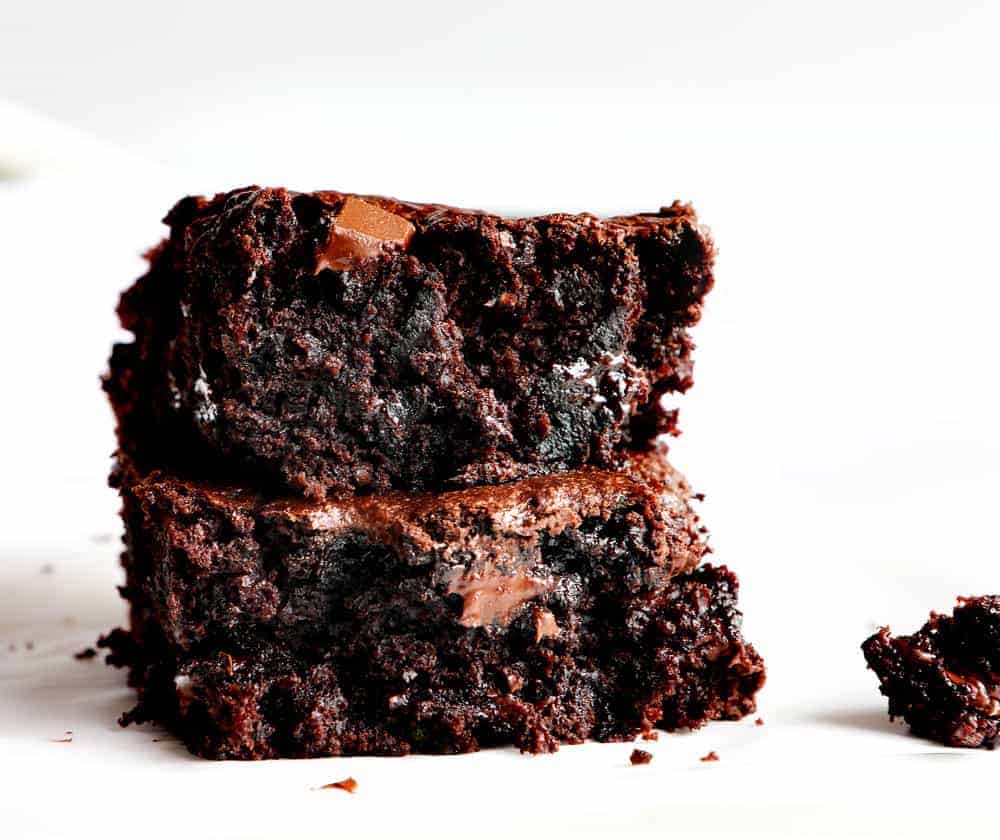
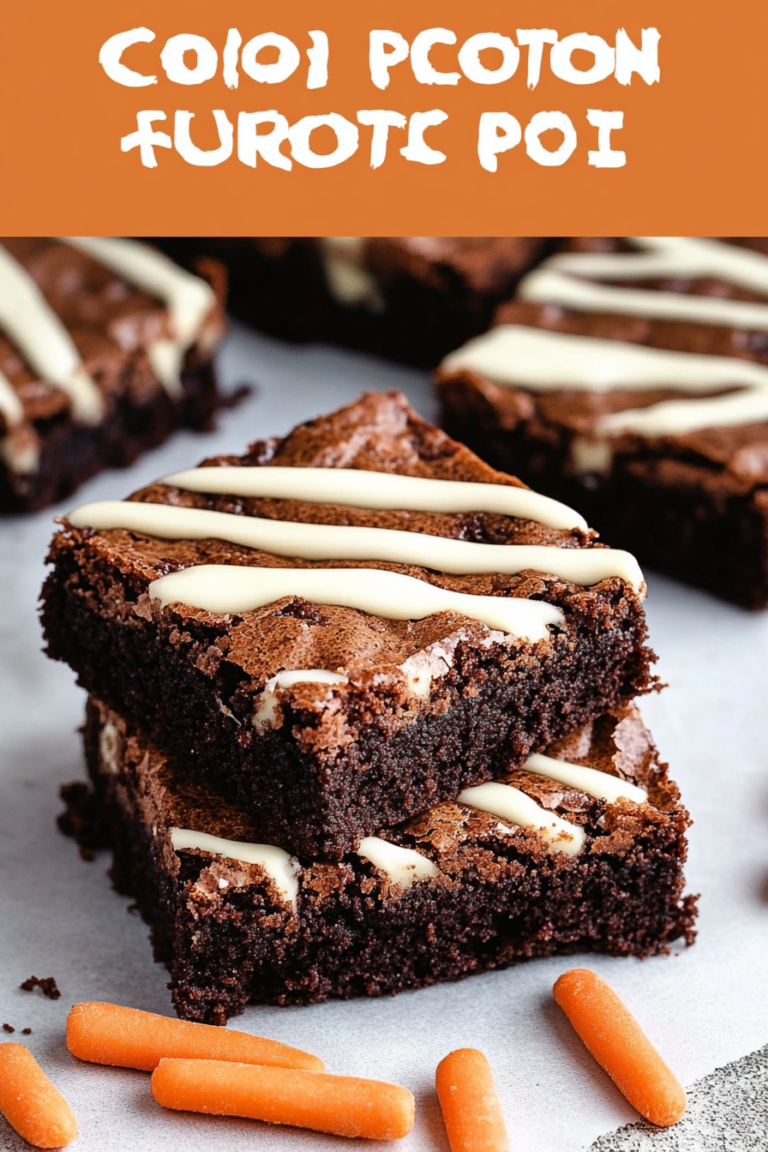
zucchini brownies
Ingredients
Method
- Preheat oven to 350°F and prepare a 9x13 pan with butter or baking spray, lining with parchment paper that goes up the sides for easy removal.
- In a large bowl, combine oil, sugar, and vanilla until fully incorporated.
- Add flour, cocoa powder, baking soda, and salt. Mix until combined. Batter will be very dry.
- Fold in shredded zucchini by hand. Allow batter to rest for 5 minutes.
- Add chocolate chunks and stir again. Batter should appear more wet. Let rest for an additional 5 minutes if not.
- Spread the batter into the prepared pan and bake for 25-35 minutes. Brownies are ready when a toothpick inserted comes out with crumbs, not wet batter.