How to Make a Delicious Sweet Potato Hash
Have you ever had a moment in the kitchen where you’re craving something sweet but all you want is something cozy, easy, and downright delicious? That’s exactly how I felt last Sunday afternoon. I was rummaging through my fridge, looking for inspiration, when I saw a bunch of fresh zucchinis I’d bought for a quick stir-fry. Suddenly, a little light bulb went off—why not turn those humble zucchinis into something sweet and comforting? And honestly, I’ve made this zucchini swirl cake countless times now, and it never fails to bring a smile to everyone’s face. It’s kind of like a banana bread, but with a surprising twist—there’s this lovely swirl of spiced filling running through it, adding that extra hit of flavor and texture. Plus, it smells heavenly while baking, the kind that makes the whole house warm and inviting. I always do this when I want a dessert that’s impressive but doesn’t require a complicated fuss. And trust me, this is perfect when you’re craving something sweet at 10 pm but don’t want to turn on the oven for hours. It’s simple, satisfying, and tastes like a warm hug—something everyone in my family asks for again and again.
What is Zucchini Swirl Cake?
This little dessert is essentially a soft, moist cake with a luscious, warmly spiced filling that swirls beautifully through the batter. Think of it as a cross between a quick bread and a cinnamon roll, where the zucchini keeps everything super moist and adds a nice vegetable boost that you wouldn’t expect in a sweet treat. The name “swirl cake” comes from how the filling and batter come together—swirled gently before baking to create those gorgeous, marbled patterns inside. It’s inspired by old family recipes that I’ve tweaked over the years, making it less complicated but with flavors that feel special. The zucchini is the secret here—hidden enough to sneak in some extra veggies, but the flavor blends beautifully into the sweet warmth of cinnamon, nutmeg, and brown sugar. When baked just right, it’s fluffy, tender, and keeps the filling moist and flavorful. Think of this as a comfort dessert you’ll want to keep on repeat—whether it’s for a casual family dinner or a quick weekend brunch.
Why you’ll love this recipe?
Honestly, what I love most about this zucchini swirl cake is how adaptable and forgiving it is. It’s perfect for a beginner baker because the ingredient list is straightforward, and you don’t need fancy equipment—just a whisk, a spoon, and a muffin pan or loaf dish. The flavor profile is warm and inviting—think cinnamon-spiced sweetness with a moist, tender crumb from the zucchini, which keeps the cake incredibly soft and almost creamy on the inside. It’s a real crowd-pleaser, especially if you’re into the idea of sneaking vegetables into dessert—my kids actually ask for seconds! Plus, this recipe is budget-friendly; it uses pantry staples like flour, sugar, and spices. What I find really fun is how versatile it is. You can switch the filling to pumpkin puree, applesauce, or even chocolate chips—whatever feels right for the mood. And the smell—oh, the smell—while baking is wild. It fills the house with notes of cinnamon, vanilla, and toasted nuts, making everyone come running to the kitchen. This cake is also a lifesaver on busy nights because it comes together quickly and makes enough to serve a crowd or have plenty of leftovers. It’s like my little secret comfort that I keep going back to because it’s just… cozy, familiar, and honestly, a little nostalgic.
How do I make Zucchini Swirl Cake?
Quick Overview
This recipe is a breeze, honestly. Basically, you mix together your dry ingredients, then whisk up your wet ones. Pour the batter into a prepared pan, spread the filling mixture over the top, swirl it in with a knife or skewer, and bake. The whole process from start to finish takes about an hour, and the magic happens in that oven. The key is not overmixing the batter—a gentle fold is all you need to keep it light and fluffy—while being generous with that beautiful swirl of cinnamon-spiced filling. Once baked, you let it cool just enough so it slices cleanly but is still warm enough to enjoy with a drizzle of honey or a dollop of whipped cream. I promise, no fancy techniques here—just good ingredients and a little patience. The outcome? A moist, flavorful cake with that stunning marbled pattern inside, making every bite a little celebration of comfort and flavor.
Ingredients
For the Main Batter:
– 2 cups all-purpose flour (preferably unbleached for a richer flavor)
– 1 cup granulated sugar
– 1 teaspoon baking powder
– ½ teaspoon baking soda
– ¼ teaspoon salt
– 1 teaspoon ground cinnamon
– ½ teaspoon nutmeg (freshly grated if you have it!)
– 1 cup grated zucchini (squeeze out excess moisture, I do this last-minute for best results)
– ½ cup vegetable oil or melted butter
– 3 large eggs
– 1 teaspoon vanilla extract
For the Filling:
– ½ cup brown sugar
– 1 teaspoon ground cinnamon
– 1 tablespoon softened butter or coconut oil
– Optional: ¼ cup chopped nuts or raisins for extra texture
For the Glaze (optional but highly recommended!):
– ½ cup powdered sugar
– 1–2 teaspoons milk or lemon juice
– A dash of vanilla or lemon zest for flavor
Step-by-Step Instructions
Step 1: Preheat & Prep Pan
Set your oven to 350°F (175°C). Grease a loaf pan or square baking dish—trust me, lining it with parchment paper makes life so much easier when it’s time to get the cake out. Plus, it prevents sticking and makes cleanup a breeze. If you’re using a loaf pan, I like to sprinkle a tiny pinch of flour or sugar on the greased surface for extra non-stick protection.
Step 2: Mix Dry Ingredients
In a large bowl, whisk together the flour, sugar, baking powder, baking soda, salt, cinnamon, and nutmeg. This step ensures everything is evenly distributed—no soggy patches or over-spiced spots! When I do this, I often use a fork to aerate the mixture. It’s a small thing, but it makes a difference in the final texture.
Step 3: Mix Wet Ingredients
In another bowl, whisk the eggs, oil (or melted butter), vanilla, and grated zucchini. I like squeezing out as much moisture as I can from the zucchini at this point—less soggy batter equals better structure. Sometimes, I test the batter by dropping a little bit into hot water; if it sizzles and rises, it’s ready to go.
Step 4: Combine
Gently fold the wet ingredients into the dry, just until they’re combined. Don’t overmix—the batter should be slightly lumpy but smooth enough to pour easily. Overdoing it makes the cake dense, and nobody wants that! If you see streaks of flour, just fold a few more times. Patience is key here.
Step 5: Prepare Filling
Mix the brown sugar, cinnamon, and softened butter. If you’re adding nuts or raisins, fold them in here. I like making a crumbly, slightly sticky mixture. Some days, I add a splash of maple syrup or honey for extra sweetness—trust me on this, it’s a game changer.
Step 6: Layer & Swirl
Pour half of the batter into your prepared pan, then sprinkle the filling evenly over the top. Carefully spread the remaining batter on top, then take a butter knife or skewer and swirl it gently through the batter—a figure-eight pattern works beautifully. Don’t dig too deep; you want to keep that beautiful marbled swirl showing off.
Step 7: Bake
Pop it into your preheated oven and bake for 45-55 minutes. Check for doneness by inserting a toothpick—I usually start checking around the 45-minute mark. If it comes out clean and the top is golden, it’s ready. If it’s browning too fast, cover loosely with foil and keep an eye on it. The smell while baking is intoxicating—warm cinnamon, sweet zucchinis, and baked batter—it’s pure comfort food.
Step 8: Cool & Glaze
Let the cake cool in the pan for about 15 minutes, then transfer to a wire rack. The outside should set nicely but still stay moist inside. Once cooled just a little, drizzle that lovely glaze over the top—mix powdered sugar with a splash of milk and vanilla, whisking to a smooth consistency. The glaze adds a shiny finish and an extra layer of sweetness that everyone loves.
Step 9: Slice & Serve
Use a sharp knife to cut neat slices. I like serving mine slightly warmed with a dollop of whipped cream or a scoop of vanilla ice cream—hey, it’s all about making it feel special. This cake is wonderful on its own, but the toppings make it feel like a true treat. And trust me, it disappears in minutes at my house—my kids ask for this all the time.
What to Serve It With
This zucchini swirl cake is so versatile, I’ve found myself enjoying it at all kinds of occasions. For breakfast, serve slices with a strong cup of coffee or a glass of oat milk. It pairs beautifully with a simple fruit compote or fresh berries—brighten up the flavors. When I serve it for brunch, I love adding a drizzle of honey and a sprinkle of chopped nuts. It’s also fantastic after dinner—warm, topped with whipped cream or a dusting of powdered sugar. My family’s favorite is to warm a slice and have it with a big mug of tea or a cold glass of milk. Honestly, this cake is like a hug in dessert form—you could even take it to picnics or potlucks, and I guarantee everyone will want seconds. I often make a double batch because it’s just that good. The best part? It’s a cozy, humble cake that feels luxuriously satisfying—perfect for slow weekends or quick weekday treats.
Top Tips for Perfecting Your Zucchini Swirl Cake
Over the years, I’ve learned a few tricks that make this cake turn out perfectly every time. First, when grating the zucchini, I always squeeze out as much moisture as I can—otherwise, your batter might be wetter than you’d like, and the cake can end up a bit dense. I keep a clean kitchen towel handy for this; it’s a simple trick that I swear by. When mixing, I always fold gently, especially once the wet and dry ingredients come together. Overmixing is the enemy of a tender crumb! For the swirl pattern, I find that creating a loose figure-eight or zigzag pattern with the knife really blends the filling in without destroying the marbled look. If you want to switch things up, try adding chopped walnuts or even a handful of mini chocolate chips—it’s surprisingly good! Baking temperature is crucial; I always check my oven’s calibration because mine runs a couple of degrees hot, and that can fudge the timing. When in doubt, rely on that toothpick test—nothing beats that clean-baked, slightly golden top. For the glaze, you can get really creative: add a splash of lemon juice or extract, or even sprinkle a touch of sea salt for that salted caramel vibe. Practice makes perfect, and I promise, each time you make it, you’ll get a little better at swirling and baking. Just trust your instincts and have fun experimenting!
Storing and Reheating Tips
This cake keeps surprisingly well, which is great because I always end up making too much—story of my life! If you’re planning to enjoy it over the next couple of days, just store it in an airtight container at room temperature for up to 2 days. If it’s hot and humid out, a fridge is better—just cover it tightly so it doesn’t dry out. The flavors actually deepen overnight, and I love having slices ready for an afternoon snack. To reheat, I pop a slice in the microwave for about 15-20 seconds—just enough to warm the center without making it rubbery. If you’re storing it long-term, wrap the whole cake tightly in plastic wrap and foil, then freeze for up to 3 months. Thaw it overnight in the fridge, then warm gently or serve at room temp. For the glaze, I recommend adding it just before serving—if you store it with the glaze on, the glaze might soak into the cake and make it softer, which isn’t a bad thing, but it’s nice to keep that shiny finish fresh. Overall, this cake ages gracefully—moist, flavors melded—and always tastes just as good as the first day.
Frequently Asked Questions
Final Thoughts
This zucchini swirl cake has truly become a favorite in my household. It’s the kind of treat that feels fancy enough for guests but simple enough for last-minute baking. The combination of moist zucchini, warm spices, and that beautiful swirl of filling makes every slice a moment of comfort. Over the years, I’ve tweaked this recipe to make it even easier and more forgiving—I mean, the first few times, I totally overmixed, and the cake was denser than I wanted. Now, I fold gently, squeeze out moisture from the zucchini, and check on the timer frequently. Somehow, these tiny adjustments make all the difference. No matter how many times I make it, the smell alone will draw my family to the kitchen, hands reaching for the first slice. I hope you try it—you’re going to love that fluffy, flavorful bite. If you do, come back and tell me how it turned out, or share your own twist on the filling or toppings. Happy baking!
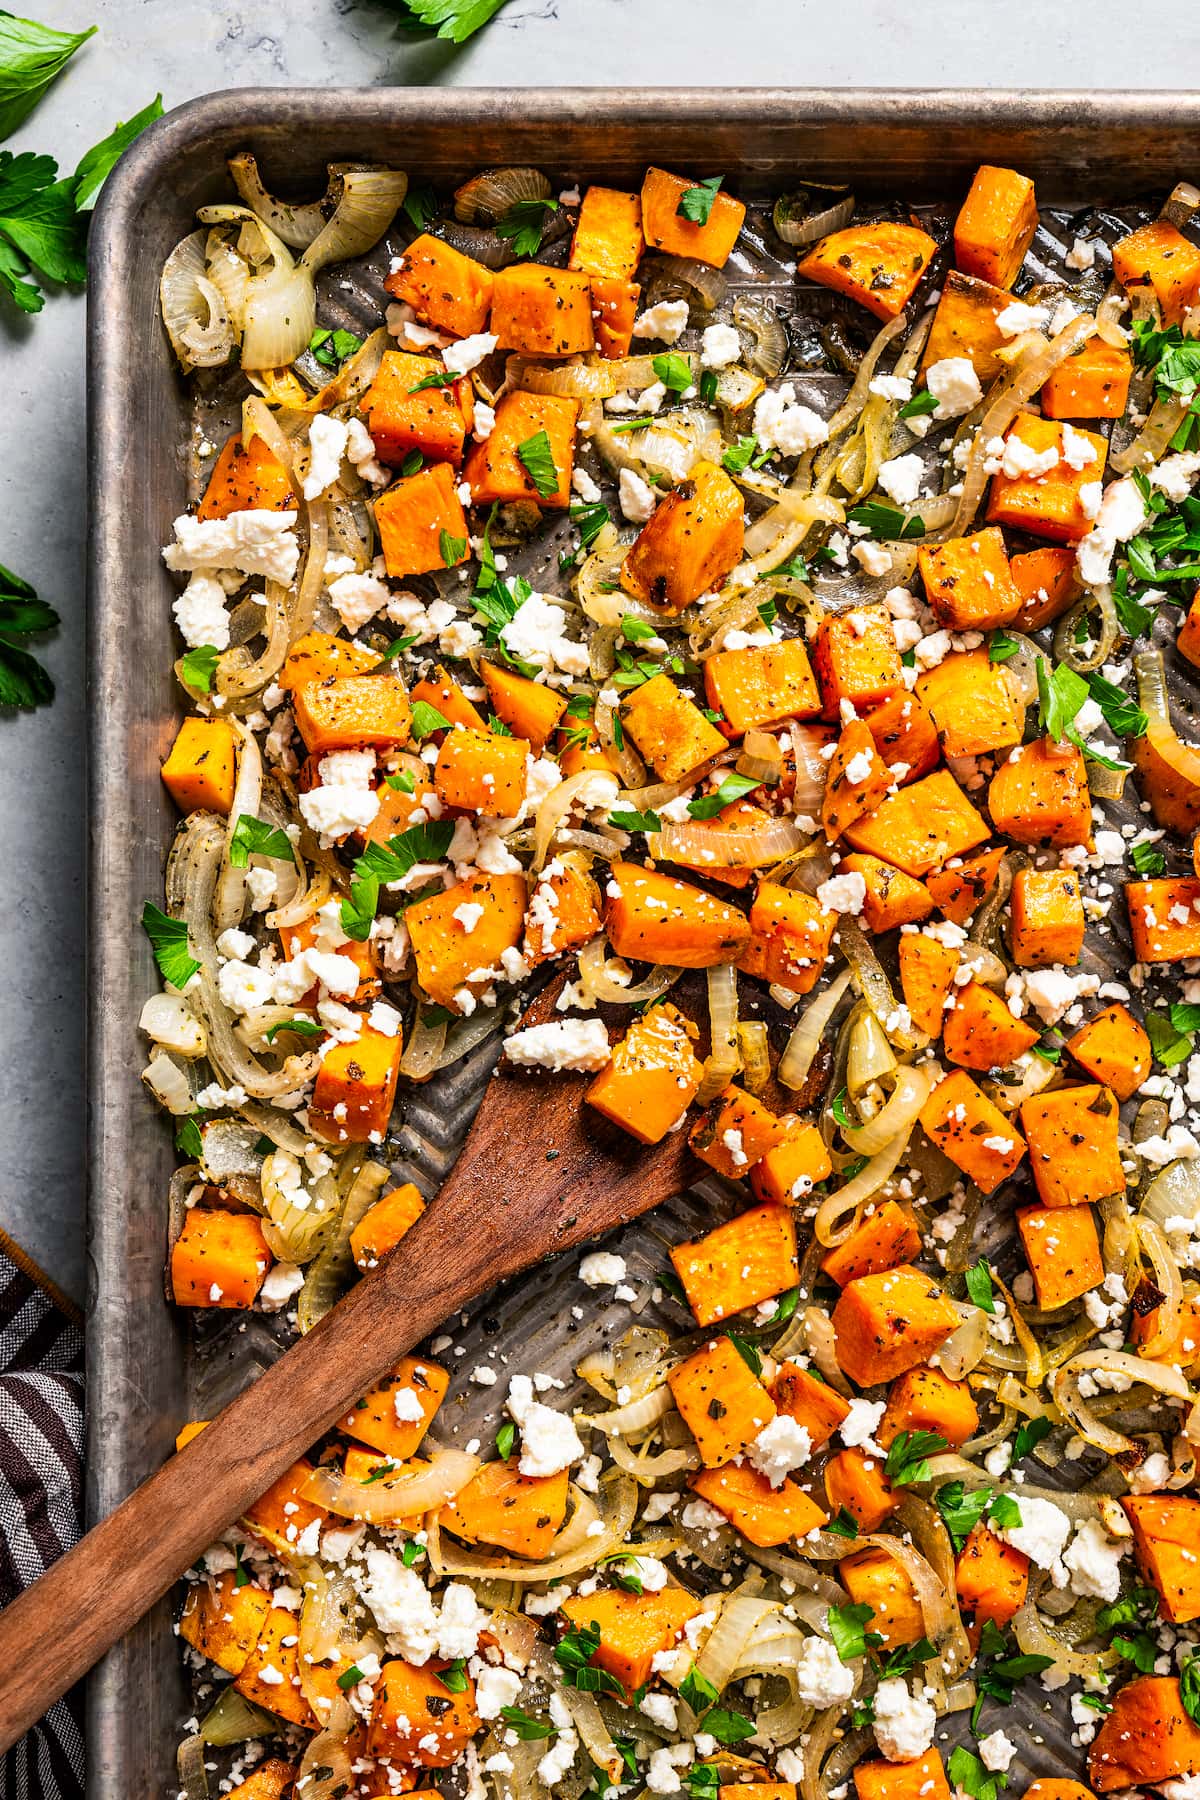
sweet potato hash
Ingredients
Method
- Preheat oven to 450°F.
- Butter a large baking dish and set aside.
- Add chopped sweet potatoes, sliced onions, and olive oil in a bowl and mix.
- Season with salt, pepper, and oregano; transfer the mixture to the baking dish.
- Roast for 20 to 25 minutes, stirring once halfway through, until potatoes are fork-tender.
- Remove from oven and top with crumbled feta cheese before serving.